Razer Cortex is best known for its feature that allows users to get better FPS as compared to what they usually get when they aren’t utilizing the software. However, this doesn’t mean that it is the only useful feature offered by the app.
In fact, there are many more noticeable ones that can be of lots of use when used correctly by players. This includes Razer Cortex Deals, Cortex Paid to Play, and many other features as well, including the simpler ones like the recording setting.
If you’re familiar with the fact that the software has a recording option but aren’t fully sure how to use it, here is a brief guide to help you learn how to record gameplay with Razer Cortex.
How to Record with Razer Cortex?
Getting started with recording through Razer Cortex is much easier than most players might make it out to be. To get started, the first thing that’s obviously needed is installing Razer Cortex in its entirety before setting up the application on your device.
Most users reading this have likely done this by now, so move on to opening the software and signing up or logging in with a Razer account. After this is done, players will be presented with lots of different features and options through the home menu of the Razer Cortex.
Go to the menu where all of your games are located and then search for the specific game that you’re trying to record gameplay of. Said game will usually be here somewhere among all the other games of yours featured on the screen.
But even if it isn’t, players can use the add game option to manually add the game they’re trying to record to the list. An important thing to know after reaching this point is that Razer Cortex uses overlays to record footage of any video game.
What this means is that recording with the software isn’t going to be possible unless you’ve activated the Razer Cortex overlays and until you’ve also enabled overlays through the settings of the game itself. Once all the required overlay settings have been enabled, go back to the games menu of the software and click on the title which players intend to record the gameplay. Now go to the Screencast option from here.
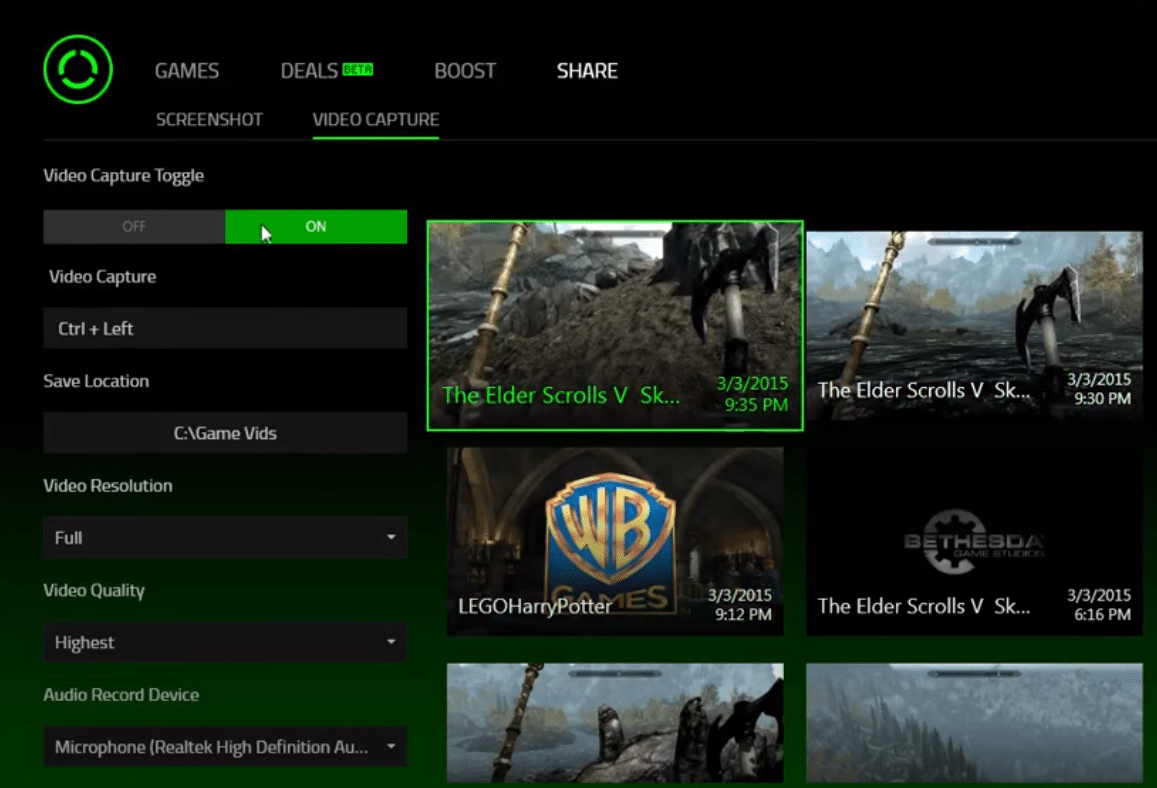
The Screencast feature of Razer Cortex has many different settings and features of its own. Tune these according to your own preferences and save all the changes you have made; given that you’ve made any. Now minimize the software and go to play the video game you intend to record. Enable the Razer Cortex overlay by pressing the required hotkeys, which are usually ctrl and ‘ on your keyboard.
Once the overlay is enabled, press the hotkeys for recording which should be Ctrl + Alt + V or anything else if you changed this. All of this is more than enough to start recording through Razer Cortex.