Razer Cortex is an application packed with all kinds of different great options for one to make the very most out of. Despite there being so many great features to try out, there is one in particular that completely outshines the rest in terms of popularity.
This is of course the game booster feature which is great for all those that usually receive low frame rates while playing video games and wish to change this. There are ways to mess around with the settings of this booster to get even better frame rates than the booster would normally provide.
A couple of the best Razer Cortex settings layouts which can help do this are given below.
The Best Razer Cortex Settings
1. For Most Ease and Convenience
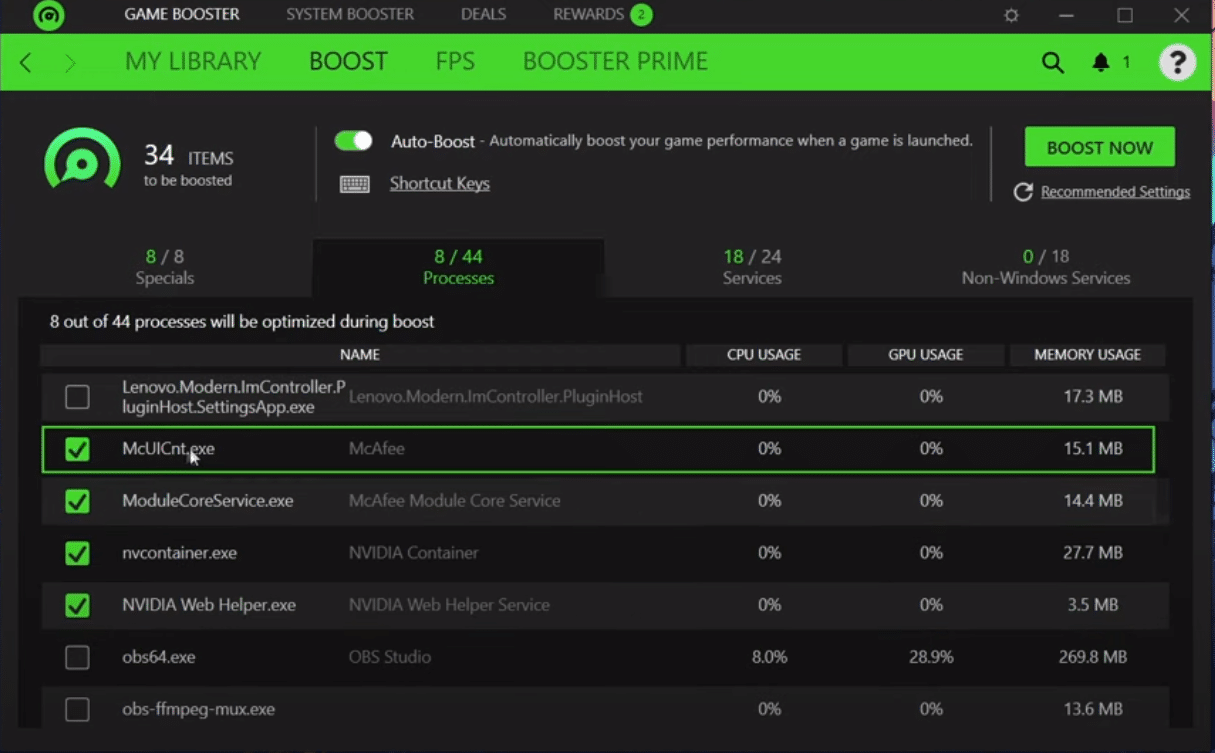
The best possible settings for anyone that is looking to get an increased frame rate in the easiest way possible is to simply let the application take care of all the settings instead of doing anything themselves. In the menu where all of the different settings can be altered, there will be an option at the top which allows players to enable an auto boost. Click on this option as it is one of the best things about the game booster there is.
Auto boost automatically recognizes when players have launched any games when the game booster is active. This way, it immediately shifts all of its attention towards the said game and automatically adjusts all of the settings according to the game and according to the capabilities of the computer on which this game is running.
It is the most convenient option out there and it is sure to work well for anyone looking to gain a few extra frames per second with significant ease.
2. For the Best Possible Performance
While auto boost is certainly very handy for anyone with a decent gaming rig that can run games comfortably enough as it is, the feature isn’t always the best for those with less powerful rigs. These can be helpful for those with advanced rigs too, meaning their good settings either way.
With that said, keep auto boost enabled but also go into the advanced game booster settings through Razer Cortex. In these advanced settings, there will be lots of different menus and options. The first menu is the special menu, which features 8 settings. Enable every single one of these before moving on.
Next up is processes. This is something that completely differs depending on how many apps run on your computer while you play games, so make sure you adjust these settings the best you can base on this knowledge. In the services menu, enable just about every setting except for a couple of those related to proxies and Bluetooth devices.
From the last menu of all, which is the non-Windows services menu, disable all settings except for AdobeUpdateService, KiteService, TeamViewer, “IAStorDataMgrSvc’’. After this, save all your changes and higher frame rates are ensured.