Razer recently unveiled their new Razer Seiren Mini, one of the best microphones on the market in its price range, and already gamers and streamers alike are falling in love with it. However, if you’re not familiar with Razer products, then it can be quite difficult to set up the microphone on your computer or console as quickly as possible and get started with streaming or recording your gameplay as soon as possible. That’s why we wrote this guide on how to easily set up your Razer Seiren Mini in minutes!
How To Setup Razer Seiren Mini?
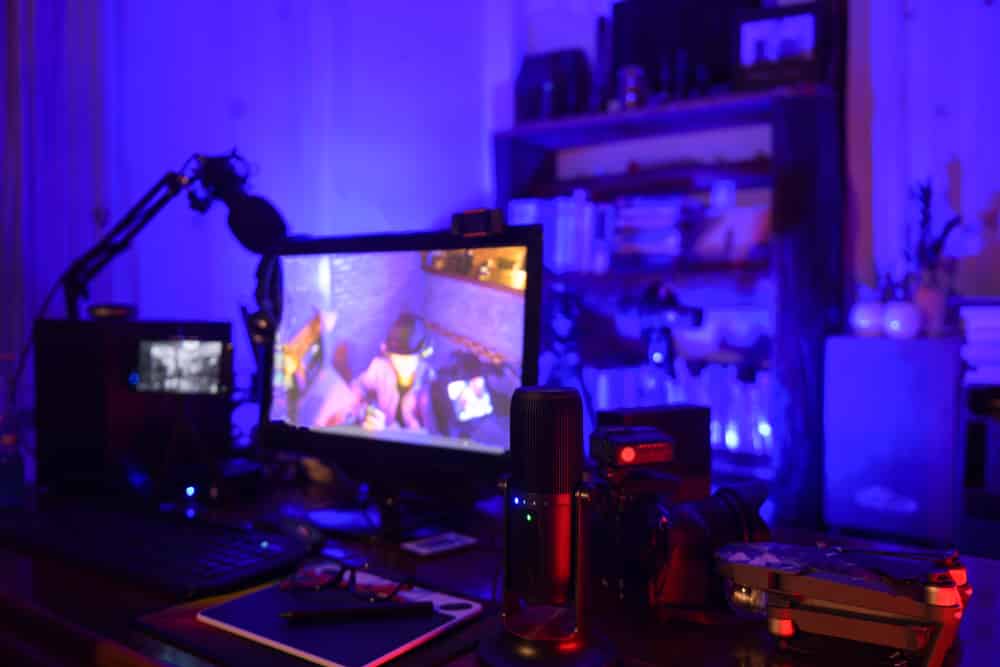
Razer Seiren mini comes with a Mic, a stand, and a cord for connecting it to a PC via a USB port. This thing is very small and lightweight about 240 and that’s because it’s almost entirely made of plastic except for the grade on top and threads on the stand.
It feels like it’s the same construction material as the Razer black shark v2x, but the Razer Seiren mini feels very strong even though it’s just made of plastic. But enough with the build quality let’s jump to the setup part.
- To efficiently set up your Razer Seiren microphone, first, take everything out of the box to make things clear. It’ll reduce the clutter and make things easy for you to know which part does what.
- Initially, you’re going to assemble the base that came with the mic. Just put the base on a table and put your cylinder-shaped microphone on it.
- Put one hand on the mic and one on the stand.
- Rotate your mic in a clockwise direction to tighten it up.
- After done fastening, grab the USB cable that came with your mic, (don’t try any other cable as it will cause some issues.)
- Connect your USB cable by finding the Micro-USB port on your microphone (usually located on the rear side) and insert the USB port into your Laptop/PC/Console.
- After doing the hardware assembling, now it’s time to turn on your PC (If not already turned on) and try to look for sound settings, located in the bottom right corner.
- Open it and set the Razer Seiren Mini as a default input device.
There you go, you’ve done setting it up successfully. Also, one thing to remember is that not every Razer peripheral comes under the support of Razer Synapse. So, don’t go by installing and finding your device in the software. This microphone works as a plug-and-play and doesn’t require a third-party application for it to work.
Usually, the microphones by Razer aren’t supported by Synapse, if their mic has an RGB lighting system then it should be supported by Synapse. Other than that, the compactness of this microphone is what makes it better and the simple and straightforward installation process takes the cake here.
Conclusion
Razer is producing some of the best microphones on the market. Their Mini line-up takes some of the unnecessary features away from the non-mini version and put the best quality and components in a mini version so people with a tight budget can afford it easily.