Razer is a famous gaming brand from Singapore. They have a huge lineup of products to select from which can all be viewed from their website. The brand provides users with detailed information about their products which makes it easy for people to select one. Aside from this, the devices also have numerous features built into them.
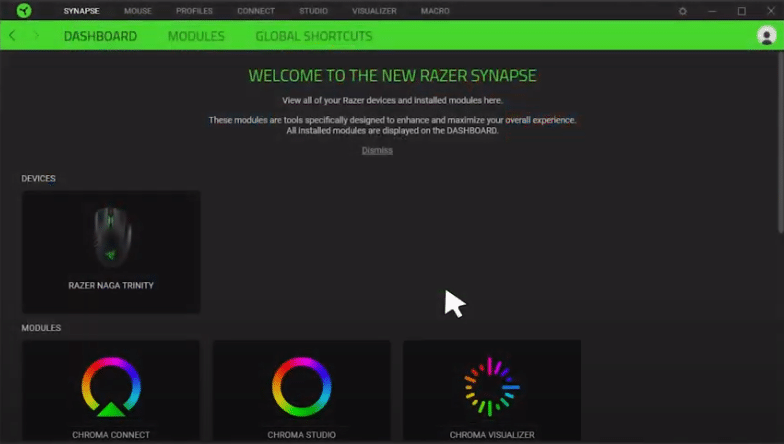
One of the best ones among these is the Razer Synapse software. This allows you to configure the settings for all of your devices. You can change their colors and even set up profiles that will help you out. Though, one problem that people have been complaining about is Razer Synapse stuck on syncing settings from the cloud. We will be using this article to provide you with some steps that should help out in fixing the program.
How to Fix Razer Synapse Stuck On Syncing Settings From The Cloud?
- Re-Login Account
The Razer Synapse requires users to create an account after which they can start using the application. Though, if you have recently updated the software. Then there are some files in your configuration that can start to give the user some errors. It is recommended that you sign out of your account and then sign back in for this.
Your problem should then be gone. One thing to keep in mind is that you have a stable internet connection during this. This is because a fluctuation in your internet connection can cause the sign-up process to fail in between. Aside from this, sometimes people can still get the same problem even after this.
In this case, it is better if you create a new account instead. You can then log in using it and configure your settings from the scratch. Some people might even be able to use their cloud backup to restore all of their files without having to go through all this hassle.
- Re-install The Application
If the problem persists then there might be a problem with your application. While downloading updates, sometimes the files can have trouble trying to replace older ones. This stops the software from functioning correctly which can cause similar issues. Considering this, you should delete all the files for your application completely and then install them again.
This should also delete the files that were giving you the error. The first thing that you should do is to uninstall your application. Now go to the folder where Razer Synapse was installed. Click on show hidden files from the taskbar and then locate any folders from Razer. Delete them as well and make sure that you clear the recycle bin as well.
Finally, you can download the software again directly from Razer’s official website. Make sure that the file you select is the latest version available. You should now be able to use your Razer Synapse and synch data from the cloud without any more errors.
- Run as Administrator
Most programs on your computer system require you to permit them to update correctly. Without this, the software will not have the privileges to make any changes. Though, you can easily give these by running the application as an administrator. Right-click on the program and select ‘run as administrator’ to do so.
After this, your problem should be gone. Alternatively, you can even start your computer in safe mode. This can be done by going to the start menu. Select ‘safe mode’ from the ‘shut down’ bar to boot up the computer in admin mode. Your system will close down all the applications running on it so keep that in mind. Close all of them and save your files before doing so to avoid getting any important data deleted.
Once your device is in safe mode, you should be able to start up the Razer Synapse program and use it without any issues. People who are still having issues with syncing data from the cloud can contact the support team for Razer. They have a friendly service and they should also be able to help you with your issue. Make sure that you give them detailed information about your error beforehand to ensure they can identify it correctly. You can contact them online or call them instead to help you out.
