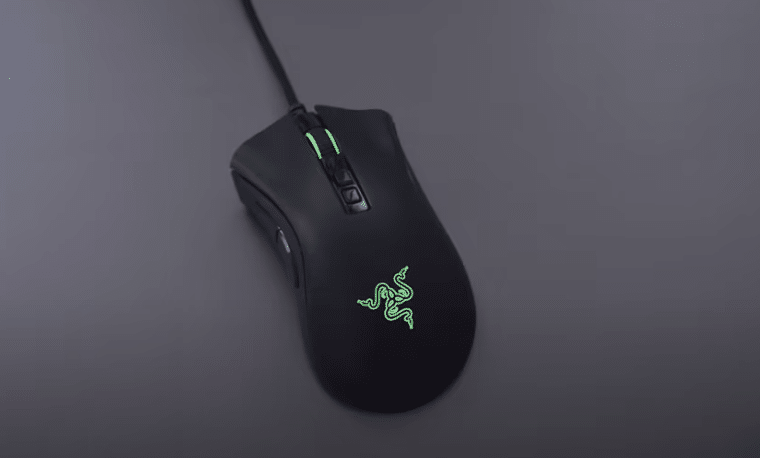
It is important to buy a good gaming mouse to make your aim more consistent. Depending upon your grip style you can choose from a wide variety of Razer mice. They are reliable and can help you improve your aim. There are different programmable buttons that you can use in-game.
In this article, we will be going over the different features of Razer Deathadder which is an affordable gaming mouse that you can buy from Amazon. We will also cover the default DPI settings for this mouse and whether or not you should change them.
Razer Deathadder Default DPI
There are a total of 4 DPI settings that you can choose from. The first one is at 450, then 900, 1800, and the fourth one is 3500 DPI. First of all, if you don’t have a big mousepad and like to aim only using your wrist then setting then DPI on a higher setting might be better for you. This will allow you to take 180 turns by just moving your mouse slightly to either side.
When you first plug in your mouse and go to the configuration settings then the default DPI is set to 1800 while the polling rate is at 500. So, if you like to use your mouse on the default Deathadder DPI then simply go into your Razer Synapse and set the DPI switcher to 1800, and save the settings. You are also free to set programmable buttons to change DPI mid-game.
However, having a higher DPI on your mouse will decrease the accuracy of your aim. This is the main reason why almost every professional FPS player likes to play on 400 to 600 DPI. Having a lower DPI ensures that you don’t overshoot while trying to aim in a match. But the downside to this is that you need to have a large enough mousepad to be able to aim properly. Otherwise, you will just keep picking up the mouse and moving it back to the starting point of your mousepad.
So, if you want to improve your aim then it is recommended that you switch to a lower DPI. It will be difficult at first but with sufficient practice, you will get used to it in no time. If you keep practicing you will also notice your aim improve little by little. You will also have to start using your arm more to aim properly and you can use your wrist to make micro-adjustments.
How To Set Default DPI On Razer Deathadder?
To change DPI to default settings you need to just open up the Synapse configuration tool and then click on your Razer Deathadder from the home screen. From the device settings you need to click on performance and you will find a different sensitivity option. You can just type in 1800 in one of the stages. You can also increase or decrease the number of stages depending upon your preference. While in the game you can use the mouse button to change the DPI settings in between different stages.
After setting the DPI stage at 1800 you just need to activate this stage on your mouse and you will be all set. Another method that you can use is to make a new profile and it will automatically set the DPI to default settings and your mouse will go back to the way it used to be.
Having a higher DPI setting does not mean that your aim will be bad. Several professional players that play on high DPI and have an insane aiming skill. But you will have to work a lot harder to get your aim to be consistent. Overshooting and stuttering while aiming is quite common for players with high DPI. So, if you want to improve your aim quickly then just switch to 400 or 600 DPI and start practicing.
If you’re still confused about how to change DPI then you can watch a YouTube guide to help you along every step of the way. However, if you think that your mouse is malfunctioning then we recommend that you contact Razer support immediately. Send them an email explaining your issue and they will provide you with different troubleshooting methods that you can use to fix your problem.
