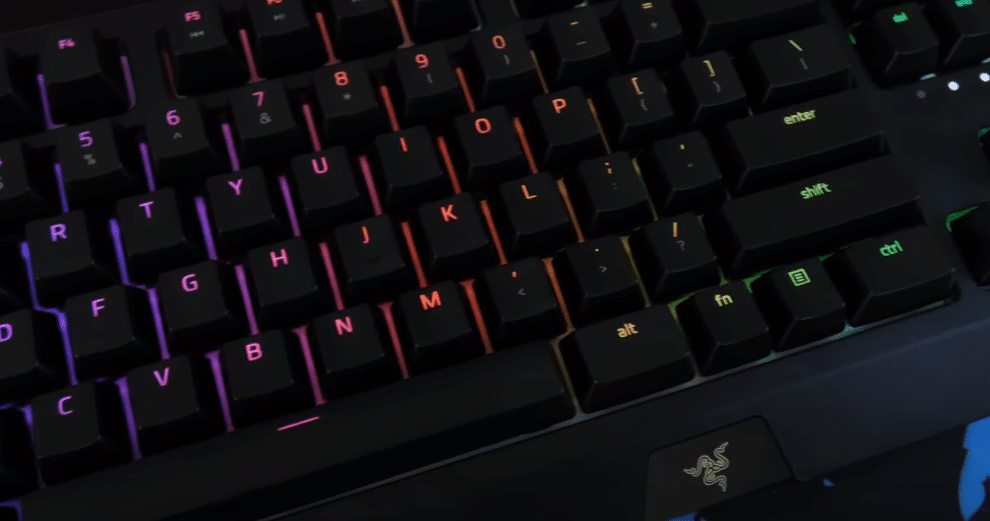
Any keyboard can start malfunctioning if you don’t use it properly. That means if you keep pounding on the keys every time you lose a game or for some other reason, then your keyboard is bound to malfunction. So, to save yourself some money just be gentle with your keyboard and it will last you for several years.
Many users are having trouble with one or more dead keys on their keyboard. This issue can interrupt your gameplay quite a bit, especially when you are not able to use a key that controls the movement of your character.
How to Fix Razer Blackwidow Dead Key?
- Check Macro Binds
If the keyboard is new then it is likely that the issue is software-related. For some reason, users are not able to use a key that they have assigned macros to. This problem is related to the Razer Synapse which is why you can’t get the key to work on your keyboard. The simplest solution would be to remove the macro bind and then try using your keyboard key. If you need the macro to be assigned to that specific key then you should reinstall Synapse before assigning the macro again.
The macros can mess with the normal behavior of the keyboard, especially when you’re on an outdated version of Razer Synapse. So, either remove the macro altogether from your keyboard or clean install the Razer configuration tool on your PC and you should be able to get the dead key to start working again.
- Check Key Switch
The above-mentioned fix was for users that had software issues with the keyboard. If you’re not as lucky and your Blackwidow is still not working then you should pull out the malfunctioning key. Now, you will be able to see the key switch under the key. If it seems to be broken then you will have to replace the key switch to get the key to work on your keyboard.
The procedure is quite complicated and you might end up further damaging the Blackwidow in the process of fixing one key. So, we suggest that you take your keyboard to a tech expert. That will increase your chances of getting the faulty key to start working again. You can buy key switches from amazon or just use the switch from a key that you never use on the keyboard.
If you’re still confident in your skills and want to fix the key switch your self then you will have to strip the keyboard down to the last bit and remove the dead key switch. After that, you need to remove the key switch from a key that you’ll never use. Once you have the key, you’ll need a soldering tool to fix the new key switch on the board. After soldering in the key switch you should put all the keys back in and then connect the keyboard with your system to check if you were able to fix the key switch.
- Change PC Port
After taking off the keycap, if you believe that the key switch is not broken then the probability of a faulty PC port increases. This problem is quite common and users can get their dead keys to start working after changing the PC port that your Blackwidow is connected to. Make sure to insert the connector inside the port to ensure that it works properly.
To pinpoint whether or not your keyboard has hardware issues, you can simply connect the Blackwidow with your friend’s computer. If the issue remains then the problem is with the keyboard and your PC is working fine. So, you’ll need to get your supplier to send you a replacement for the faulty device that they have given you. This is why people are willing to pay extra for devices just to receive a warranty along with the device. That way even if you run into issues you won’t have to worry about paying for a new device.
If you want to avoid the hassle of getting a new device, then you can interact with other users on community forums to find out troubleshooting steps that can help you fix the dead key. Still, it would be better if you can get a keyboard replacement if you’re not able to get the dead key fixed at this point.
