One of the biggest reasons why so many people love Razer products is the RGB factor. If you’re looking for a well-lit gaming rig along with peripherals to match the setup then Razer is the way to go. The products might be a bit expensive but if you don’t have budget issues then Razer can be a viable option.
Let us discuss how you can easily manage all of your RGB effects while using Razer Products. We will be going over how to install Razer Chroma apps to make your gameplay more immersive.
How to Install Razer Chroma Apps?
Razer Chroma applications make it possible for users to tweak the RGB lighting on their Razer products. You can link up the applications with different games and then the lighting will change according to your player status in the game.
Doing this will make your games more enjoyable and it doesn’t take much effort to install Razer Chroma applications on your PC. So, if you’re unsure about how to install this application then these steps might help you.
Open your web browser and go to the Razer Chroma workshop, after opening the web page you can click on the application from the top bar. Now you will be able to see all the different chroma applications that you can download on your personal computer. You can find the application that you like from the list and download it on your PC. Let us say that you want to download an audio visualizer, then you just have to find it from the list and then open a quick view.
Now, you will be able to watch a video explaining what this application can do. So, it can be easier for users to determine whether or not the given application will suit their Razer products. If you’re sure that you want to install this application then click on the download link and your browser will start downloading the zip file for the application. The file size is not that large and it will take a few minutes at max for the file to download.
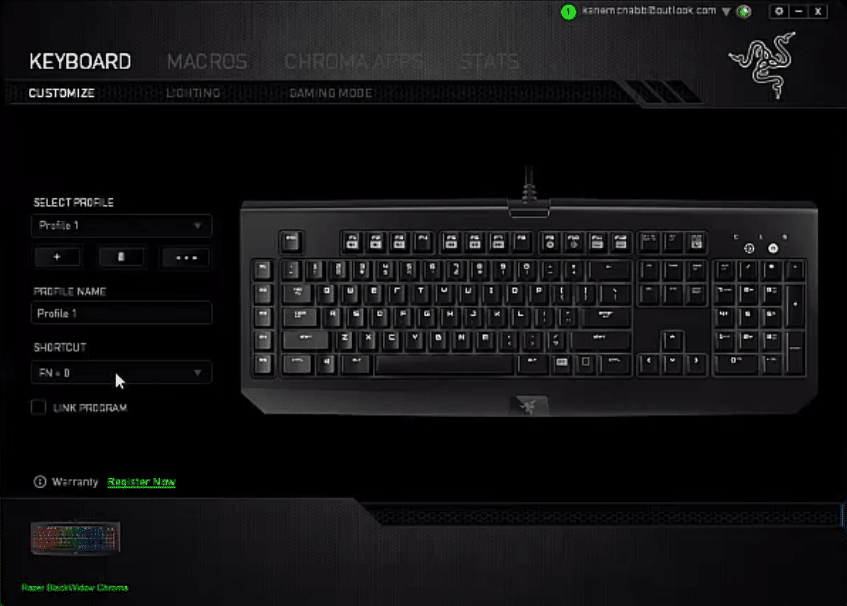
After the download has been completed, navigate to the containing folder and extract the files from the download. Now, you can just move the .exe file or the application file to your desktop as a shortcut to make things easier. At thing point, you should launch your Razer Synapse and log into your account. Your application will not work unless you’ve logged into your account beforehand so make sure you do that first.
After launching Synapse and logging into your Razer account, minimize the Synapse to the system tray and then launch the Chroma application that you sent to the desktop. Now you will be able to see all of the different configurations that you can tweak. Play around with the different settings to find out which ones you like the most. One thing you should know is that the amplitude levels should be very high if you want the audio visualizer to work properly.