Razer Synapse is a configuration tool that can help you better manage your Razer devices. Depending upon your device model you can either install synapse 2 or 3. If you’re buying a Razer MMO mouse then using synapse can help you set a lot of macros to help you win more PVP and PVE fights in-game.
However, some users have been saying that their Razer synapse macros will stop working at random times and you won’t be able to use any skills in your game. If you’re in a similar situation then read through this article to find out some potential fixes for your macros.
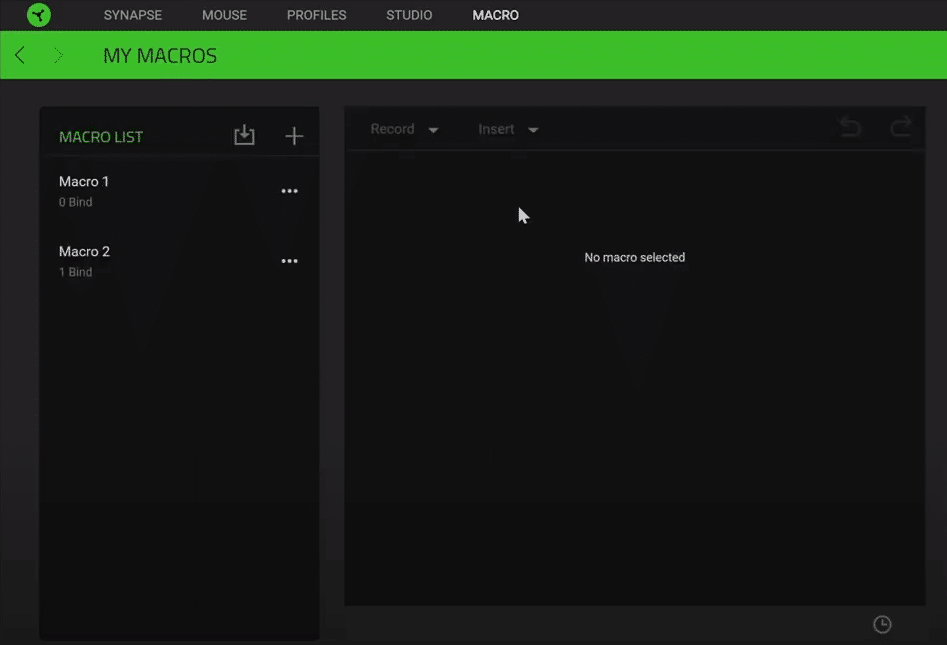
How to Fix Razer Synapse Macro Not Working?
- Power Cycle
This error is often due to a minor bug in your synapse that can easily be resolved by rebooting your PC. So, shut down the computer system. Wait for around 60 seconds and then turn it back on. After the system boots up you can go ahead and try using the macro on your Razer mouse. If you’re lucky your problem will be fixed at this point.
- Uninstall Synapse
Another Fix that you can try is uninstalling your synapse software altogether. To do so, go into user settings and remove Synapse 2 from your list of programs. Once that is done restart your computer when the prompt shows up on your screen. After completely uninstalling Razer synapse you have to download the repair tool for Microsoft.NET Framework.
After downloading the repair tool, you can go ahead and install it on your system. When the installation process is complete, run the repair tool and follow the instructions to repair your Microsoft.NET framework. After the repair process is complete, you should reboot your system again and go to the Raze zone web to download the latest version of Razer Synapse 2.
Run the program as an administrator and follow through with the on-screen instructions to install the Synapse 2 onto your computer system. When Synapse 2 is installed, you will be prompted to restart your computer system once. After the reboot process, you will have to configure all of your macros again but, likely, you won’t be running into the same issue again.
- Check Synapse Status
To be able to use macros on your mouse your synapse must be working properly in the background. If it keeps crashing for any reason or you’ve closed the configuration tool at some point then that is the main cause for this problem. You need to make sure that the Razer Synapse is always working in the background and launches when your system boots up. You can go into the task manager to give Synapse permission to launch at startup. Doing so will most probably fix your problem.
- Firmware
Sometimes outdated firmware can also cause users to run into this issue. In which scenario you have to re-check that you’re on the latest version of firmware for your particular mouse. You can download the firmware updater from the Razer official website. Just put in your device details to find out the best update for your Razer mouse and install it onto your razer device. Once that is done you should reboot your computer system once and reconfigure all of your Macros in the Razer Synapse configuration tool.
- Reset Your Mouse
Lastly, if nothing seems to work out for you, you can reset your mouse altogether. There are different procedures to reset depending upon your specific mouse model. But for the majority of mice, you can just hold down the right, middle, and left buttons together for around 10 seconds and that will reset your mouse.
If that doesn’t work for your specific device then you can refer to the user manual or watch a YouTube tutorial to figure out how to reset your device. Once the device has reset you will have to configure it again with your Synapse and add in the macros. This process can take quite a bit of time if you have a long list of macros to set up.
On the off chance, if your issue is still not fixed then the only option left for you is to contract Razer support and explain your situation to them. After which they will guide you through the various troubleshooting processes.