Razer is a famous company from Singapore. They mainly focus on manufacturing hardware-related devices for gamers. These include headphones, mice, and even keyboards. There is a huge lineup to select from. Out of which all the devices have their unique features. You can check out their official website for a list of all the available products.
Clicking one of them should show you detailed information about it. Going through the specifications is one of the best methods for selecting a device for your use. Aside from this, the company also has its program that you can use to configure the equipment by them. This is called the Razer Synapse which can be downloaded directly from the internet.
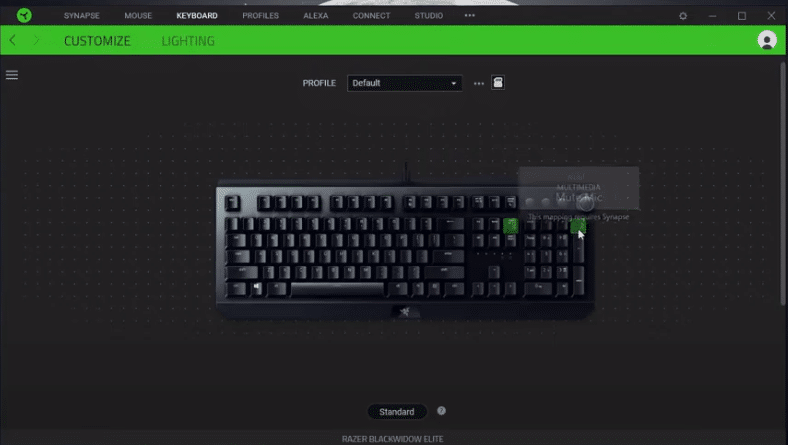
Razer Synapse Default Profile
Razer Synapse is a useful tool that allows you to control all the devices by Razer from a single application. You can change the colors for your devices and even create multiple profiles. The profiles act as different configuration files which will all have their unique setups. The user can then easily switch between these whenever they want to. You can either do this directly through the application or by clicking a specific button on your product.
Though, you should note that the profile set as default will always be selected when you boot up your device. This is exactly why people wonder about changing their default Razer Synapse profile. One way around this is by editing the current default profile to the configurations required by the user. This way you won’t have to change the profiles again and again. If you want to manually change the default profile then two things can be tried. Some people have reported that the first profile on their program gets set to default.
On the other hand, others have reported that the last one is set as the default for them. You can easily check this to find which one works for you. You can then change the name of your profile and add an ‘A’ or ‘Z’ at its end. The profiles are alphabetically set which means you can alter them to set one as the default. Remember to save changes once you are done with this process. It is recommended that you reboot the program as well to ensure all the changes have been applied successfully.
If you do not have the software installed then you can visit the official website for Razer. Go through it to find the list of different applications available for the user. Select Razer Synapse here and make sure that you download the latest version. The program should install shortly after which you can continue setting it up. The only requirement will be having a stable internet connection and an account. You can easily create an account without much trouble.
What to Do If You Are Having Problems?
While the setup for Razer Synapse is quite simple. People who might be having problems with the application can find it annoying to deal with. However, if you are one of these then some things can be tried. One of these is updating the application to the latest version. Running it on an older version can give a lot of errors. This is why it is recommended that you keep the program updated at all times.
You can go to the settings of Razer Synapse and search for newly available updates. The software will then search the internet to find these for the user and display if any are available. If your problem persists then the next thing that you can try doing is to re-install the application. The process for this can be a little complicated. You will first have to remove the program completely from your system. After which open up the folder where you installed the files.
There will be some left that is hidden from the user. You will have to manually show hidden files on your computer to locate these. You can then delete all of them and clear up the recycle bin as well. Finally, you can install the program again from the website. All your configurations will be gone which is why you should make a backup copy of these beforehand. These will then be stored on the cloud storage and restored once you log back into your account.