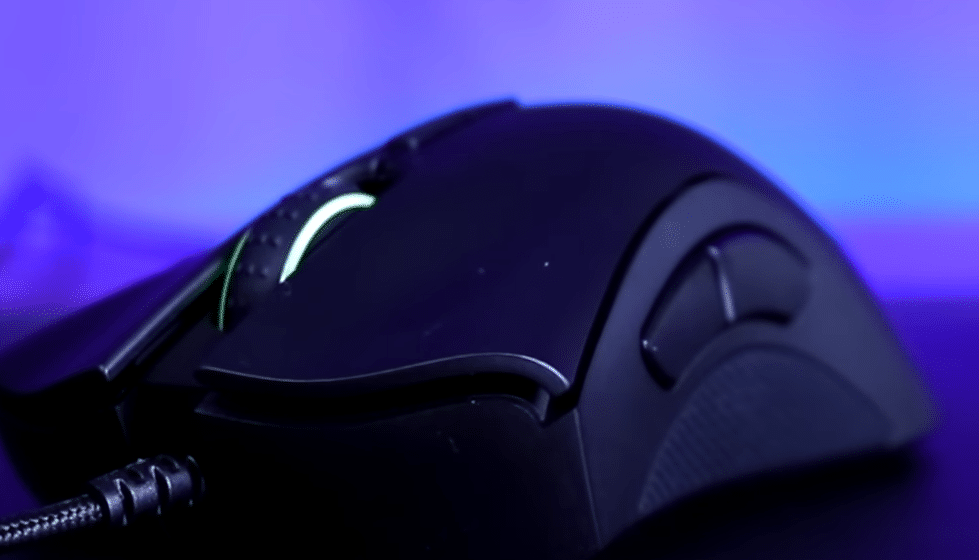
Razer Deathadder Chroma is considered an elite mouse in the gaming circuit. It is well-known among gamers for its accuracy and comfortable use. It is mostly used by gamers who play shooting games. Besides its accuracy, it also has many more features as well. It is super light in weight and a multicolor spectacle for its users. Razer Deathadder Chroma works brilliantly while working on low or medium sensitivity.
It is known as a palm paradise for every right-handed person in this world. It is specifically designed to fit perfectly in your right hand and has one of the best optical sensors out there in the gaming world. Though it is considered as a great gaming product, sometimes it runs into a problem that affects many gamers.
The most common problem is the Razer Deathadder Chroma Double Click issue. If you are someone who is having the same issue then you will find some of these quick solutions as a blessing.
Razer Deathadder Chroma Double Click
- Update your driver
One of the common mistakes many gamers make while going through this problem is that they never update their firmware which is the main reason for Razer Deathadder Chroma double click issue. Firstly, make sure that Razer Synapse is downloaded on your PC and you are connected to the internet.
After this, launch Razer Synapse on your PC, download and install the updated firmware required for the Razer Deathadder Chroma. Once this is done, you will have to unplug your Razer mouse from the USB port.
After unplugging the Razer mouse, hold down the wheel scroll, left-click and right-click on your device while plugging it back in the USB port on your PC. Do not release after plugging it in, keep on holding the wheel scroll, left-click and right-click for the next 10 seconds, and then release the three buttons on your Razer device. This is open a Bootloader mode on which you will have firmware update instruction on screen. Follow these instructions and your double click problem will be solved.
- Changing the switch in your Razer mouse
This may sound dangerous at first but it is very easy to do. Make sure you have all the right tools and equipment to perform this task. Unplug your Razer Deathadder Chroma from the USB port. Turn it upside down and you will see two screws on the top right and left edges of your device. If you cannot see them, they will be behind a rubber sticker. Unscrew those plugs with a Philip mini-screwdriver.
You will see the third screw behind the Razer Deatheradder sticker on the back, unplug it too. After unplugging the screws, you will have to position the mouse in its right position and make sure when you lift it, you do it slowly because the connector wires are attached to the motherboard.
Now, gently remove the two connector wires that are attached to the motherboard. The mouse motherboard will have four screws, two next to the right and left switches and two in the middle. Unplug all the screws carefully and detach the motherboard from the mouse.
You will be able to see the right-click switch on the motherboard; you will have to order the same switch online for the exchange. Unplugging the motherboard will allow you to pop the wheel scroll out. Clean the area and then solder it with soldering iron on the three little holes you can see, this will allow you to remove the switches.
Once the three holes from which the switches were removed are completely clean then you can insert the new switches on both sides. You will have to solder it completely so the switches can fit perfectly without any space between them.
The final part is assembling everything back to how it was, plugging all the screws on the motherboard, the wheel scroll, and the connecting wire back to the motherboard. Close your Razer mouse and plug it back into the USB port of your PC. This will solve your problem with the Razer Deathadder Chroma Double click issue once and forever.
