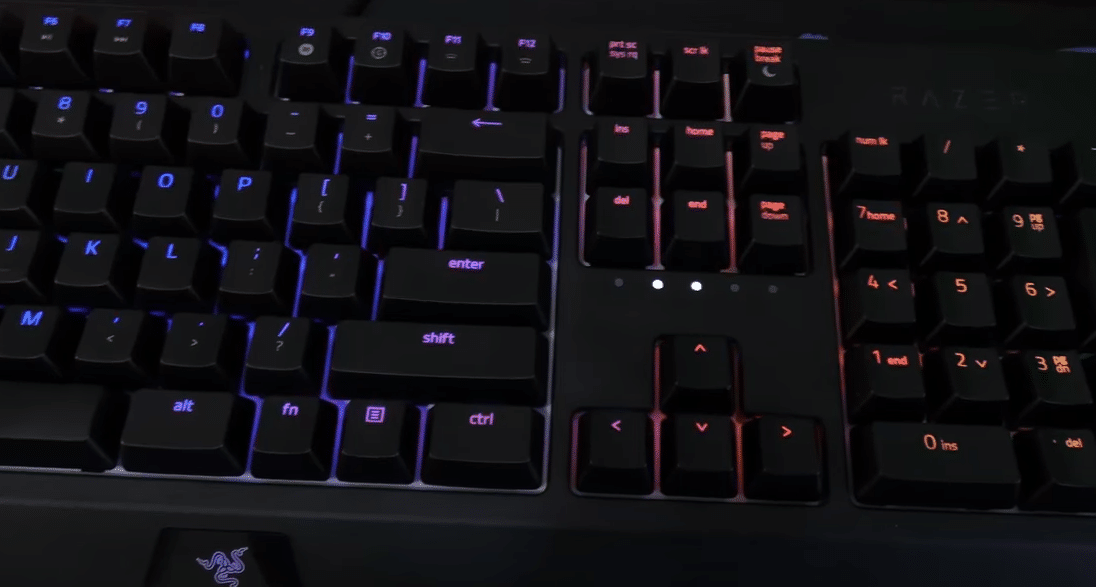
Razer Blackwidow is a mechanical gaming keyboard, it has a wrist rest and RGB lighting. Overall, it is a great keyboard that can cost you around 120 dollars depending on where you’re buying it from. The key presses have a satisfying sensation to them and the overall noise of its button is not too much. So, if you want a relatively quieter keyboard with the same mechanical clicks then Razer Blackwidow should be your first choice.
In this article, we will discuss the Razer Blackwidow keys repeating issue and how you can solve it. So, if you are having the same issue then read through this article to find some potential fixes for your problem.
How to Fix Razer Blackwidow Keys Repeating?
- Reinstall Drivers
Most of the time this problem is due to bugs in your keyboard driver. If that is also the case with your then reinstalling the Keyboard drivers will sort out your issue. Just open up your device manager from the windows settings. After that go to the keyboard settings and right-click to uninstall the keyboard driver.
Once the drivers are uninstalled you should reboot your computer once. After your system boots up it will automatically install the drivers for your keyboard. At this point, you should try using your keyboard to check if your keys are still repeating.
- Clean Keyboard
It is quite common for something to get stuck under the key switches. Due to this whenever you try to press a key it does not return to its original position and you get multiple keypresses until you unplug the keyboard.
To thoroughly clean the keyboard, you should first unplug the keyboard and take out all the keys on the device. Make sure to take a picture beforehand otherwise you’ll be confused about the positioning of each key. Once that is done you can put all the keys into a container and then wash it using water. Be careful not to lose any keys when you try to dump out the water.
After dumping the water, you should spread the keys onto a flat surface to boost the drying process. If there are any stains or something is still stuck on your keys then you can use a q tip covered in rubbing alcohol to wipe your keys clean.
After cleaning the keys, you can move forward to cleaning the actual keyboard. We recommend that you use a blower or a dust spray to clean out your keyboard with air pressure. You can also use rubbing alcohol on a q tip to clean the stained parts of the keyboard. Make sure not to use water or too much amount of rubbing alcohol or your keyboard might get damaged. After the keyboard is clean and dry you can put the keys back into their place and start using it.
- Firmware Update
Being on an older version of firmware can also cause this problem. So, if you have not updated firmware for a long time then now is the time to do so. Just go to the official Razer website and download the firmware updater tool. Install it on your computer and follow the in-app instructions to update your Keyboard’s firmware successfully. After that just give your system a quick restart and your issue will probably be fixed.
- Replacement
If the problem still exists then try using a different port or a different computer system to determine whether the problem is with the keyboard or your computer. If the keyboard is having the same issue when you try to use it with a different computer then it is likely that your keyboard is faulty.
In this situation, the only thing that you can do is contact your supplier and demand a replacement order. If your warranty is still in effect then you shouldn’t have any issues in securing the replacement order and you will have a new keyboard within a week.
- Razer Forums
If you didn’t have a warranty or the supplier is refusing to give you a replacement order then asking help from the Razer support team might be your best option. Make sure to provide them every detail regarding your issue. This will ensure that you receive help from a trained professional who will guide you step by step on how you can troubleshoot this problem.
