For those of us who have been playing Minecraft for a long time now, you’ll know that the game can be a lot more intricate than it first appeared to be. Like, there is a whole world of stats out there to be discovered.
Once you find these and analyse them a little, you can totally change up and improve your gameplay from that moment on. One of these things that we find particularly useful is that you can actually look up coordinates that will guide you toward the best places to mine for diamonds and other valuable and rare materials.
Basically, all you need to do to access this information is use the chat bar in such a way that the coordinates just pop up in the top left corner while you are in-game. It’s easy once you know how, and definitely saves you quite a bit of time in the long run.
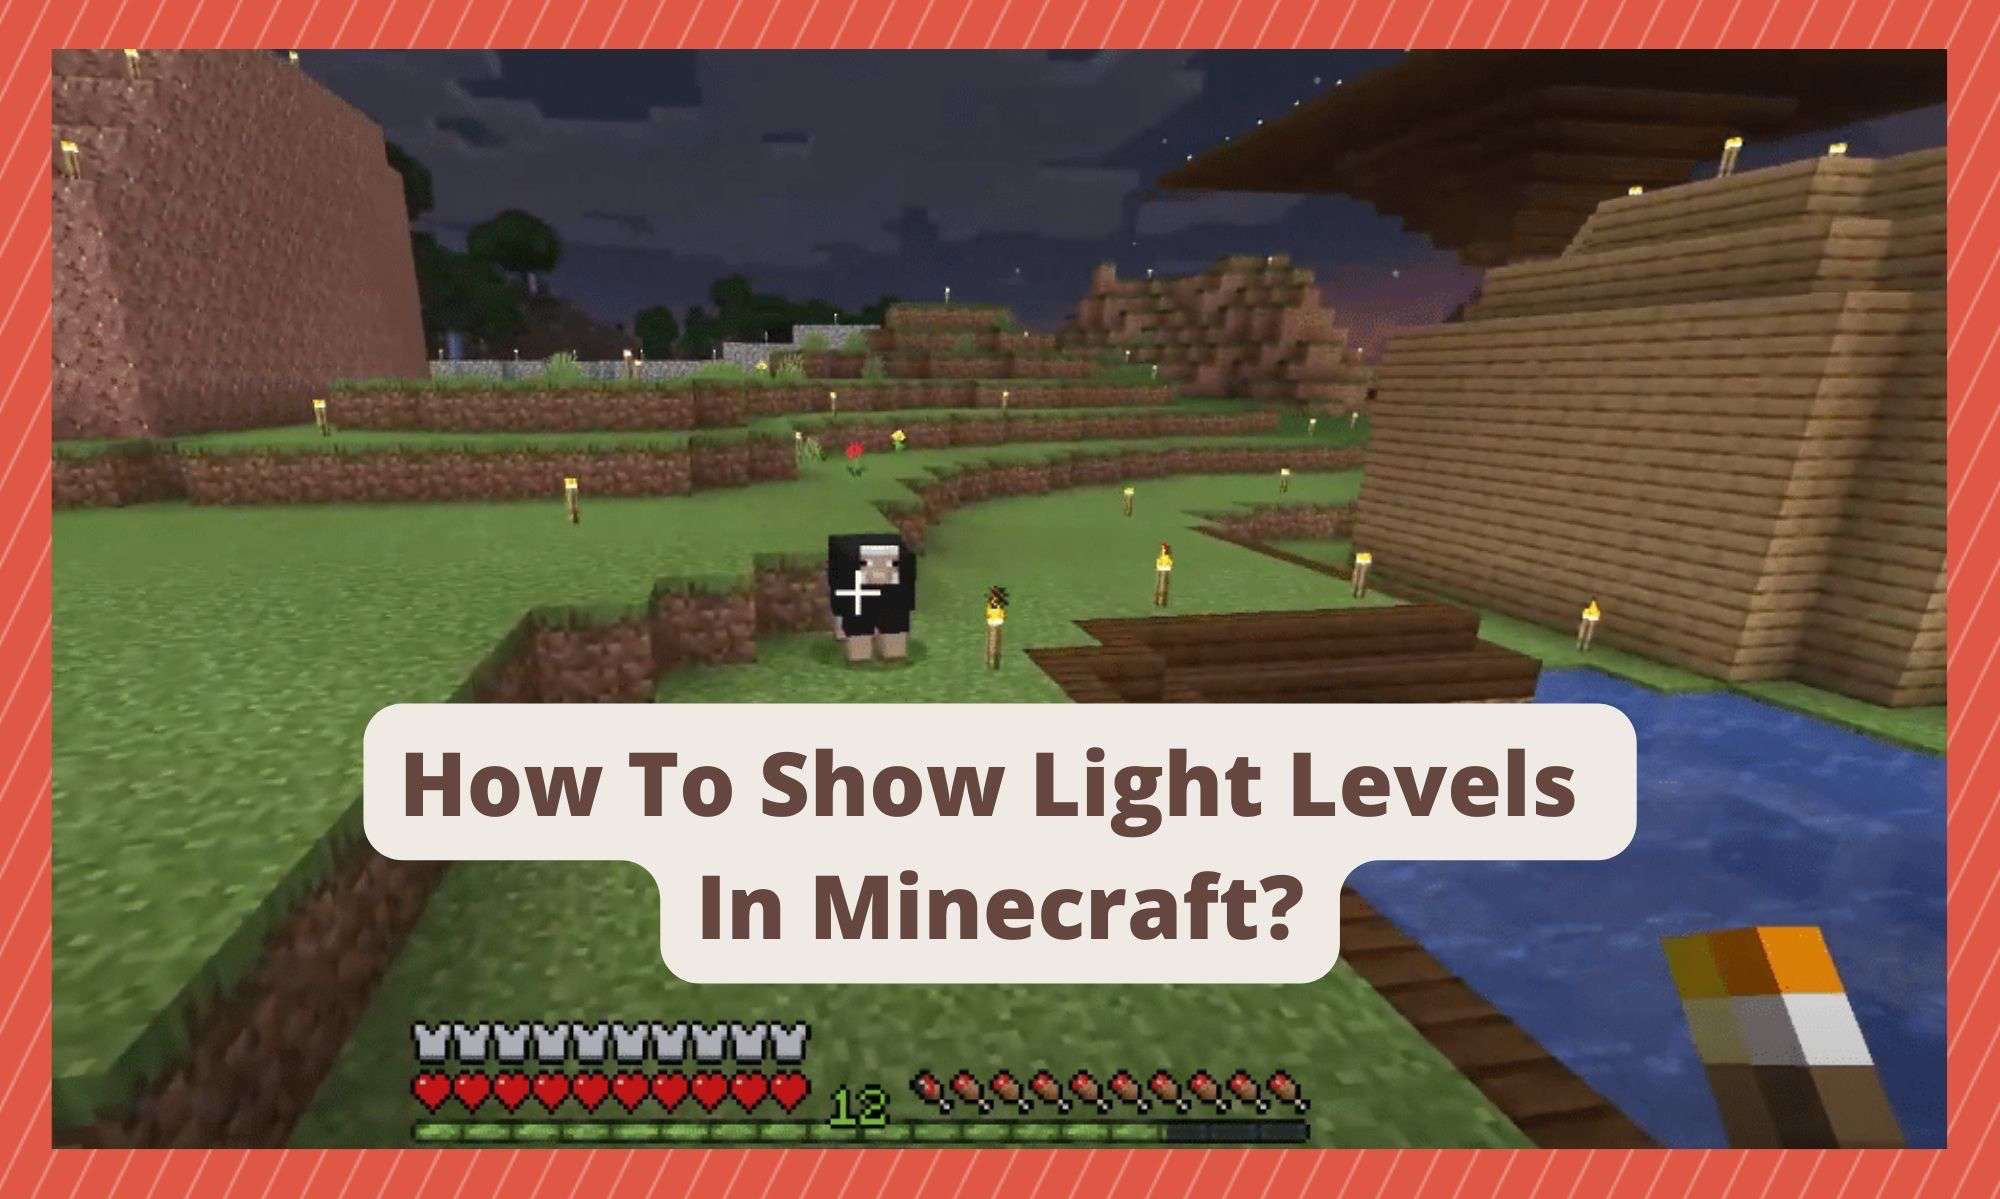
In the same way, you can also access light level information, helping you to manage monster spawns in and around your mining zones and base. For those of you who want to know how to do this, everything you need to know is in this article.
How to Make Minecraft Show Light Levels?
The easiest and most direct way of checking the light levels in Minecraft is by just hitting the F3 function key. This will bring up the debug menu. Once you have done that, the next thing you need to do is locate the light source, which you will find along the bottom part of the debug menu options.
Once you have done that, you will easily be able to see the areas that aren’t well enough lit to prevent monsters from spawning and wrecking your stuff.
Overall, we find that this is the easiest method for checking light levels if you are not interested in installing any mods. We also reckon that it is by far the easiest way to do it.
However, there is always a downside that needs to be taken into consideration. It is true that this menu can be a little tricky to read with any real degree of accuracy. Because of that, we are going to run you through a couple of other options that you may find more useful.
Method 2
The next method is one that allows the player to more easily decipher which blocks monsters will spawn at. For this tip, we will be using the OptiFine + Danger Zone texture packs.
This way, the chances that you will encounter a creeper and be caught of guard by it is reduced dramatically. No more random destruction of your builds! The first thing you will need to do here is install the danger zone textures pack.
In addition to that, by using the NEI mod, you will be able to clear out the dark spots much more effectively. Though it does vary a little from mod version to version, you generally only need to hit F7 and then the light levels will pop up.
Better yet, you can hit F9 after this to enable “exact chunk boundaries”. This feature allows you to see exactly which areas have low light and allow for the spawning of monsters. However, if that still isn’t precise enough for you, we have another method that may suit.
Method 3
For those of you who need to see each and every block’s exact light level, we would recommend that you opt for the Light Level Overlay mod instead. This mod ups the game a little bit more by allowing you to manage your light levels with total control. This is for those who won’t tolerate even the slightest margin of error.
Method 4 – No mods required!
There is also the option to craft the item that lets you know about impending danger. For this build, you will need only an iron ingot and a redstone block to place on top. These builds will send out an alarm any time you end up standing somewhere where it is possible for mobs to spawn.
So, once you hear this alarm going off, all you will need to do is chuck down a torch and make the area safe. This alarm system is pretty useful if you don’t want to spend too much time staring at light levels. It’s also great for those who avoid adding mods to the game.
The Last Word
Okay, so here’s our take on what the best approach is. For us, mods are by far the most effective and failsafe way of being sure what areas have enough light and which ones don’t.
The main reason we say this is because it can get incredibly tough to figure out your light levels when you’re working on large builds without the mods. The debuff menu just doesn’t quite cut it. Though everyone has their preferences, we think that for the little amount of hassle it is to install mods, it is totally worth it.
Of course, there are also merits to keeping the game 100% vanilla. For one, it just makes the whole experience that bit more authentic. For many players, there is always the feeling that they have ‘cheated’ if they have decided to use mods at any point. If you’re that way inclined, mods just really aren’t for you. And we applaud that.
It definitely makes everything that little bit tougher! For you, you are just going to have to make do with hitting the F3 key to access the light stats, figuring out what’s going on from there. This will only allow you to look at the stats for where you’re standing though. We would recommend building that alarm we mentioned above.
That’s all we have for this topic. We hope that you found the info you needed here and figured out which option suited you best.