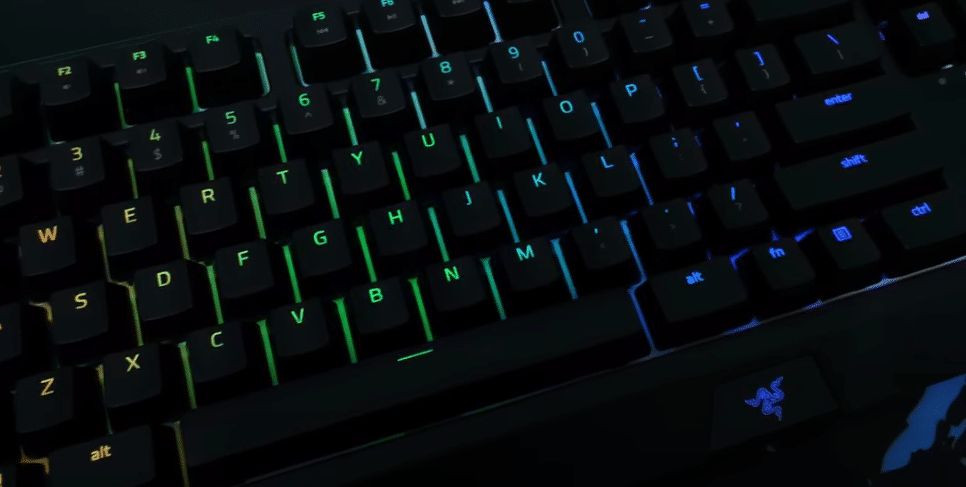
Razer Blackwidow is one of the best mechanical keyboards that you can buy, it has RGB lighting and by using Razer Synapse you can easily use macros with your keyboard. It has minimal input delay and can provide you a competitive edge over your enemies.
It has a great design and you can customize the RGB lighting to match your gaming setup. So, if you’re looking for a reliable mechanical keyboard to improve your gameplay then you should buy Razer Blackwidow.
It is quite common for keys to come off the keyboard now and then. In this article, we will cover how you can put the spacebar back on Razer Blackwidow.
How to Put Spacebar Back on Razer Blackwidow?
Like the majority of other mechanical keyboards, you can also take out individual keys from your Razer Blackwidow keyboard. You can just take off almost every key from the keyboard by gently pulling it outwards. This makes it quite easier for you to clean the dust and food particles from your keyboard. If any key on your keyboard is defective then you also have the option of replacing the key altogether.
However, unlike other keys on Razer Black widow, users have mentioned that it is quite hard for them to put back the spacebar on their Razer Blackwidow. The main reason for this issue is that unlike other keys there is a metal clip that is attached to the bottom of the spacebar. This metal clip ensures consistent key presses no matter where on the spacebar you press. So, to put the spacebar back on the keyboard you have to install the stabilizer bar correctly.
All you have to do is first ensure that the angle of the spacebar key is correct and you’re not trying to put it the other way around. After that, you have to simply align the stabilizer bar with the clips on the keyboard. After making sure that the alignment is correct you need to grab yourself a screwdriver and gently push in the stabilizer bar into the clip until you hear a click. This click notifies that the stabilizer bar has been installed correctly.
Once you have installed the clip on one side of the stabilizer bar, just repeat the same process on the other side. Make sure not to use too much force while pushing the stabilizer bar into the clips. Otherwise, there is a high chance that the clips will break and your spacebar won’t work properly ever again. After the stabilizer bar is installed then all you have to do is lift the spacebar key a little and then press it down on your keyboard’s switch. After that, you will be able to easily use the spacebar on your keyboard.
One thing to keep in mind is that you will probably have to take out all the keys from the row above the spacebar. Otherwise, it will become very hard for you to install the spacebar correctly. The only keys that are hard to install are the ones that have stabilizer bars beneath them. So, you don’t have to worry about running into issues while installing the keys back on the row above the spacebar. Gently pull the keys to take them out and once you’re done installing the spacebar key you can put them back in their place.
The overall process can be difficult for some users who have never installed the stabilizer bar before. So, if you’re still confused then we recommend that you refer to the user manual or watch a YouTube guide to get a visual concept of how you should be installing the spacebar key back onto your keyboard. The guide will show you how you can easily install the spacebar step by step and you can follow the step to fix your keyboard.
But for some reason, if you’re still not able to get your spacebar to work with your keyboard then it would probably be best to contact the Razer team and ask them to help you out. Send them a few pictures of your spacebar key through email so that they can identify what is wrong with your key. Afterward, they will guide you on how you should go about solving the issue at hand.
