
Tour 6 definitely isn’t the most competitive tour in all of Golf Clash. However, it can be quite difficult for players that have just started. It is no doubt that you’ll struggle with your first few matches in Tour 6. The players are more experienced and skilled as compared to most of the players you’ve faced so far and the courses are a bit trickier as well.
It takes some time to adjust to the different holes in Tour 6, however, it isn’t completely impossible. You’ll do much better once you know which approach to take and which equipment to use for the tour. Luckily for you, there is a guide down below that can help you with all of this and more. Just follow the advice given in the walkthrough below and you’ll be able to beat most players you face in Tour 6.
Guide for Golf Clash Tour 6
Best Clubs to Use for Each Hole in City Park
Hole 1 (Par 3)

The best clubs for this specific hole are Backbone or Saturn.
Hole 2 (Par 4)
The Big Dawg can provide you with all the power you need to comfortably finish this hole.
Hole 3 (Par 5)

The Big Dawg is yet again the best option for you. The Cataclysm is also a good option for this hole if you have upgraded it enough.
Hole 4 (Par 3)

This is a pretty simple hole. Just use the Backbone and you should be able to clear it with ease.
Hole 5 (Par 4)
The Backbone is the best club once again, however you could try the Apocalypse or The Extra Mile too. Just use the club which is upgraded more than the other two.
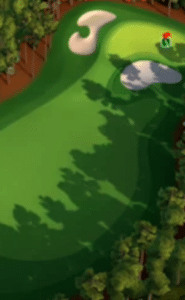
Hole 6 (Par 5)

This is probably the trickiest hole of this course. Wind plays an important part here and you’ll want to play with precision. Use the Big Dawg or Cataclysm in order to boost your chances of success.
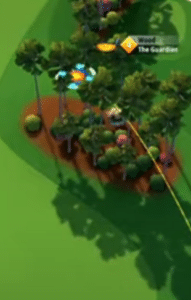
Hole 7 (Par 4)
This is another simple hole. Just get to the green in two hits no matter what and you’ll be good. Use the Big Dawg, Guardian, or the Sniper. These clubs can provide you with the power you need for this course.
Hole 8 (Par 3)

This is yet another easy hole. You should go directly for the green on your first try and the rest is simple. Use the Backbone or Saturn to complete Hole 8.
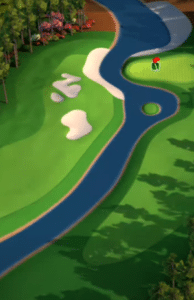
Hole 9 (Part 5)
Hole 9 is fairly difficult to play as it requires extreme precision. Keep track of the wind and your spin in order to avoid the bunkers at all costs. The Big Dawg is the best for this hole.
Best Clubs to Use for Each Hole in Juniper Point
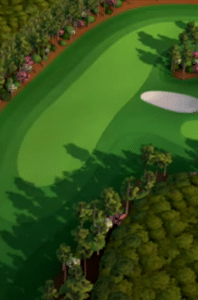
Hole 1 (Par 4)

You should watch out for the bunker near the green in Hole 1, as landing in this bunker can cost you the game. Use the Goliath or Backbone for this hole.
Hole 2 (Par 3)
Choose the Backbone as your preferred club for this hole and try to go for a hole-in-one.
Hole 3 (Par 5)
Hole 3 is interesting as you can take an aggressive and safe approach. It is recommended that you land the ball over the first bunker and beside the trees in the middle. You can go for the green after doing this. The Big Dawg is the best choice for Hole 3 thanks to its power capabilities.
Hole 4 (Par 3)

This hole is fairly easy if you choose to go directly for the green. You might want to use a lot of backspin to ensure that the ball lands on the green instead of the fairway. The Big Dawg is still your go-to club for Hole 4.
Hole 5 (Par 5)

Use the Big Topper or Big Dawg in Hole 5 and ensure that you avoid the hazards at all costs.
Hole 6 (Par 4)

The Big Topper or Quarterback are the best options in terms of clubs. Just avoid the trees in Hole 6 and you should be more than fine.
Hole 7 (Par 3)

Use the Big Dawg’s strength to go directly for the green in Hole 7 and finish it with ease.
Hole 8 (Par 4)
It is absolutely vital that you try to avoid the bunkers near the green in this hole. Saturn, Machete, or Thorn are all great options for this hole.
Hole 9 (Par 4)
Try to land the ball in the fairway that is in the middle of the central bunkers. This will give you a clear shot for the green. The Big Dawg is the greatest option for Hole 9.
Best Clubs to Use for Each Hole in Southern Pines
Hole 1 (Par 4)

The hammerhead is a particularly good option for this hole. You can also choose an upgraded Viper.
Hole 2 (Par 3)
Use the Big Dawg and land the ball directly before the bunkers. Go for the green after this and you should be able to beat the opponent.
Hole 3 (Par 4)

This is a lengthy course and you’ll need the strength of the Big Dawg to help you.
Hole 4 (Par 5)

An upgraded Big Dawg will provide you with a huge advantage for this hole.
Hole 5 (Par 5)
Carefully watch every little detail in order to avoid trees and bunkers in Hole 5. Once again, the Big Dawg is the best option at your disposal.
Hole 6 (Par 3)
Use the Big Dawg and go directly for the hole-in-one on this course. Just make sure to add enough backspin so that the slope can’t push you towards the fairway.
Hole 7 (Par 4)
Use the Big Dawg to get the ball to land right beside the line of water. After this, go directly for the green and putt the ball in.
Hole 8 (Par 5)
Go for the fairway on the left side and then approach the green. The Big Dawg is the best club for Hole 8.
Hole 9 (Par 3)

Finally, the last hole of the course is Hole 9. Use the Viper or the Quarterback to approach the green as quickly as possible and then get the pin with significant ease.