Tarkov Armor Calculator
Rate an Escape from Tarkov armor setup by class, remaining durability, material toughness, protected zones, blunt throughput, repair state, and movement penalties.
Formula Breakdown
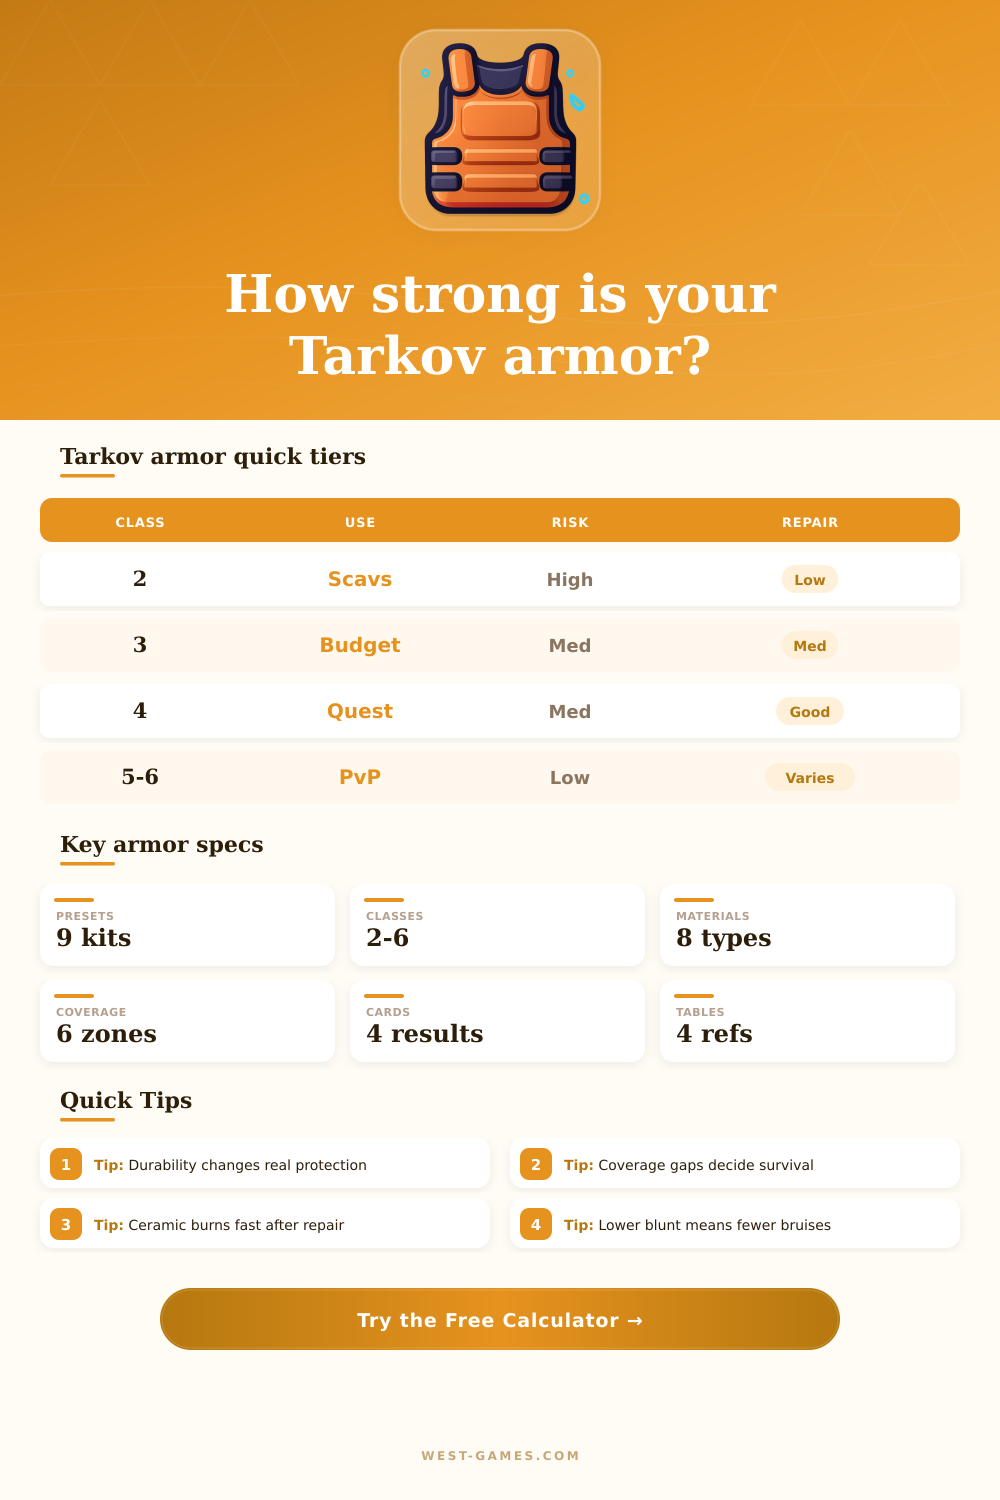
Class Tier
Class 2-3 is a light buffer, class 4 is a practical quest baseline, class 5 is strong PvP insurance, and class 6 is the highest armor class setting in this calculator.
Durability Health
The calculator weights current durability against original max durability, then adjusts it by repair condition so heavily repaired armor loses confidence.
Coverage Tradeoff
More protected zones increase the coverage score, while mobility penalty and exposure style keep full-coverage armor from always winning every raid plan.
| Armor class | Planning role | Durability expectation | Calculator effect |
|---|---|---|---|
| Class 2 | Scav protection, very light raids, early quest survival | Works best when nearly full durability because the base class is low | Low class base, useful only when coverage and condition are healthy |
| Class 3 | Basic quest armor, scav route armor, low-commitment kits | Can remain acceptable with moderate condition if material repairs well | Moderate base with strong penalty when durability falls below half |
| Class 4 | General raid baseline for questing, roaming, and mixed contact | Good practical value when current durability stays above 70 percent | Balanced class score and good survival contribution for most roles |
| Class 5 | Squad PvP, boss areas, high-contact corridors, contested extracts | Benefits from repair quality because players will test the armor quickly | High class score with pressure adjustment for PvP-heavy raid plans |
| Class 6 | Maximum protection setups, anchor roles, premium survival plans | Still needs strong durability because damage and repair loss compound | Highest class base, reduced if weight, blunt, or repair state is poor |
| Material | Durability burn | Repair confidence | Best calculator use |
|---|---|---|---|
| Aramid | Low structure, soft armor style protection | Decent repair retention but limited by low class choices | Scav buffer presets and light protection comparisons |
| Combined Materials | Middle burn profile with predictable behavior | Good all-round repair and condition planning | Quest armor and everyday class 3-4 setups |
| Titan | Durable under repeated contact | Good repair outcome with a sturdy score modifier | Heavy repaired armor and anchor roles |
| Aluminum | Moderate burn with manageable weight | Fair repair outcome and stable condition score | Medium armor with balanced mobility |
| Armor Steel | Strong durability feel but often heavy | Excellent repair confidence with mobility tradeoff | Reusable heavy kits and squad holding roles |
| Ceramic | High burn after strong hits | Poor repair confidence after repeated fixes | High class armor that should be monitored closely |
| UHMWPE | Efficient durability and light handling | Strong condition confidence for raid-ready armor | Lightweight class 4-6 survival setups |
| Glass | Fragile profile in this calculator | Low repair confidence and fast condition loss | Only compare when you accept a fragile high-risk plan |
| Coverage profile | Protected zones | Blunt concern | Survival score behavior |
|---|---|---|---|
| Thorax only | Core chest protection with minimal extra coverage | Low extra coverage means fewer stopped hits outside thorax | Best for mobility plans and clean peeking discipline |
| Thorax and stomach | Protects two common lethal zones | Blunt throughput matters more because more hits are stopped | Strong questing baseline with reasonable movement cost |
| Thorax, stomach, sides | Adds side protection for angle mistakes | Good against awkward interior fights and partial exposures | Raises coverage value for balanced and anchor styles |
| Full torso coverage | Broad torso protection without arm emphasis | Blunt score must stay healthy or chip damage adds up | Good for squad fights, boss zones, and corridor clearing |
| Torso and arms | Includes arms for more stopped hits | Higher blunt throughput can punish extended trades | Works for anchors when mobility penalty is controlled |
| Full coverage vest | Largest protected area in this calculator | Blunt and weight penalties become important checks | High coverage score, but survival can dip if too heavy |
| Preset | Class and material | Coverage profile | Why it is distinct |
|---|---|---|---|
| PACA Scav Buffer | Class 2 aramid | Thorax and stomach | Low protection but light, repaired, and useful for scav chip damage. |
| UNTAR Quest Vest | Class 3 aramid | Thorax and stomach | Quest-oriented blue armor baseline with visible coverage tradeoffs. |
| Kirasa Class 3 Repaired | Class 3 combined | Thorax and stomach | Shows how repair condition can keep a low-mid armor usable. |
| Trooper Thorax Runner | Class 4 UHMWPE | Thorax only | Strong mobility and material score with a clear stomach coverage gap. |
| Gzhel Fragile Class 5 | Class 5 ceramic | Thorax and stomach | High class rating offset by ceramic burn and repair concerns. |
| Korund Heavy Repaired | Class 5 armor steel | Thorax and stomach | Reusable heavy armor with weight drag and strong repair confidence. |
| Slick Plate Thorax | Class 6 armor steel | Thorax only | Maximum class for the vital zone but limited body coverage. |
| Hexgrid Lightweight Raid | Class 6 UHMWPE | Thorax only | High class and low mobility penalty with a focused protection area. |
| FORT Full Coverage Tank | Class 6 combined | Full coverage vest | Broad protection and anchor utility balanced by movement penalties. |
| Result card | Formula concept | Main inputs | Interpretation |
|---|---|---|---|
| Protection Index | Class base plus durability health plus material toughness plus repair confidence | Armor class, current durability, max durability, material, repair condition | How trustworthy the armor plate or vest is before coverage is considered. |
| Coverage Value | Protected zone value adjusted by exposure style and mobility burden | Coverage profile, raid pressure, exposure style, mobility penalty | How much of your likely hit profile the armor actually protects. |
| Blunt Safety | Inverse blunt throughput adjusted by material absorption and repair state | Blunt throughput, material, repair condition, durability ratio | How well stopped rounds avoid turning into dangerous blunt chip damage. |
| Survival Score | Protection x 0.42 plus coverage x 0.28 plus blunt safety x 0.18 plus mobility x 0.12, then pressure adjusted | Every calculator input | Overall readiness score for the selected raid plan and exposure style. |
Armor class is a statistic that represent how well the armor piece can stop bullets in brand new conditions. However, armor class does not account for damage that occurs to the armor when it loses it’s durability value. For armor with higher durability values, the difference in performance between class 4 and class 5 armor is more apparent than armor with lower durability values for both player and the calculator.
While many players will focus on the armor class value for armor purchases, the armor class rating does not indicate the damage that the armor can stop after being repaired. The calculator calculates the armor durability and the original armor durability values to provide protection level information for the armor. Armor with a higher armor class but lower durability may stop fewer bullets than armor with a slightly lower armor class with higher durability.
How Armor Class, Durability and Coverage Affect Protection
The protection level provided by armor does not linearly decreases the longer armor is damaged. The material of the armor impacts how quickly armor durability decrease. Ceramic armor stops high velocity bullets on the first hit but loses its effectiveness more quick after being repaired than other armor materials.
Aramid armor is lightweight but allow the player to take more low-level hits compared to other armor materials but offers less protection in maximum levels of protection. The calculator accounts for the toughness of the armor material to calculate how reliable the armor will be in the second or third fight. For maps like Shoreline or Reserve, players perform the same run over and over again so armor reliability is vital for the survival calculator.
Coverage provide information on the body areas that armor will protect. Thorax armor will reduce the weight that the player has to carry and preserve their mobility but will not protect their stomach or side. If the player’s stomach or sides is not protected, they can take chip damage to their body.
Protecting these areas will increase the chance that a glancing round will be stopped but will also increase the movement penalty. Players need to move and turn their character in the game and armor that provides extra protection for specific body area will increase the movement penalty. The survival score will indicate whether the armor has useful protection for the players style of movement.
Blunt damage is separate from armor class and represents the damage done to the player even when the armor stops the bullets. If blunt damage throughput is low, the player will experience less blunt damage and thus will not suffer as many fractures or heavy bleed as they would with high throughput. Even armor with a high armor class will cause the player to limp when blunt damage is high.
Armor that has been repaired many times may not be able to absorb as much damage as new armor. Armor repair condition will be a factor in blunt damage. The survival score takes into account all the factor except armor class.
For armor players purchase for the game, it is important to consider armor class but the survival calculator take into account all the other factors to indicate to the player whether the armor is worth buying and for what purpose in the game.