Steam is one of the most well-known gaming platforms for PC gamers. There are hundreds of thousands of different games that you can choose from. The price tags on games may vary depending upon the area you’re living in. The application interface is very easy to use and unlike other platforms, it is very stable. You won’t run into bugs and crashing issues as often and will be able to play games whenever you like.
Unfortunately, some users did mention a few problems with the Steam Self Updater. Players said that it will keep popping up mid-game and compromises the gaming experience. Here is what you can do to fix the updater issue.
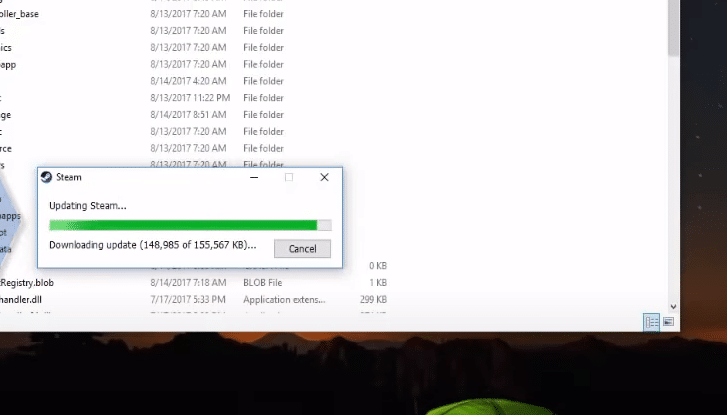
How to Fix Steam Self Updater Keeps Popping Up?
- Check VPN
This issue was most common for users that were using VPN or similar security programs on their computer. If you don’t have either of those then you should be able to get everything working by rebooting your computer.
Usually, it is just a minor bug and fixes itself when you restart steam completely. So, use the task manager to end tasks related to steam and then try launching the application again. It will download the new update and you won’t have to worry about the message popping up again.
However, if you do have VPN active at the moment then you will need to stop the VPN and then refresh your network connection. Also temporarily disable any security programs that are running in the background.
These programs may not be letting steam access the internet to download the update. That is why you keep getting the message keeps popping up while you’re playing the game. Either check the program configuration or disable these programs completely to get your application updated. After that, you won’t have to worry about the same issue again.
- Clear Cache
If you still can’t get the application to work properly then try cleaning the steam cache files along with the client registry folder. After that relaunch, the application and that should help you get around the updater problem.
Make sure that you open the client as admin and it has proper permissions available to make changes to your computer. You should also check your internet to see if it is working properly. If the internet speed is slow then that can also cause your steam client to behave like this. Try using a mobile hotspot and then restart the client to get it to update.
If you’re not playing with friends then you can also use the do not disturb or busy status to help avoid these issues. That way the updater won’t pop up and the messages will be delayed. It is the best way to temporarily avoid updater issues.
You can change the status from your profile settings and that should help you with the problem. After that just reboot your PC when you’re free and hopefully, you won’t have to face the same problem again.
- Reinstall Steam
If your issue persists after going through all of the mentioned solutions then you need to reinstall the steam client. Make sure to first make a backup of all your games so you don’t have to word about game files getting corrupter.
After that remove the client from your computer and download a fresh copy of the client from the internet. Reboot your PC and install the client again on the PC. Now you can verify your game files to make them playable on the client. You don’t have to worry about downloading everything again as it is very easy to get existing files verified in steam.
But if reinstalling the client doesn’t get you anywhere then the only thing left is to submit a support ticket on the steam forums. You can also create some threads on community forums to interact with other users.
That way you will be able to get different troubleshooting methods from players that were running into the same problem. It might take a day or two to get a response from the steam support. They can check your steam account and also provide you some methods that can be used to fix the updater issue. So, make sure to inform the support if you can’t fix an issue yourself.