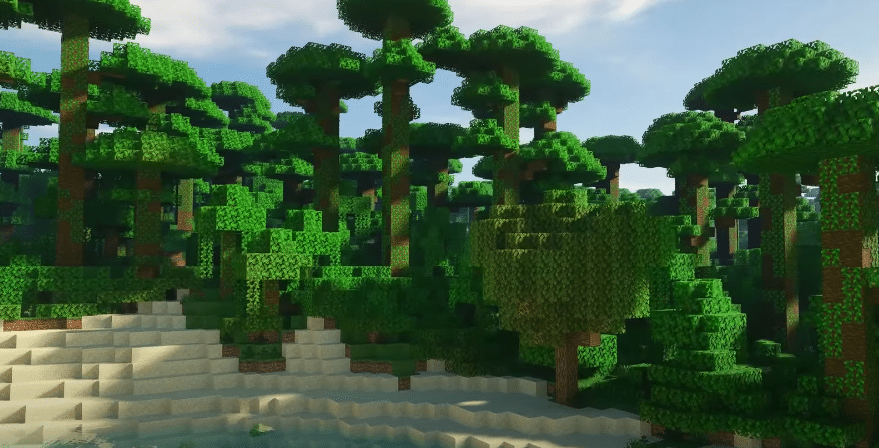
Ray tracing is a new and advanced technology in games that renders shadows and light in a scene. It is commonly used in movies to blend in CG with real-life scenes. This results in incredibly detailed visuals in video games.
However, there’s a throwback to using ray tracing. The first thing is that it takes a lot of horsepower as every single source of light is rendered, along with its rays of light. Due to this reason, we haven’t seen ray tracing in video games before. The graphical power of GPUs just wasn’t as strong as they are today.
Ray Tracing Mod in Minecraft:
Thanks to the huge advancement in PC components, players can now finally enjoy ray tracing in video games. Even consoles are now going to feature ray tracing. Minecraft was one of the first games to showcase the true capabilities of ray tracing, bringing in drastic visual changes in the game.
You may have seen players playing Minecraft in ray tracing even when they don’t own an RTX GPU. This is possible through downloading ray tracing mods. However, even for running these mods, you will still need a powerful GPU, or else you will run into issues.
How to Install Ray Tracing Mod in Minecraft?
Using this article, we will be explaining how you can install a ray tracing mod in Minecraft. To do so, make sure you follow each of the steps mentioned below:
- Install a Compatible Version of Minecraft
You will need to make sure that you have a compatible version of Minecraft installed on your PC. You may have to install an older version of the game as the newer ones don’t seem to really work with the ray-tracing mod.
Version 1.12.2 of Minecraft has seemed to work wonders for the ray tracing mod. If you aren’t sure about what version you need to install, then install this one instead. Supported versions may change later on depending on the mod’s creator, Sonic Ether.
- Install Minecraft Forge
The next step would be to install Minecraft forge in your PC. Simply head on to their website and download the Minecraft forge version according to the game’s version installed on your PC.
For installation, make sure you close and run Minecraft again at least once after installing the Forge’s client. From there, you will have the option to choose Minecraft Forge under the profile section.
- Install OptiFine
Now, you will need to download OptiFine from the official web page. Make sure you choose the correct version of OptiFine by checking the Minecraft version installed on your PC.
Once you have downloaded it, navigate to your Minecraft’s directory and paste the contents on the mod folder inside the game’s directory. Now run Minecraft and choose Forge. Leave the game running.
- Install SEUS PTGI
The final thing you will need to install is the RTX shader pack itself. Installing this file will allow you to enjoy Minecraft in ray tracing.
To get legitimate access to the ray-tracing mod, you will need to support Sonic Ether on Patreon by buying a gold level (for $10).
After you have downloaded the game, simply click on Options in Minecraft, and choose Video settings > Shaders. Click on the Shaders Folder button which will open a directory window. You can now paste the contents of the ray-tracing mod that you have previously downloaded into the Minecraft shaders pack. You will see a SEUS PTGI named entry in the list. Clicking on it will load all the shaders into your game.
Conclusion
This article was written to help you learn how you can use the Minecraft ray tracing mod in your game. Make sure to follow each and every step mentioned above.
Also, you should further tweak some options to truly get the best-optimized results in your game. We suggest you search on the internet about the best settings to use this mod in Minecraft. Settings are to be tweaked according to the kind of setup that you are using to play the game.