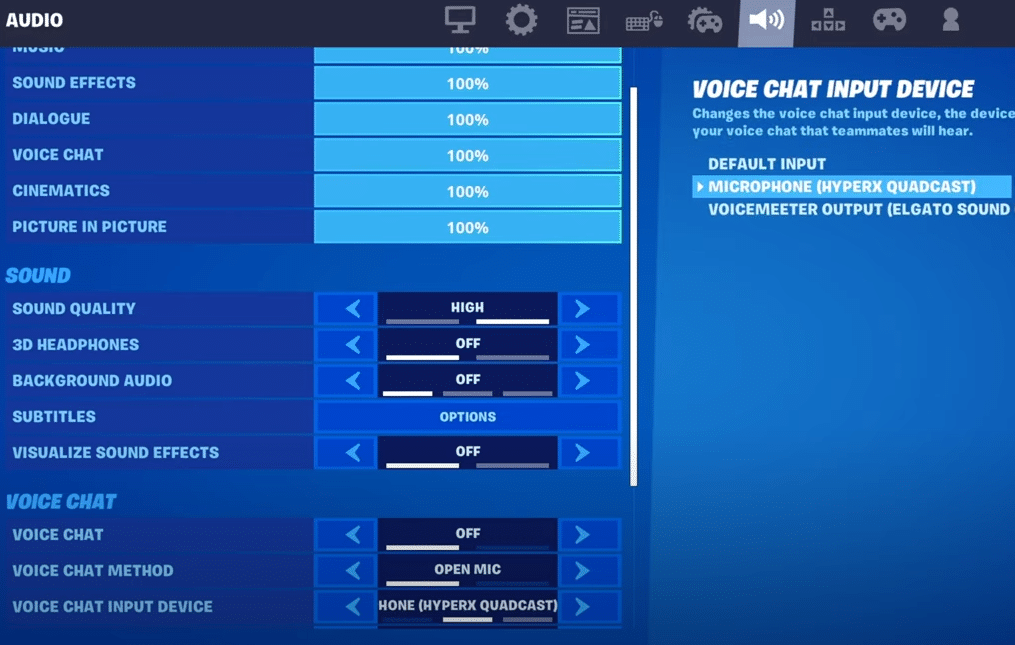
When it comes to games like Fortnite, working together with your team is one of the most important things to do, depending on if you’re even playing with a team in the first place that is. That’s because communication can help you learn more about your surroundings while also making it much easier for teammates to work together and take down enemies.
Communicating with your team is just as important as them communicating with you, but that’s not possible if you can’t hear them. This can happen when the Fortnite voice chat output keeps switching to default.
How to Fix Fortnite Voice Chat Output Keeps Switching to Default?
Not being able to hear your teammates in Fortnite is much more common than one might think since the game continuously keeps changing one’s default output device in voice chat. This is an annoying issue, to say the least, but it’s one that we have multiple different solutions for. The best of these solutions are given below.
- Changing Default Device
The easiest and best way to fix this issue would be to simply change the default device from the Windows settings. That way, even if Fortnite changes it to the default device, it will be the exact output device that you’re using so there won’t be much of a problem at all. This isn’t exactly a solution for the issue, but it is a very effective workaround that tends to work for just about everyone encountering this problem.
To change the default device, you’ll have to go to the input and output sound settings through the Start menu on Windows. Over here, you’ll be presented with a menu of all the different sound devices you have for input and output purposes. Change the ones you use with Fortnite to default and then launch the game to use voice chat. There will be no issues from here on.
- Changing File Settings
If you don’t want to mess with the default settings just for Fortnite’s sake, there are other solutions worth trying out as well. One we recommend in particular is to change the game’s settings from the files. In the Fortnite save game folder which will likely have the following location on your Windows PC- C:\Users***\AppData\Local\FortniteGame\Saved\Config\WindowsClient- there will be a file called GameUserSettings.
Click on this and look for a command called “CustomVoiceChatOutputDevice=***”. Remove the asterisks at the end and replace them with the name of the device you wish to use with Fortnite’s voice chat. Once that’s done, just save the file and exit. The issue will be fixed.
- Remove Other Devices
The last and most extreme solution which will surely work without fail is to remove all other devices from the system. Simple go to the sound settings and remove every output device other than the one you wish to use with Fortnite voice chat, which means the game will have no other device to switch to but your preferred one.
