The one thing that makes people think twice before buying wireless devices is the hassle of managing the battery levels. Even if you take good care of your devices, there will be times when you need to use them and the battery will be drained because you forgot to charge them beforehand.
The same is the case with wireless headsets so it’s always better to put up a reminder so that you can avoid similar issues.
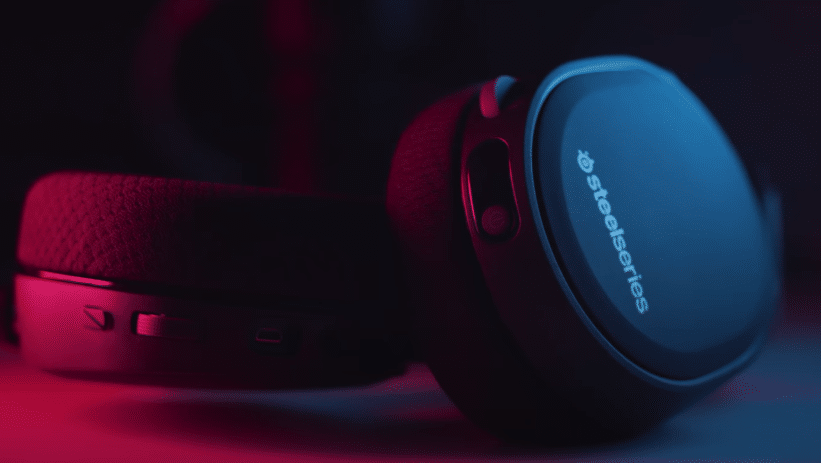
Many SteelSeries customers have mentioned charging issues with their Arctis 7, where they won’t charge even though you have the USB cable plugged into the headset. So, let us guide you through different fixes for the Arctis 7 charging issues.
How to Fix Steelseries Arctis 7 Not Charging?
- Reset Arctis 7
To get the Arctis 7 working again, you will need to reset the headset and that should sort everything out if there are no hardware issues with your device. Meaning that if the issues not hardware-related, then all you have to do is reset and everything will sort itself.
According to customers, the SteelSeries headset will turn off and the LED indicator on the headset will turn red. At this point, there will be no audio output coming from the headset and when you try to charge it, the battery levels won’t go up.
This issue is more common than you might think and what fixed it for most users was turning the headset off using the reset button. To access the reset button, you will have to take off the earmuff from the piece that has the microphone inside.
Remove the earmuff and you will find a small hole that has a reset button inside it. You need to insert a pin or a thumbtack inside this hole and that will reset your wireless headset for you. The red LED indicator will disappear and the headset will get disconnected from the receiver. You can try charging the headset now.
- Change Cable
It is still common for charging-related issues to be traced back to faulty charging cables. So, if you have tried resetting the headset but the headset is still not charging then you can try changing the charging cable to get your headset working again.
It will only cost you a few dollars to buy a new cable from an online store. There are some changes that you already have a compatible cable in your home if you’re lucky. Just find a cable replacement and plug that into your headset and the Arctis 7 will start charging without causing any additional headache.
If you still can’t get the Arctis 7 to charge after charging the cable then you can also try using a different power source to charge the headset. That will help you minimize the potential causes for the charging error until you can figure out the exact issues. So, use a different adapter or power source to charge the headset and if you’re lucky they will start charging as you switch to a different power source for the USB cable.
- Replace Battery
For users that had the headset for a long time and have recently started running to charging issues, your battery may have become inefficient which is why you can’t get it to hold any charge. So, to fix this you will need to install a new battery that you can buy for around 10 dollars depending upon the store that you go to.
The dimensions and power compatibility can be found online and, on the manual, if you still have the box for the Arctis 7 on you.
However, the process can be quite difficult and there is a slight possibility of you permanently damaging the headset in the process. So, either get help from an experienced friend or take the headset to a repair center to get the battery replaced by an expert.
It will cost you just a little bit more but you will be able to get the headset working again in no time. The repair center is the best option to avoid risk and the expert will check your device thoroughly for further issues. But if you’re confident in your skills and want to replace the battery yourself then you can do that as well.
This fix is only for users that don’t have a valid warranty for their headset. You will need a soldering tool and a screwdriver along with the battery replacement for the whole process. The battery is housed in the right earpiece.
You need to first remove the 3 vials screws from the headset and then gently pull the top cover to avoid damaging the wire linked to the speaker. Now, you need to remove the old battery from the board and solder the new battery into place. Put the top cover back and then assemble the headset again and you’ll be all set.
- Check Port
You need to also check the charging port on the headset to see if anything is damaged. Unfortunately, if there is something wrong with the charging port then there is nothing that you can do and it would probably be best to ask SteelSeries for a replacement order if your warranty is still available.
If it is not then you can try your luck with a repair center, but you will likely have to spend money to buy a new headset if the charging port has been damaged on your Arctis 7.
Usually, the customers having charging issues with their Arctis 7 can fix it by simply resetting the device. But if you’re not so lucky and there are some hardware issues with your headset then it can be very challenging to fix the device yourself and you will likely have to buy a new headset.
To be sure, you need to send SteelSeries a ticket on the support sections and an expert from the SteelSeries will guide you on what your next step should be. So, reach out to professionals and avoid fixing the hardware issues yourself.
Steel series arctis 7 headset will not charge. Only had it since christmas
SAME!!! Did you have any luck??