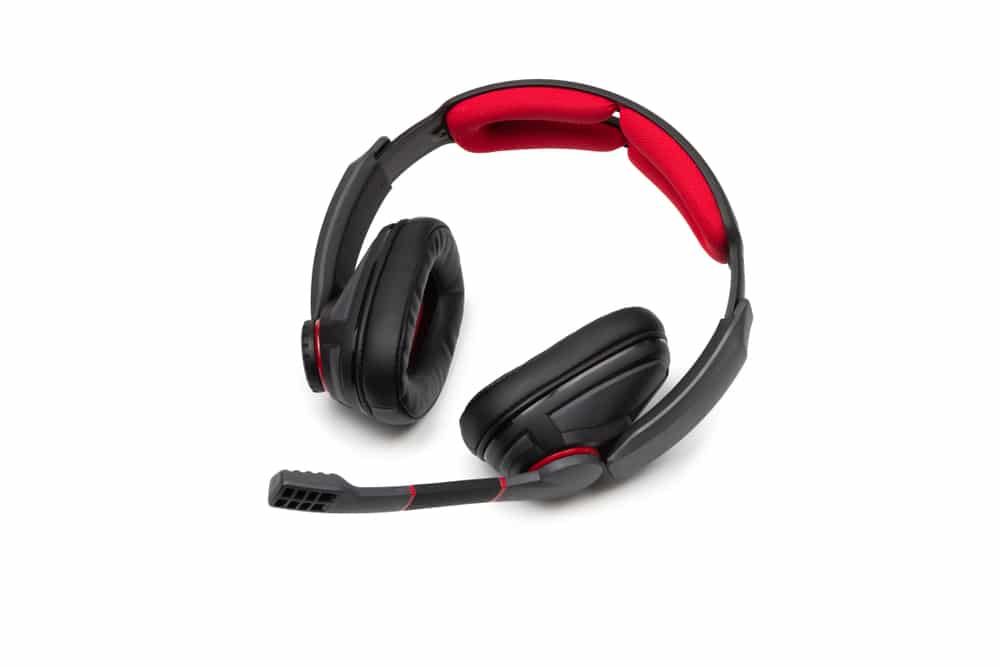
What is HyperX Cloud Flight S?
HyperX Cloud Flight S is a wireless gaming headset. It enables you to use your headsets for more than thirty hours. Moreover, it allows you to use it when you are wirelessly charging it. It is extremely comfortable and has extra memory foam with breathable leatherette. It has a flexible microphone that is detachable and is certified by “TeamSpeak” and “Discord”. It also has an LED mic monitoring capability. With 90-degree rotating ear cups, you can keep the headset around your neck easily.
What is Sound Muffling?
Most people complained that their HyperX Cloud Flight S sounds muffled. To understand what is muffling we need to look at the dictionary. Where we find that muffling is a sound. The synonyms are damp, dull, tone down and mute. Therefore, when your headsets get muted then you must follow the following steps.
HyperX Cloud Flight S Sounds Muffled Problems:
You may conduct the general troubleshooting steps as below:
- Initially do some computer check-ups. Simply reboot your computer.
- Unplug your HyperX Cloud Flight S before rebooting your computer and then plug it and check if the issue is still there.
- Now delete unnecessary files, which might affect the whole process.
- Notice that the mute switch in the USB switcher has not been activated.
- Then check the cables and connectors to see that they are all properly inserted.
- Also, check small details like your computer’s microphone is not set on low volume or mute button.
- Then try to use a 3.5mm audio jack connection in place of a USB.
- If the problem still exists then check your computer sound settings.
- You should change to a different sound format. A higher version will be preferred.
To change your sound format:
- Click on the sound icon that is on the Taskbar.
- Hit on the Sounds.
- Click on the Advanced tab in the Speaker Properties.
- Select your desired sample rate and bit depth from the dropdown menu index Default Format.
- To check if the option that you have selected works then click on the Test button.
- To save your settings click Apply and then the Ok button.
You can also update the HyperX Cloud S driver.
- Press Windows + R keys and run the dialogue.
- Type in mscand press Enter in the Run dialog box
- Click on the (+) button to expand the Audio inputs and outputs. Now on HyperX Virtual Surround Sound Right-click, and then click Update Driver.
- After the driver is updated restart the computer so that changes can take place.
You can also use the built-in troubleshooter to automatically repair the problems.
- To run the trouble-shooter Right-click on the sound icon present on the Taskbar.
- Then choose Troubleshoot Sound Problems. This troubleshooter will automatically solve the issue.
- After the scan is complete you will see some sound issues that you can easily address.
- Now click on the problem that you want to fix and then follow the on-screen instructions to resolve the issue.
