🎮 Ragnarok Drop Rate Calculator
Estimate Ragnarok Online card and equipment drops using base chance, server rate, Bubble Gum, manual modifiers, party share, kills per hour, and cumulative farming odds.
| Target | Monster route | Base rate | Default pace |
|---|---|---|---|
| Hydra Card | Byalan / beach hydras | 0.0100% | 650 kills/hr |
| Thara Frog Card | Byalan thara pulls | 0.0100% | 520 kills/hr |
| Raydric Card | Glast Heim chivalry | 0.0100% | 320 kills/hr |
| Marc Card | Byalan island loop | 0.0100% | 480 kills/hr |
| Whisper Card | Payon Cave route | 0.0100% | 430 kills/hr |
| Mantis Card | Sphinx or field loop | 0.0100% | 700 kills/hr |
| Abysmal Knight Card | Clock Tower / GH route | 0.0100% | 140 kills/hr |
| Muffler [1] | Sohee or garment farm | 0.0500% | 460 kills/hr |
These are editable planning presets, not a server database. Always replace the base chance with your server's listed card or equipment drop rate.
| Setup | Server | Gum | Total |
|---|---|---|---|
| Official-style | 1x | 1x | 1x |
| Gum farm | 1x | 2x | 2x |
| Mid-rate | 5x | 1x | 5x |
| Event gum | 5x | 2x | 10x |
| High-rate | 100x | 2x | 200x |
The calculator multiplies base percent by server rate, gum, and manual/event modifier, then applies the cap and party share.
| Share setting | Personal share | Use when | Warning |
|---|---|---|---|
| Solo | 100% | You keep target drops | Lower kills/hr |
| Duo priority | 75% | You keep most drops | Needs agreement |
| Duo split | 50% | Equal card split | Half personal odds |
| Three share | 33% | Small party farm | Speed must offset |
| Large party | 10%-25% | Guild target farm | Track copies clearly |
If your party rolls, rotates, or sells and divides value later, use the share field to model your personal expected outcome.
| Chance | Meaning | Farm action | Mindset |
|---|---|---|---|
| 25% | Early window | Keep sample small | Dry is normal |
| 50% | Median-ish | Half still miss | Do not tilt |
| 75% | Strong block | Good session goal | Likely soon |
| 90% | Serious plan | Use for rare cards | One in ten miss |
| 95%+ | Very committed | Long grind target | Still RNG |
A 90% plan still fails sometimes. The result tells you how much farming makes the drop likely, not guaranteed.
| Listed rate | One in | At 5x | At 100x |
|---|---|---|---|
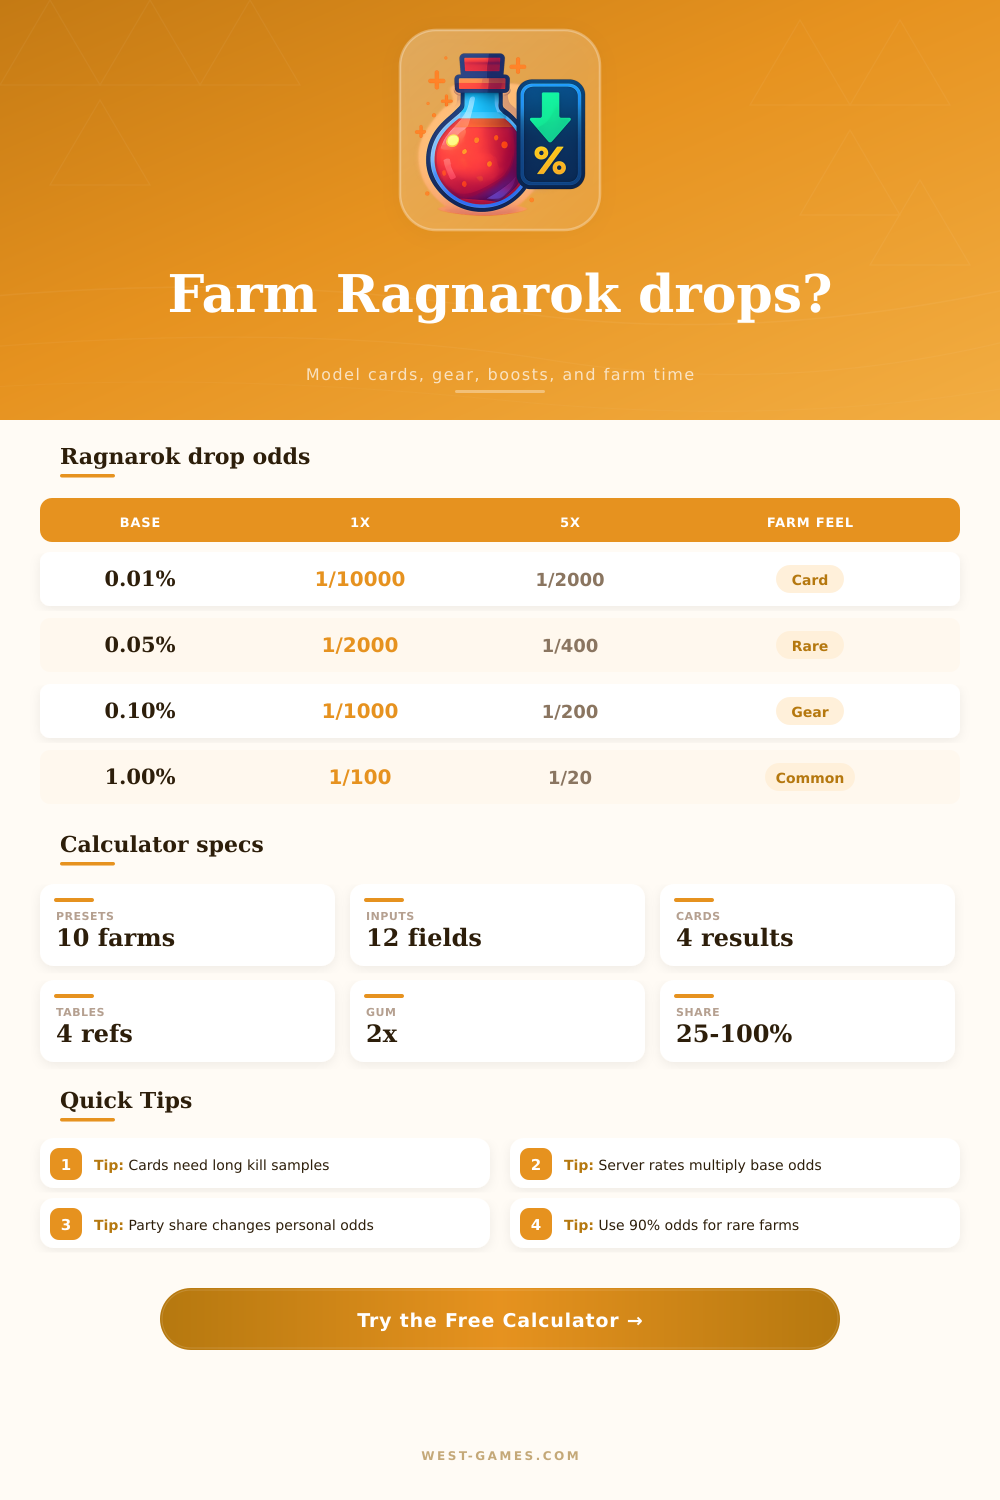
| 0.0100% | 10,000 | 2,000 | 100 |
| 0.0500% | 2,000 | 400 | 20 |
| 0.1000% | 1,000 | 200 | 10 |
| 0.5000% | 200 | 40 | 2 |
| 1.0000% | 100 | 20 | 1 |
High-rate servers may cap certain categories, so the cap input matters when extreme multipliers would push a drop near certainty.
If there’s one kind of pain you’ll learn to endure as a card farmer in Ragnarok Online, it’s the one that comes from standing on the same map for hours at a time and killing monsters as mechanicaly efficient as possible. You watch the numbers in your fatigue meter climb as the ones in your zeny pile higher until you’ve got nothing left except spaces in your inventory. And still, the game mocks you.
But that’s the thing: it’s simpler (if less satisfying) than that. Drop rates aren’t a way of rewarding effort; it’s a statistical lottery, in which every kill is an independent event. Each one are unrelated to any other. They don’t make it more likely for you to get anything next time, even though it might feel that way. Once you understand that, it changes everything about how you go about farming.
How to Use the Drop Rate Calculator
But that’s where the calculator comes in. It does all the hard work for us. It takes those abstract percentage numbers and turns them into real world time investments. A player sees “zero point zero one percent” as base drop rate and already feels deflated. It’s such a small number, so they assume the grind is impossible!
But again, it isn’t about the number; its about the context. Multiply the base drop rate by any server multipliers, add in any bubble gum boosts, and calculate your kill rate per hour. Once you do that, it look like an entirely different story. Plug all of this into tool and it will show you number of hours you’ll need with a 90% confidence interval. This is what everyone fails to do: instead of farming until the math say stop, they just keep going until they’re too exhausted to continue.
The main tools available to you are the server rates. On official servers, which generally run at one times, your odds are purely based off the base drop chance. To get people through content faster, private servers will bumps their rates to five, twenty, or hundreds of times normal. High-rate servers increase frequency of drops, but create another issue: drop caps. To combat inflation, many server artificially limit the max chance for rare drops. You can input an effective cap so the calculator adjusts for it. This keeps your expectations realistic no matter what type of boosted server you play on, preventing you from planning a farm around theoretical chances that the server software won’t ever let happen.
And then there’s the party dynamic of playing with others. If you’re solo, sure, you get 100% of the loot share, but you’ll kill at a slower rate (since you have no one to go out and agro/manage while you farm). If you group up, you can get a lot faster (two or more people contributing both aggro management and damage), but each person will reduces their own drop chance. So if you do a four-person party, you’re only keeping 25% of any drops you see off of targets. The math is tricky, as you want some speed to offset the lower probability from less being yours, but not too much. It models how each factor affect your total expected time to completion, which helps you strike that balance.
One more wrinkle is that there are Bubble Gum mechanics at play. Depending on which server config and item category you’re farming, consuming Bubble Gum temporarily multiplies those drops by two or even three times! Since it saves both time and resources, it becomes a strategic choice rather than something you always do. How many pieces of gum do I need to buy to make this a worthwhile investment over a long time? Do the math with the calculator to determine if spending money on gum will save you time based off your farm goals.
Then there’s the question of why you’d want to spend time thinking about these numbers in the first place. Given that we live in an age of convenience over challenge, planning out your farming runs injects a sense of purpose into the gameplay by removing guesswork and replacing it with numbers. Suddenly, rather than blindly grinding away, you’re pursuing a tangible goal which makes for less frustrating and more satisfying gameplay. The variables have been defined; you know exactly what you must do and for how long.
So, what does that all mean? In short, while drop rate calculations give us some information, knowing our expectations is just as important than, if not more so. It’s a random-feeling system, so ultimately, drop rates give us a bit of clarity within the system, converting an abstract chance to a concrete timeline. Knowing the input variables and reading the output correctly makes luck a manageable factor. Maybe you won’t know the exact moment you’ll get the drop, but having thought through your strategy ahead of time, you’re going to be ready to go.