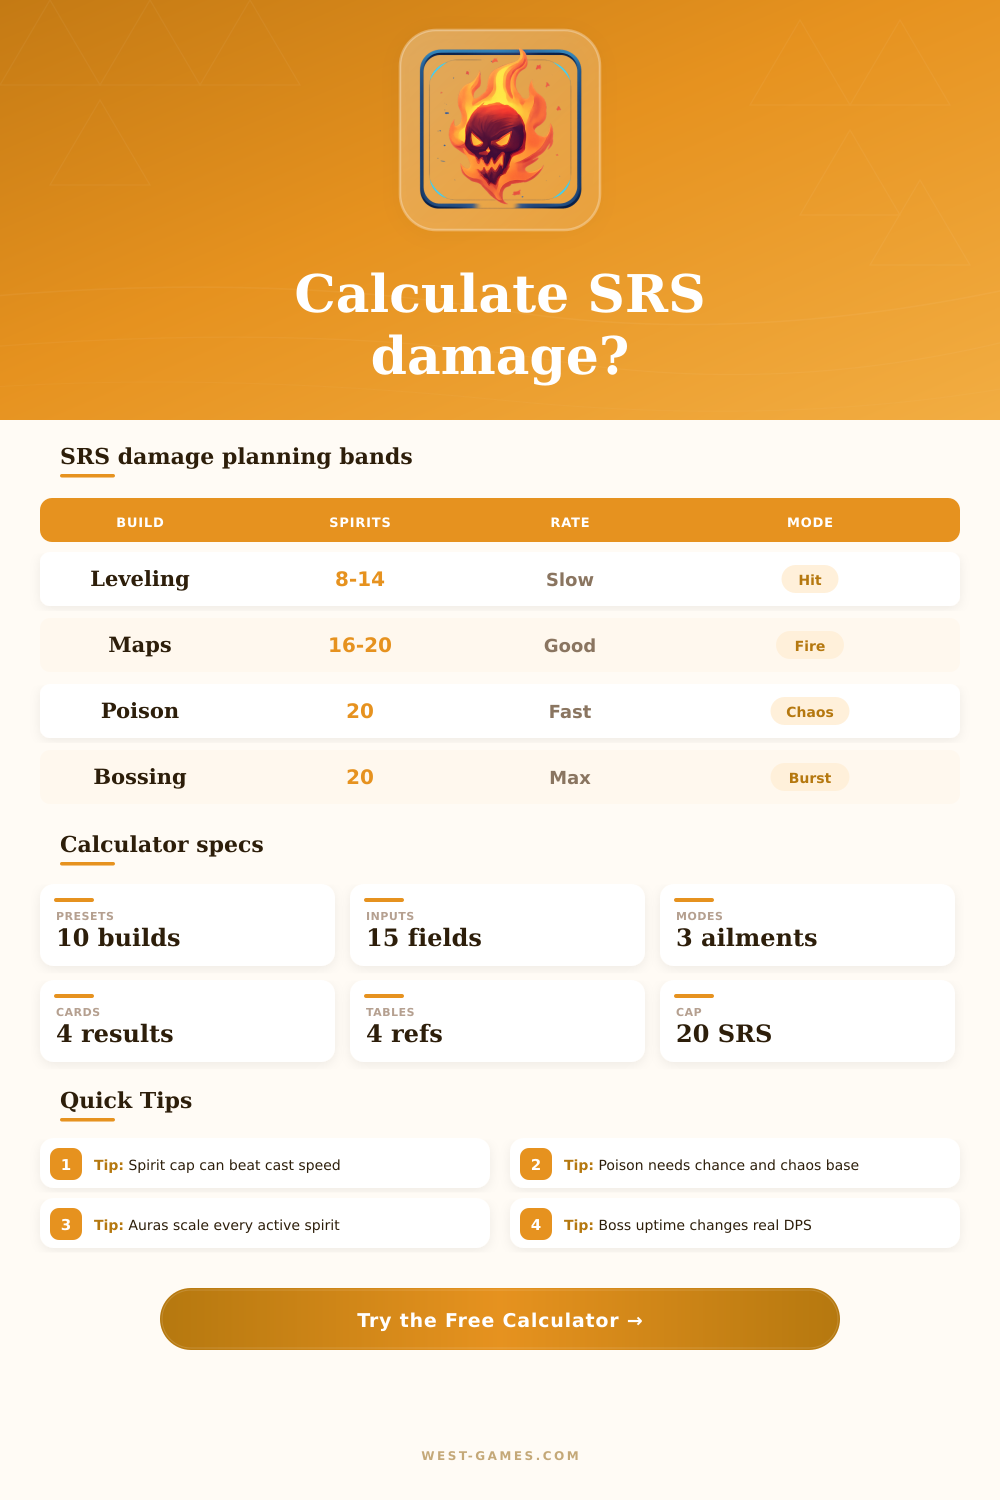
🔥 Summon Raging Spirit Damage Calculator
Estimate Path of Exile SRS uptime, active spirits, hit DPS, poison or ignite damage, support multipliers, aura scaling, enemy mitigation, and total sustained damage.
| Package | Hit More | Atk Speed | Best Use |
|---|---|---|---|
| Leveling 4-link | 1.75x | 1.05x | Campaign and early maps |
| Fire hit 6-link | 2.85x | 1.10x | General direct damage |
| Melee Splash | 2.20x | 1.08x | Clear speed comparison |
| Poison setup | 2.10x | 1.15x | Chaos and poison scaling |
| Bossing setup | 3.25x | 1.12x | Single target uptime |
The package values are planning multipliers, not a replacement for importing your exact support gem levels.
| Aura | Hit Add | Speed | Ailment Fit |
|---|---|---|---|
| Anger | 18% | 0% | Ignite or fire hit |
| Haste | 0% | 18% | Any hit build |
| Envy focus | 16% | 0% | Poison base |
| Anger plus Haste | 20% | 18% | Fire hit pressure |
| Guardian stack | 38% | 28% | High aura effect |
Aura add is modeled as a practical hit boost so the calculator stays usable with manual hit entries.
| Mode | Eligible Base | Stack Rule | Use When |
|---|---|---|---|
| None | 0% | No DoT layer | Pure hit SRS |
| Poison | Phys plus chaos | Stacks per hit | Chance and chaos base are high |
| Ignite | Fire damage | One strongest | Large fire hits beat small hits |
| Hybrid | Manual share | Compare manually | Testing off-meta scaling |
Set ailment-eligible share to avoid overcounting elements or damage types that cannot feed the selected ailment.
| Scenario | Cast Rate | Duration | Likely Count |
|---|---|---|---|
| Campaign | 1.6/sec | 4.0 sec | 6 to 8 spirits |
| Early maps | 2.4/sec | 4.8 sec | 10 to 14 spirits |
| Comfortable | 3.4/sec | 5.2 sec | 16 to 20 spirits |
| Boss setup | 4.2/sec | 6.0 sec | Cap limited |
If cast rate times duration exceeds the cap, more duration may stop helping sustained DPS.
| Preset | Gem | Hit | Support | Ailment |
|---|---|---|---|---|
| Act Leveling SRS | 12 | 650 | Leveling | None |
| Early Maps Fire Hit | 18 | 2,400 | Fire hit | None |
| 6-Link Necro Hit | 21 | 6,800 | Fire hit | None |
| Poison Boss Setup | 23 | 8,200 | Poison | Poison |
| High Investment SRS | 28 | 22,000 | Bossing | Optional |
Preset numbers are editable comparison baselines. Your actual build may differ based on gem levels, jewels, minion accuracy, curses, spectres, and enemy resistances.
Summon Raging Spirit has always looked like a mess on paper, but play out super smoothly. Optimizing it take work because you have to understand what we are actualy trying to maximize; most people look at their minions damage stat and think a higher number mean better clear speed. And that is true… right up until you reach the spirit cap. Everything about your build change after that point.
After having 20 spirits on screen, it doesn’t help as much as you’d think to add raw damage per hit. More than anything else, you benefit most from making those spirit last longer or die more quickly.
Finding the Best Balance for Your Build
Instead, you plug your cast stats (speed and duration) into this calculator, and it spit out the numbers for you. No need to do the conversion or coefficient calculations yourself. No guessing required.
It then makes you face up to the balancing act: finding the sweet spot where your cast speed match your spirits’ duration. The same applies in reverse. Do you want your cast speed to be slow but your duration to be long? Then you’ll be wasting all of your time waiting for a slot to become available. Or maybe you have a super-fast cast speed, but you’re constantly spamming? In that case, your spirits won’t last long enough to actualy dish out any decent damage.
The trick lies in that sweet spot, when your cast rate equals the rate at which your spirits die off. That’s the place where true efficiency exist. It is not about number crunching. It is about managing your rhythm to find a balance.
The gem support is where it really shines, though. Direct player multipliers are one thing, but gems like chaos and fire scale in ways that can dwarf a six-link compared to a four-link. With the tool, you can swap support profiles for a view of what those multiplier do over time. What you’ll find is that you can switch from a leveling preset into a bossing one, for example, and suddenly the emphasis change completely.
Clearing presets focus on area coverage and splash effects; bossing ones emphasize consistency with single target and uptime. The page has a reference table that shows how each package impacts attack frequency versus hit size.
Another wrinkle (and one many players forget about) is that ailments add another layer of complexity to your build. How much it scale depends on the chance to apply poison and its base damage type. For example, if you’re playing a fire-based character, amount of damage it’s dealing doesn’t matter as much since the eligible percentage is too small to generate significant poison.
To that end, the calculator wants the percentage of your total hit share that’s eligible to apply ailments (i.e. It won’t assume all points of damage count towards all ailments). Why does this matter? Because when you mix damage types, your bread-and-butter gets diluted. Do you want big ignites from fire? Or do you want lots of hits with chaos, which applies poison? In a best-case scenario, you rarely get both at the same time.
But also be aware of aura effects which increase based off how many spirits are out at once. Auras scale with the number of active spirits and really add up when there’s 20 raging spirits. Small stat bonuses really add up when it comes to minions too. Strong minion damage buffs or guardian aura stacks can transform a mediocre build into a boss killer.
On the flip side you only get those bonuses when the spirits is hitting the target. How enemies move and position themselves reduces your uptime in ways that raw stats don’t show.
Finally, it’s all about the total picture when building (not just individual stats). You want to consider damage type alignment, duration, cast speed, and spirit count. The tool allows you to see those trade-offs, and make adjustments before running into a map.
The magic lies in knowing how all of these things work together; whether you’re going for maximum late game bossing efficiency, or just trying to be comfortabley in the campaign early on. It’s all about maintaining pressure on enemies while minimizing time between summon calls. That’s what separates slow-and-steady ticking numbers from efficient tear-downs in content.