Honkai Star Rail Summon Calculator
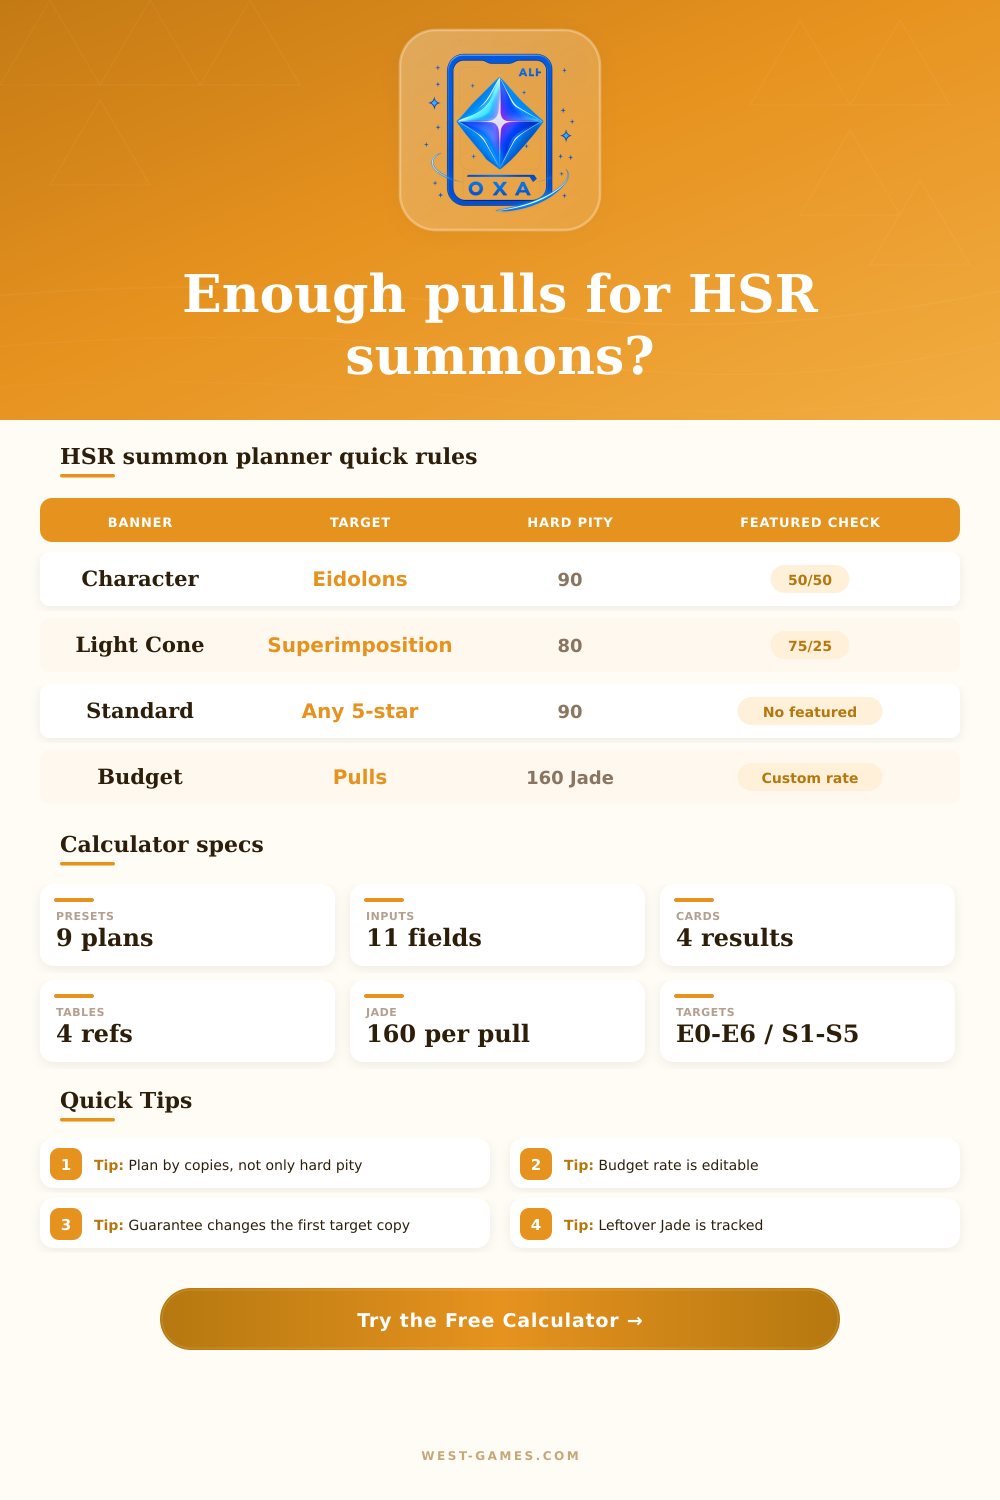
Plan Stellar Jade, passes, banner type, target Eidolons or Light Cones, budget conversion, expected pulls, odds, and leftover resources.
| Banner | Base | Soft | Hard | Featured |
|---|---|---|---|---|
| Limited character | 0.6% | 74 | 90 | 50/50, then guarantee |
| Light Cone event | 0.8% | 64 | 80 | 75/25, then guarantee |
| Standard stellar | 0.6% | 74 | 90 | Any 5-star counted here |
Soft pity is modeled as a rising chance zone for planning. Exact hidden pull weights are not published in-game.
| Total copies | Character label | Light Cone label | Use case |
|---|---|---|---|
| 1 | E0 | S1 | Unlock the unit or cone |
| 2 | E1 | S2 | Small upgrade chase |
| 3 | E2 | S3 | Common power breakpoint |
| 5 | E4 | S5 | Max Light Cone target |
| 7 | E6 | Not used | Max character target |
| Budget | At 80 Jade/$ | At 100 Jade/$ | Planner note |
|---|---|---|---|
| $10 | 5 pulls | 6 pulls | Small gap filler |
| $30 | 15 pulls | 18 pulls | Soft pity bridge |
| $50 | 25 pulls | 31 pulls | One late pity push |
| $100 | 50 pulls | 62 pulls | Major plan extension |
Use your actual local shop, bonus, Express Supply, or Oneiric Shard value by editing the Jade per dollar input.
| Pull margin | Read | What it means |
|---|---|---|
| 20+ over confidence pulls | Comfortable | Plan has room for unlucky timing or leftovers |
| 0 to 19 over | Covered | Target is covered at the selected confidence |
| 1 to 30 short | Thin | Possible, but events or budget may decide it |
| 31+ short | Short | Consider lowering target, saving, or waiting |
It’s you, holding a new character banner in front of you, a five-star unit at your fingertips, and Stellar Jade in your other hand. Is it certain? Or luck? Mostly it boils down to one factor: the number on your pity counter. How much pity do you have? The term sounds simple enough, as does tracking it. But the system of guaranteed pity, soft pity, currency conversion, and so on is complex. And that thickness leave openings for good intentions to turn into empty pockets.
But the fundamental problem is that numbers don’t forget, whereas memory do. “I was so close! I pulled three times on the last banner!” But unless you tracked how many pulls it’s been since your most recent five-star drop, you’re flying blind. Plug in where you are now, and the tool above will do the math for you, taking out all of the guesswork around conversion rates and odds. Instead of asking if you can afford this, it becomes: Do my resources truly cover the expected value, statisticaly speaking, of what I want?
How to Plan Your Gacha Pulls Better
The first true key to control comes from understanding pity. For example, on limited character banners, there’s a hard cap at ninety pulls. If you’re lucky (or unlucky) enough to hit that, you’ll get a five-star regardless of your luck. But you don’t usually have to wait that long. Starting at around pull seventy-four, or the “soft pity” range, your chances of recieveing a rare item increase dramaticly. It turns what was random guessing and luck in the late game into something approaching certainty. All you have to do is collect the currency for it.
There are also two kinds of currency, which act in different ways. Stellar Jade is more flexible type, exchangeable for pulls at 160 to a pop. Single-use tickets called Special Passes is tied to specific event banners. Players often collect jade without thinking about how much time value they hold, and many don’t realize that currency isn’t forever. Eventually all those banners will change, meaning you’ll still miss out on pulling something you wanted if you save up too long.
That’s where the planner comes in, because it lets you plan not just what you have now but what you’re likely to earn later via daily tasks or events. And that’s not even touching on duplicates and progression. If you roll the same character twice in Honkai Star Rail, it will add an Eidolon level to that character, revealing additional skills or some substantial stat bonuses. Having one isn’t bad, but Eidolon two is where things can really start being useful, all while keeping the cost to a minimum. Chasing higher levels like E4 or E6 is a different beast entirely, they require a mountain of effort to chase down, including saving up several banners worth and then shelling out actual cash when your free options run dry. The calculator makes that clear, letting you see at a glance how many new copies you’ll need to reel in to reach your goal.
The banners that offer Light Cone is actually a bit more forgiving. They have a much better starting rate for five-star odds, and you get a seventy-five percent chance of getting the featured item after losing once, as opposed to 100%. So they’re not quite as crippling should you fail to get it on the initial roll. But they’re also expensive in terms of the currencies used. And while the rules are more lenient, you can’t just forget about the numbers. When you’re chasing superimpositions to max levels, those resources evaporate quickly too.
Adding another wrinkle: budgeting in actual cash. Converting cash to credits/shards makes a difference, especially when your jade/freeshard drops come up short. Now it’s not only “I want this”, but “Is the return on investment here worth those 30 more bucks?” Having a tool that helps measure that gap will help you make a deliberate decision instead of an emotional one. Did I want the upgrade enough for me to spend those 30 more bucks?
Time’s ticking down… In gacha games, planning always trumps reacting. It’s exhilarating to experience the pull, but it can be frustrating when you spend too much money on a banner you had no business pulling. When you plan based off your own needs, the pity system and your resource allotment, you transform a random lottery into an organized project. From what if, you go to what is. This change in mentality is bigger then any pull itself.