🔮 HellHades Summon Rush Calculator
Plan Raid: Shadow Legends Summon Rush points from mystery, ancient, void, and sacred shards, then compare target tier, shortfall, reserves, and the cleanest summon plan.
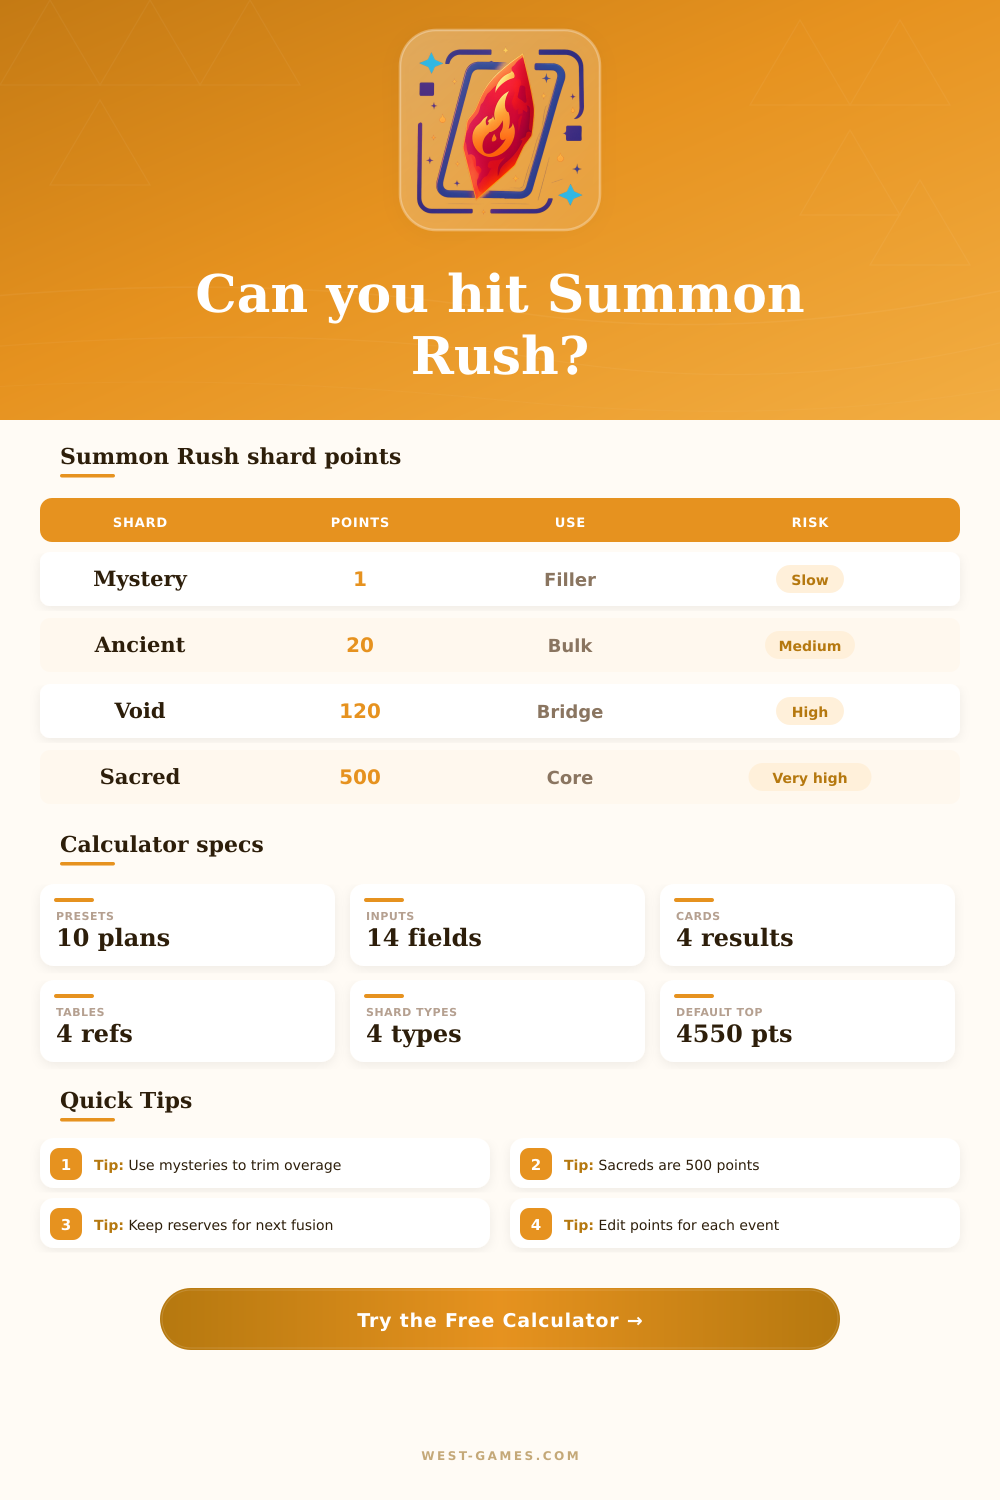
| Shard type | Default points | Point role | Planning note |
|---|---|---|---|
| Mystery | 1 | Exact filler | Best for small gaps and overage control |
| Ancient | 20 | Bulk points | Useful when saving sacreds is the priority |
| Void | 120 | Bridge points | Strong middle step between ancient and sacred |
| Sacred | 500 | Core points | Fastest way to reach high milestones |
Point values are editable because Raid event panels can vary. The default table matches the common Summon Rush structure used by HellHades references.
| Tier | Typical use | Sacred-only | Ancient-only |
|---|---|---|---|
| 2150 points | Lower fusion milestone | 5 sacreds | 108 ancients |
| 2850 points | Bonus Rush fragment tier | 6 sacreds | 143 ancients |
| 3000 points | Common fusion target | 6 sacreds | 150 ancients |
| 4550 points | Top bonus tier | 10 sacreds | 228 ancients |
Round-up counts show the number required if using only one shard type. Mixed plans usually waste fewer points.
| Shard | equals ancients | equals mysteries | Use case |
|---|---|---|---|
| 1 Ancient | 1 | 20 | Small milestone steps |
| 1 Void | 6 | 120 | Gap after sacred pulls |
| 1 Sacred | 25 | 500 | Large fusion targets |
| 25 Ancients | 25 | 500 | One sacred worth of points |
Equivalencies use default values. If your event changes point values, the calculator updates the actual plan from your inputs.
| Scenario | Best style | Watch input | Decision cue |
|---|---|---|---|
| Fusion must-finish | Sacred-first | Target tier | Do not miss fragments |
| Saving for next event | Conserve sacred | Reserves | Stop at needed tier |
| Near milestone | Mystery filler | Max mysteries | Avoid large overage |
| Void x2 soon | Ancient bulk | Void reserve | Protect void shards |
Summon Rush planning is about hitting the chosen reward tier with enough buffer while preserving shards for the next Champion Chase, x2, or guaranteed event.
Raid: Shadow Legends’ Summon Rush events makes winning the lottery look easy. Summon a legendary champion? It’s a math problem. It is just a stack of shards and a countdown clock. You know the point requirement to reach reward tier, and it takes an exact amount of points. The difference between grabbing those fusion fragments and wasting your inventory on an incomplete pull are planning, not luck.
It’s planning. And most players sees these events as impulsive purchases. Hundreds of clicks later, the screen turns grey or the points dissapears. This method waste money because you’re not factoring in different point densities of each shard type. Once you input your existing stash, however, the calculator do all the work, saving you from having to juggle four currencies in your head simultaneously.
How to Use a Calculator for Summon Rush Events
And that’s where this game’s central conflict lies: You need to conserve while still being efficient. Sacred shards can nets you huge amounts of points, which means they’ll level you quickly into higher tiers. But since they’re the rarest resource over time, using them all to complete an event mean you’ll be left with nothing when guaranteed champ rotation rolls around again next week. It’s that kind of balance each experienced player must weigh before opening a single box.
In that same formula, mystery and ancient shards plays slightly different parts. Ancient shards fill in those gaps nicely. They won’t burn through your most precious resources, making them perfect if you’ve saved up a good amount after a few months. Those things will be your go-to workhorse during the event.
The mystery shards are pretty cheap but very versatile. Each one add one point to whatever build you’re working with. This lets you dial it in exactly how you need, instead of accidentally going over by hundreds of points while trying to use all your valuable shard to round out the number. This helps if you’re close to a specific threshold and don’t want to waste better shards just to hit a number.
This shift in prioritization makes sense once you learn about the point system. For example, a sacred item is worth much more then an ancient one, and both are worth far more than a void shard. Setting reserves on every type lets you see that visually, allowing you to stash away all your sacreds and voids if you have a hunch there’s going to be a double-dropped champion event next month. That means you’ll calculate with your ancient stockpile. No more “oh no! I didn’t save any because I was focused on other stuff!” and then missing out on the good stuff when it actualy shows up. Instead, it makes you follow a strategy that is based off discipline, not emotions.
Finally, a lot of people gets caught up in going after the best rewards no matter what. If they have enough points for fourth tier. Which is thousands of points in most events; then they will need several thousand shards, usually more than average person has lying around and doesn’t want to sacrifice their team building for months on end. In some cases, aiming down might be the right choice. Aiming for a middle-tier reward while using as few resources as possible will save you money. This leaves your bankroll intact for when next opportunity arises.
That’s why the shard requirements for different milestone levels are presented in a clear format on the page; you’ll see at a glance how many shards of each kind you’d need to go for each prize. Then the numbers speak for themselves and you realize the top-tier isn’t even worth it.
Lastly, think about how much time it’s going to take up. Filling in a tiny hole by clicking around and getting hundreds of mystery summons gets boring pretty quickly, which means it only gives less and less value in terms of feel good vibes. Is spending three hundred mysteries just to save a single sacred really worth your time? Generally speaking most people have found it’s more beneficial in the long term to stop when you’re comfortabley and move on rather than grind out absolutely everything you can get. You should of stopped earlier.
At the end of the day though, successful event play come down to knowing what you have, what you need, and what you are willing to spend. Your goals will determine the answer; the calculator gives you the framework. Want to save up for one specific champ? Or maybe just get as much bang for your buck this week? Knowing what you’ll do with it all keeps you from wasting it. We make choices out of chaos. And in a world of “every shard matters,” choice is most precious of all currencies.