⚔ Mordheim Character and Warband Planner
Plan warband type, heroes, henchmen, advances, wounds, serious injuries, Weapon Skill, Ballistic Skill, exploration jobs, upkeep load, rout risk, and campaign progression.
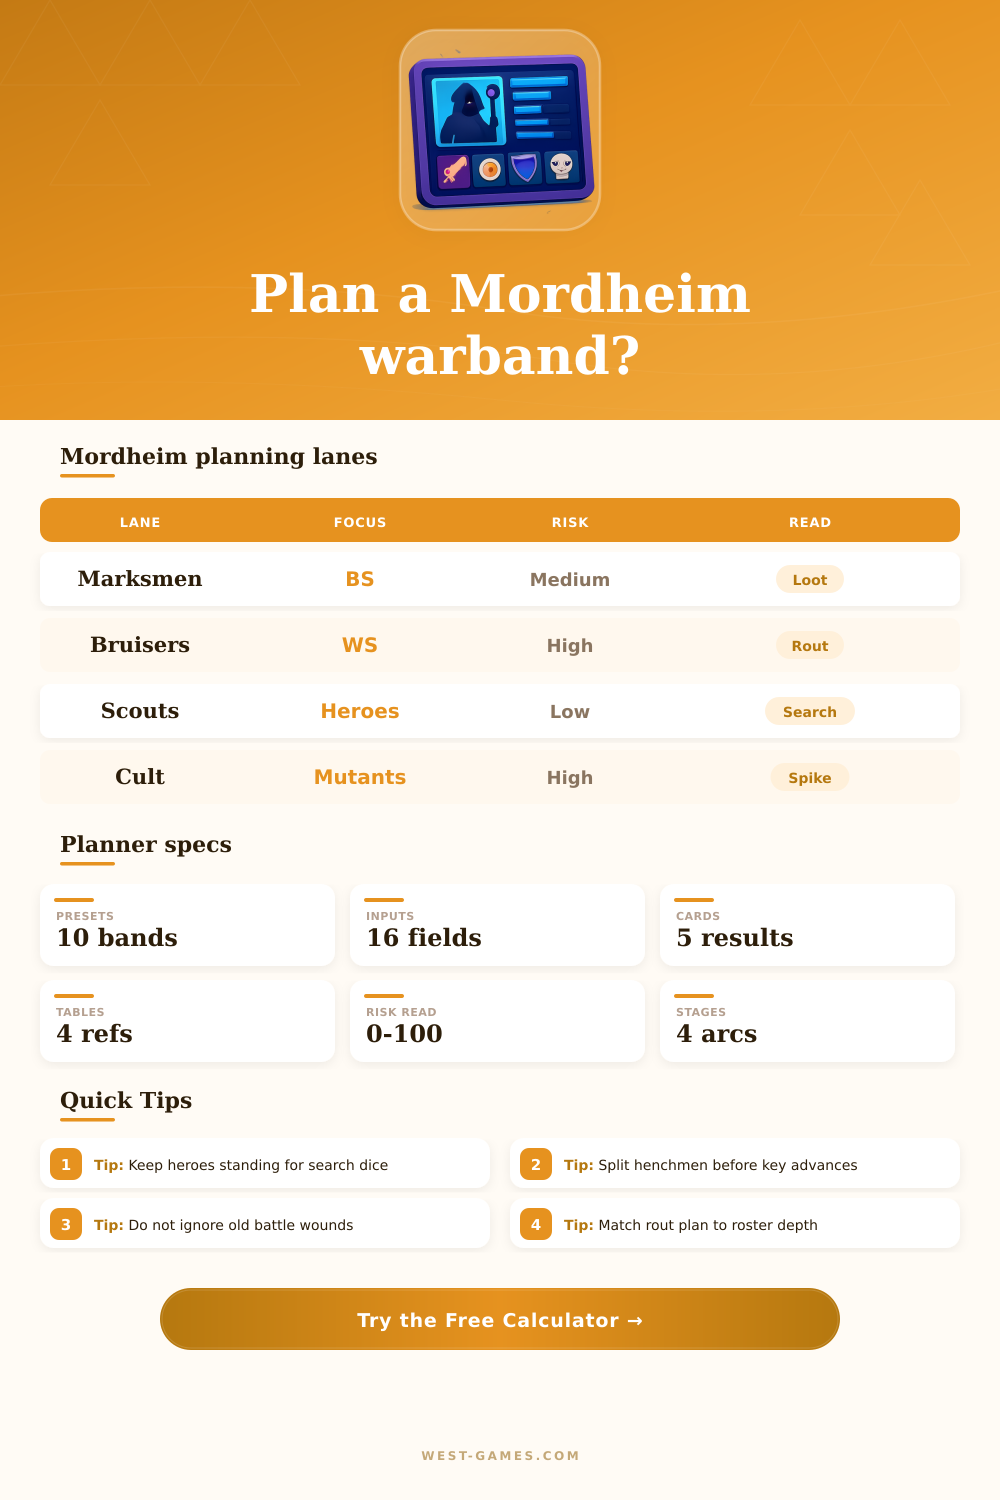
| Lane | Core signal | Pressure | Best use |
|---|---|---|---|
| Mercenary shooting | BS and heroes | Terrain lanes | Control board |
| Brute melee | WS and wounds | Casualties | Win scenarios |
| Swarm pressure | Roster count | Upkeep drag | Force routs |
| Elite recovery | Injury control | Low model count | Long campaign |
| Cult spike | High impact stars | Bad injury rolls | Explosive wins |
Use the lane that matches your actual ready models, not only the warband theme.
| Average | Melee read | Shooting read | Planner impact |
|---|---|---|---|
| 2.0-2.5 | Weak | Patchy | Protect pieces |
| 3.0 | Standard | Standard | Needs support |
| 3.5-4.0 | Reliable | Reliable | Plan threats |
| 4.5-5.0 | Veteran | Veteran | Push tempo |
| 5.5+ | Dominant | Deadly | Protect stars |
Average only the models expected to create pressure in the next battle.
| Load | Symptom | Risk | Response |
|---|---|---|---|
| 0-2 | Clean roster | Low | Develop heroes |
| 3-5 | Mixed scars | Medium | Slow the rout |
| 6-8 | Key penalties | High | Recover roles |
| 9+ | Warband spiral | Severe | Rebuild core |
An injury on a search hero hurts more than a mark on a disposable screen.
| Stage | Priority | Warning | Good sign |
|---|---|---|---|
| Fresh | Hero count | Early deaths | Safe search |
| Forming | Split groups | One huge group | First skills |
| Seasoned | Role depth | Stacked injuries | 5+ heroes |
| Scarred | Risk control | Upkeep drag | Stable routs |
The planner rewards controlled growth more than reckless stat chasing.
Mordheim is a game in which the players will receive more benefits from the game if they treats every game as part of a long story instead of treating every game as a fight. Even though a warband may win every game this month, they could collapse next month due to various issue such as injured heroes, henchmen without direction, or an exploration output that dry up. Most players will use a planner before they roll for the first scenario for there warband.
A planner will let the players understand which component of their warband will work together in order to avoid having to guess at which components will provide the best fight or survival potential for that warband in the long term. Each warband must be defined before the numbers is looked at. One of the first choices for each player is their faction.
Why You Need a Warband Planner
The faction will limit the number of heroes for the warband, and will determine whether the warband prefers melee combatant or shooting heroes. Warbands can be defined as those who can take the most punishment from battle or those who rely upon speed and numbers in their fights. After choosing the identity of the warband, the player must determine how much the campaign has progressed.
A warband with fresh heroes will have different needs than a warband who has lost members over the past several months. Using a planner will ensure that the calculations for that warband are in accordance with the actual composition of that warband. The number of heroes within a warband is the most important number within a warband.
Each hero can contribute to search rolls, protecting rare equipment and providing leadership when the warband takes a rout test. Using a planner will allow each player to determine how many active hero will remain after the losses of injured heroes. Furthermore, the warband can also determine the number of active heroes after games are missed.
Generally, the number of active heroes is more important than the total number of models in the warband. For instance, six heroes in a little shaky warband will usually do better than three well built henchmen. The number of henchmen within a warband can also have an impact upon how many advances can be assigned to each group of henchmen.
By maintaining the henchmen groups separate, they can always create one group as a future hero or use one as a screen if necessary. Therefore, the planner also tracks the number of active heroes as the number of henchmen within a warband. Beyond the number of heroes within a warband, the average weapon and ballistic skill will indicate to the other players whether the warband will be threatening the other players or simply surviving the encounters.
Each player should enter the average skill level rather than the best-case scenario for their warband. By entering realistic figures into the planner, each player will recognize whether a few strong models do the bulk of the fighting. Another consideration is the number of veterans within the warband.
Veterans will contribute to the experience of the warband and change the outcomes of different scenarios or exploration phases. Entering the actual number of veterans into the planner will allow the player to understand how the experience counters other weaknesses of the warband. Injuries to a warband will work in an opposite direction to the progression of the warband.
Old battle wounds will reduce the movement or toughness of some of the most important models within the warband. Furthermore, serious injuries to a hero will remove them from exploration for several games. These injuries can be weighed against the choices of rout posture that the warband will use.
A cautious posture will protect the heroes from injury at the cost of winning exploration scenarios. A bold rout posture will allow the warband to take more damage but win more scenarios. These choices will impact the warband in different ways depending on the players intention for their warband.
Either to gain a few exploration scenarios soon or to maintain their current models. As important as the rout posture of a warband is, the exploration role that they will play is perhaps the most important role. The exploration role and the injury role for each of the heroes will interact the most within the game.
For example, if a warband relies upon wyrdstones being found, the heroes within that warband will need to have fewer injuries because they will have to roll for wyrdstones after every game. Even with a recruitment focused warband, there must be enough active wyrdstone seekers to ensure that the losses of heroes will be replaced. Using a planner will allow players to determine if their role and the likelihood of injury for their heroes are in harmony with the composition of their heroes.
In addition to the exploration role for each of the warbands heroes, two other factors will impact the other players decisions for that warband. The upkeep pressure for the warband will impact how much gold the warband will have left over for other purchases. Additionally, the gap in the underdog ratings between the player and the opponent will have an impact upon how much risk is taken in battle with the opponent.
These two factors will be included within a planner so that each player can determine whether their warband is ready to push forward into the scenario or whether they need to focus upon recovery from any recent battles. Many of the mistakes that players make with their warband are the result of focusing upon only their combat statistics for the warband. For example, if players put too much focus into one star model, they may neglect the injuries that that model could suffer which would keep the model from participating in exploration scenarios.
As another example, if the warband does not separate each of their henchmen groups, advances will be spread too thin and no group will ever be able to become a warband hero. The players can recognize these mistakes when they use a planner for their warband. One of the best uses of a warband planner is to experiment with adjusting each of the variables of the warband one at a time.
For instance, each player could change the role of the warband while maintaining the same number of injuries to determine whether the heroes can handle such a role. In another instance, the player could lower the rout posture after experiencing bad rolls with injuries to see how many more games the warband could win by utilizing a more defensive posture. These experiments with a planner will enable each of the players to make decisions for their warband rather than just having a score that reflects their potential for success.
After playing many games of Mordheim, the difference between a band that plans all of its actions versus one that reactively decides which heroes to use will be immediately noticeable to each player. A band that does not use a planner will suffer losses in exploration scenarios due to injuries to the heroes, and will never catch up with their income from exploration scenarios. In contrast, a planning band will allocate its advances to preserve its exploration role, space the advances to maintain one of the henchmen groups as a potential future hero, and use the planner to determine when it is better to take a cautious game to recover their injured heroes.
These strategies will ensure that a planning band out-performs a reactive band throughout the campaign, and the planner will make that outcome visible to the players prior to the outcome of the dice rolls for the scenario.