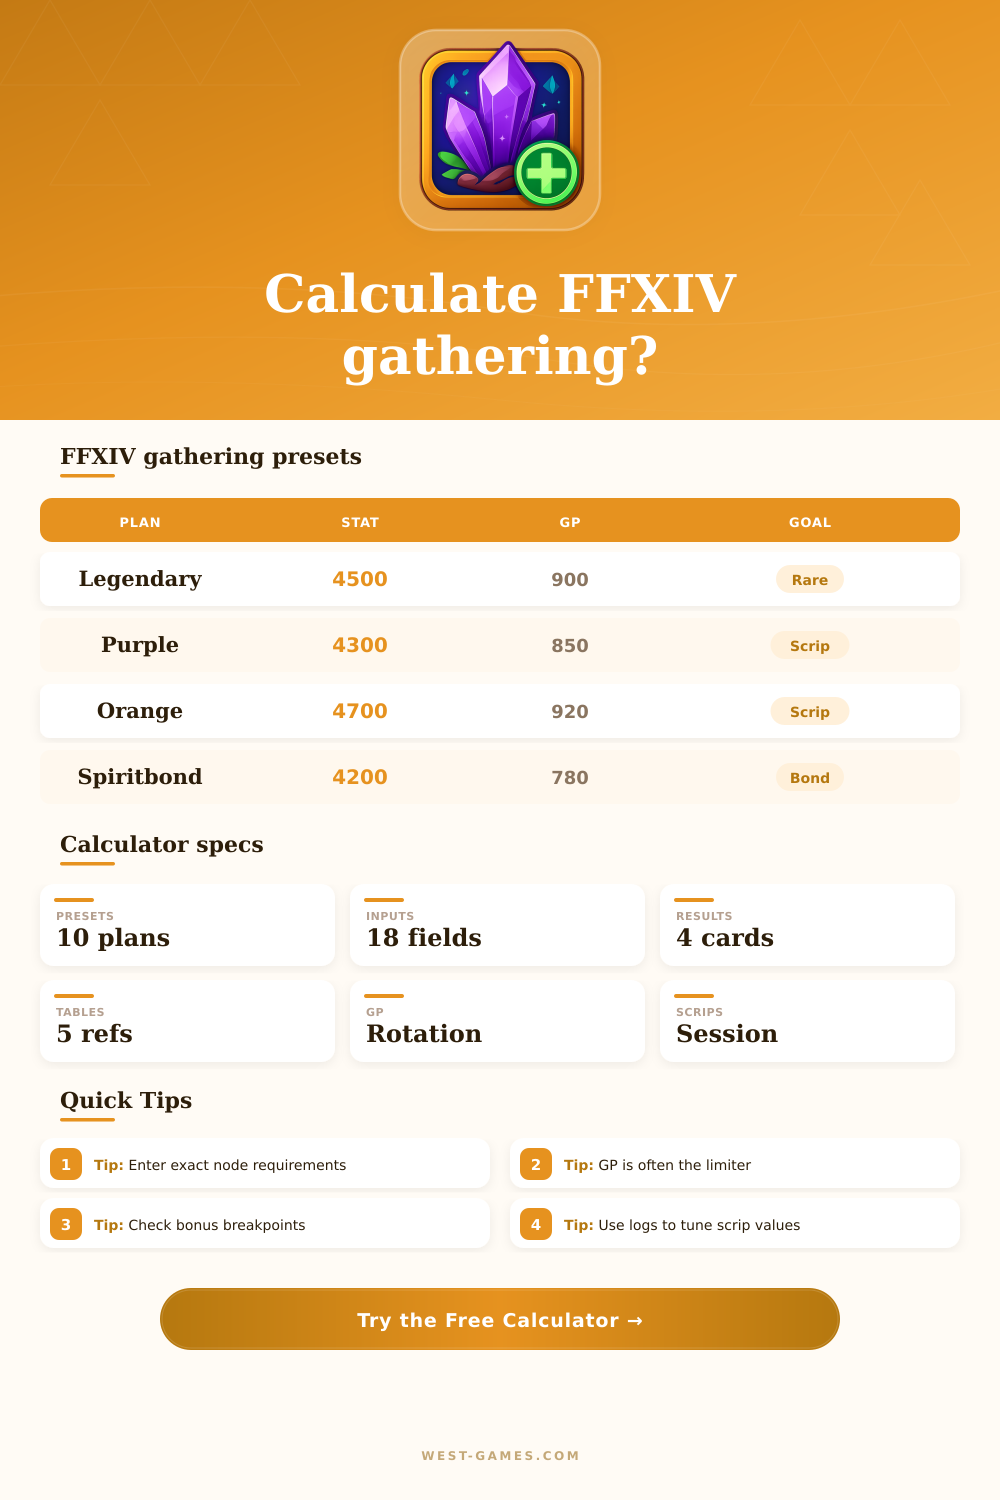
⛏ FFXIV Gathering Calculator
Estimate gathering success, perception-based collectability, GP rotations, node bonus breakpoints, legendary node reliability, scrip yield, spiritbond, and session pace.
| Profile | Gathering | Perception | Use case |
|---|---|---|---|
| Legendary collectable | 4300+ | 4200+ | Rare timed node turn-ins. |
| Orange scrip collectable | 4550+ | 4450+ | High-end weekly scrip push. |
| Purple scrip collectable | 4000+ | 3900+ | Steady materia and gear farming. |
| Aetherial reduction | 4100+ | 4200+ | Collectability over raw quantity. |
| Spiritbond route | 3900+ | 3600+ | High successful gather volume. |
These are editable planning anchors, not patch-locked requirements. Replace them with values from your Gathering Log or collectable appraiser.
| Rotation | GP cost | Collectability | Best fit |
|---|---|---|---|
| Scrutiny + Scour | 600 GP | High and stable | Legendary target bands. |
| Balanced Meticulous | 400 GP | Medium-high | Scrip farming with safety. |
| Brazen high roll | 200 GP | Swingy | Overstatted routes. |
| Low GP safe | 100 GP | Medium | Short GP or cordial gaps. |
| Yield route | 300 GP | Low collectable focus | Folklore materials. |
The rotation model converts GP and perception into a comparable collectability estimate so different action plans can be tested quickly.
| Breakpoint | Typical input | Modeled effect | When it matters |
|---|---|---|---|
| Gathering | Requirement + 150 | Higher success | Legendary nodes and misses. |
| Perception | Requirement + 150 | Collectability lift | Scrip target bands. |
| GP | 850 to 900 GP | Extra action room | Scrutiny rotations. |
| All bonuses | Strong meld set | Attempts plus quality | Timed node optimization. |
| No bonus | Under breakpoint | Base node rules | Leveling or casual routes. |
FFXIV nodes display their own bonuses. Select the bonus mode that matches the node text you are actually gathering.
| Band result | Collectability | Scrip factor | Planning read |
|---|---|---|---|
| Missed band | Below target | 0% | Improve perception or rotation. |
| Target band | Target to +99 | 100% | Reliable hand-in value. |
| High band | +100 to +199 | 115% | Good route efficiency. |
| Max-like band | +200 or more | 130% | Overstats can pay off. |
| Reduction band | High purity | Custom | Use scrip field as value. |
The scrip field is intentionally editable because collectable rewards change by item, level, and expansion.
| Session type | Main limiter | Watch stat | Calculator signal |
|---|---|---|---|
| Legendary windows | Spawn timing | Success chance | Scrips per session can be low despite good stats. |
| Scrip spam | GP recovery | GP per node | Rotation comparison shows if safe GP wins. |
| Aetherial reduction | Collectability | Perception surplus | High band matters more than attempts. |
| Spiritbond farming | Gather volume | Successful gathers | Spiritbond estimate rises with hit count. |
| Folklore materials | Yield and misses | Gathering surplus | Success and attempts beat collectability. |
Use comparison cards to test one swap at a time: more GP, more perception, safer rotation, or higher gathering.
Everyone thinks they just need to stack their nodes with enough gear stats. The reality of FFXIV is much like gathering itself: it’s not raw power. It’s about maximizing your limited resources while under pressure.
There you are, facing a legendary collectable node. Time is ticking away. Do you go for broke? Or do you play conservatively? Did you know that how well you understand the interplay between your perception, GP, and gathering stat can be the difference between purple scrips or nothing at all? For most people, small differences end up mattering a lot. With gathering, it’s about finding the balance between short term success and long term collectability.
Understanding Stats for Better Gathering
Whether or not you even hit the node is based off your gather stat. There’s no point worrying about anything else if you’re below the requirement, as youll miss over and over again. If you’re above that requirement, then perception take over as a major factor. Collectability depends on perception, which in turn drives how much scrip or reward points you gain for spiritbinding. A lot of people go straight for gather and ignore perception entireley. They manage to hit every single node but only get small scrips due to poor quality scores. This is one of those mistake where it’s more time consuming then it is costly in the long run.
These sessions use General Providential Points (GP) as ammo. GP is consumed by each action you perform. When it reaches zero, there’s no turning back. Even with super-high stats, all your choices dissapears. If you’re currently equipped for a Scrutiny-heavy rotation, which greatly boosts collectability, then great. But otherwise, you might be stuck going on a less-risky path but also less-rewarding.
Plugging in your own stat line into the calculator will do the heavy lifting here. No more guesswork about whether you can affords to try something without running out of GP. No more vague “feeling” like an action is risky. Now, you’ll have a tangible number: X number of actions before you run out.
Planning sessions stretch beyond single nodes. Are you farming for cap? Grinding materials for crafting? Trying to reduce spiritbond? All require different plans around the bonuses and number of attempts you have available. Legendary nodes in particular has hard breakpoints where extra attempts occur when you cross a specific stat threshold. These are sudden jumps that can make you twice as efficient if you nail it. Here is how the different node profile assume various baseline requirements. This way you can easily see what stats matter depending on your current objective.
With spiritbond farming, there’s also an added wrinkle: It’s not as quality-driven as quantity. You don’t want to risk rotations wiping out your GP too soon; you’re after steady but sustained hits. With scrip farming, missing the collectability band by just one notch will mean zero payout. Your caps each week is going to be driven by precision, not total output.
How do you master gathering? Stop fighting against constraints of system and learn to respect them. There’s no way to lower cost of GP or change the requirements for nodes, but there is a way to make right set of trade-offs that fit your objectives. When your timer pops up on-screen, you’ll know exactly what lever to pull because you understand how GP restricts your rotation options and why perception affects quality. No more guessing, just planning.