🎮 Arknights Attack Speed Calculator
Model base interval, ASPD buffs, skill interval cuts, attack-count breakpoints, offensive SP, uptime, and DPS-style output.
| Profile | Base interval | Typical use | ASPD sensitivity |
|---|---|---|---|
| Marksman Sniper | 1.00 sec | Fast multi-hit skills | High |
| Fighter Guard | 0.78 sec | Lane holding | Very high |
| Lord Guard | 1.30 sec | Ranged guard skills | Medium |
| Core Caster | 1.60 sec | Arts damage cycles | Medium |
| Liberator Guard | 1.20 sec | Timed burst windows | High |
Use exact operator data when available. This table gives practical starting points for the calculator.
| Mode | ASPD changes SP? | Best for | Watch |
|---|---|---|---|
| Offensive | Yes | On-attack skills | Needs target uptime |
| Auto | No | Timed recovery | ASPD affects damage only |
| Mixed | Partly | Talent or relic stacks | Separate each SP source |
| Manual delay | No | Held burst windows | Lowers practical uptime |
The calculator assumes SP is recovered during downtime, then pauses recovery while the modeled skill is active.
| Preset | Base interval | Main modifier | SP model | Planning role |
|---|---|---|---|---|
| Exusiai S3 Burst | 1.00 sec | Fast Cartridge plus interval cut | Offensive | Multi-hit burst |
| Ash S2 Magazine | 1.00 sec | Short burst window | Offensive | Stun-window shots |
| Thorns S3 Lane | 1.30 sec | Damage multiplier | Auto | Long uptime lane |
| Mountain S2 Hold | 0.78 sec | Fast base interval | Auto | Permanent-style hold |
| Mlynar S3 Window | 1.20 sec | Large ATK window | Auto | Timed burst |
These rows summarize only the calculator assumptions. Adjust every field to match your actual mastery, module, buffs, and enemy.
| ASPD modifier | Effective ASPD | Interval | Skill DPS |
|---|
Rows use the current skill interval changes, damage multiplier, floor setting, and enemy DEF.
| Step | Formula | Why it matters | Editable input |
|---|---|---|---|
| ASPD stat | 100 + modifiers | Clamped to planning cap | Buff and talent |
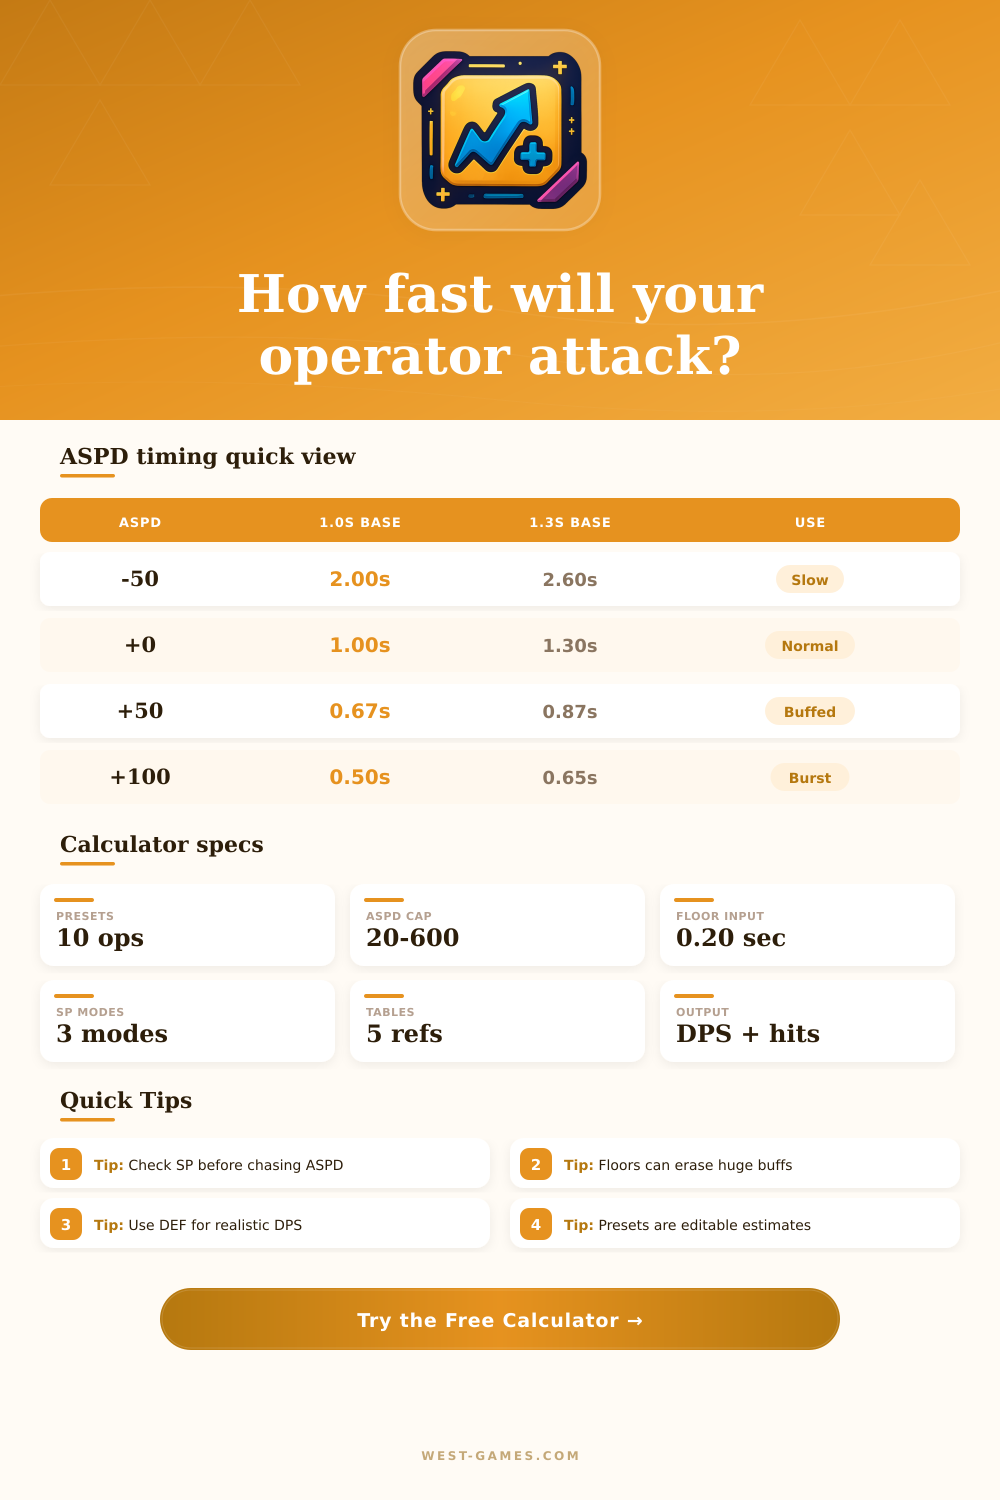
| Skill interval | (base + flat) x mult x 100 / ASPD | Shows true speed | Flat and multiplier |
| Floor clamp | max(raw, floor) | Flags wasted speed | Floor setting |
| Offensive SP | SP per attack / interval | ASPD shortens recharge | SP mode |
| Uptime | duration / cycle | Turns burst into sustained DPS | Cost and delay |
ASPD modifiers are treated additively before the final interval division, matching common Arknights planning math.
Rather than guessing if it’s okay to sacrifice some of your damage potential in exchange for additional speed (and therefore faster skill charging), simply input your own numbers into the calculator above and let it do all the work. This becomes especially helpful when fighting against enemies that stack up as time goes on, such as with support operators who take a long time to charge there special skills.
The problem is that attack speed isn’t always solely determined by the speed at which someone shoots off their gun or swings their sword. It’s a mix of special point recovery, team buffs, and each operator’s unique base interval. Attack speed isn’t linear. Players see most builds as having linear attack speed (i.e. I add another 10% to my effective attack speed). This is true up to a point, but only to that point. In fact, attack speed diminishes rapidly and you’ll run into diminishing returns as you stack more of it. The concept behind the interval floor, where each operator has an absolute minimum amount of time between attacks. Plays into that. Regardless of the number of buffs you have stacked, it’s typically about two-tenths of a second. When you reach that point, adding more attack speed doesn’t help; it simply wastes resources. The tool helps you identify exactly where that ceiling is for your specific build. That way, you don’t over-invest in something that’s already topped out.
How to Choose the Best Stats for Your Operators
The special point mechanic are interesting because it changes from one operator class to another. Offensive recovery operators gains points towards the next time their skill can be used whenever they make an attack. The speed at which they attack directly affects how fast the meter charges. When the operator is stunned or has no enemies to shoot at, they will stop charging skill immediately. This dependence is not captured by raw numbers alone. Having huge damage output doesn’t matter much when the operator spends most of their level on cooldown. There’s a balance between raw power and being available all the time. The uptime percentage shown in the results section provide a realistic look at how long the skill is up during a normal window of combat.
Others leave their recovery to the machines. Even if they aren’t dealing any damage, these units are earning points second by second. If and when they do attack, the unit with this sort of automation get a boost in DPS (damage-per-second), but they don’t recover from attacks any faster. This is an important distinction to know, because it shows what kinds of builds work best for different operators. Just because an auto-recovery operator might show the highest possible attack speed on paper doesn’t necessarily mean they’ll see the most strategic payoff. Sometimes maxing out an operator’s ability to accumulate special points or upgrading their attack power will yield more strategic benefit than optimizing for raw speed. The breakdowns in the reference tables on the page should help you understand the details quickly. This way, you can easily see which mechanics helps you succeed.
While the calculation has its place, so does context. Even if you’ve got the best theoretical build, that doesn’t mean it’ll work if you’re consistently unable to engage targets due to enemy comp. Consider their movements, their defenses, and armor type, all of which can throw off your attack rhythm. Your enemy’s going to phase through walls while you’re firing your burst; the boss is going to go invulnerable mid-burst. There’s no way a spreadsheet can factor that in. While it gives you an expected outcome based on theory, what you actualy end up doing will be subject to map awareness and execution.
Because of this, it pays to run a couple of what-if tests where you tweak the interval modifiers slightly and see how many more or fewer hits land over time. More often than not, stacking high damage-per-hit with a slight speed increase yields better results then maxing out on speed at the expense of single-hit impact. Arknights is all about cycles. It’s about thinking holistically, not just about stats alone. It’s about activating something, then recharging it, then repeating that cycle again and again with charges. When you break this down into pieces, however, you see where those bottleneck truly occur. If you’re looking to do sustained damage against wave after wave of low-level enemies, what matters most? What if it’s bursting down a high-level opponent? What do you need to understand about the timing? This helps you make better decisions regarding team comp, relics, and modules. You will stop chasing every possible buff and start focusing on the specific numbers that actualy move the needle for your strategy. This change in mindset turns confusing mechanics into a solvable puzzle where every part has a clear purpose.
You should of seen it sooner.