🏺 OSRS ToA Loot Calculator
Plan Tombs of Amascut loot odds with raid invocation, path levels, deaths, team size, personal points, target unique weight, runs per hour, and dry-streak probability.
| Raid level | Bracket | Modifier use | Loot note |
|---|---|---|---|
| 0 to 149 | Entry | Full value | Restricted table |
| 150 to 299 | Normal | Full value | Full uniques |
| 300 to 399 | Expert | Full value | Higher purple rate |
| 400 to 550 | Expert+ | One-third value | Slower scaling |
| 551+ | Cap | No added value | Pace risk only |
This calculator accepts levels above 550 for context, but the unique modifier stops gaining value at the cap.
| Unique target | Weight | Normal share | Entry handling |
|---|---|---|---|
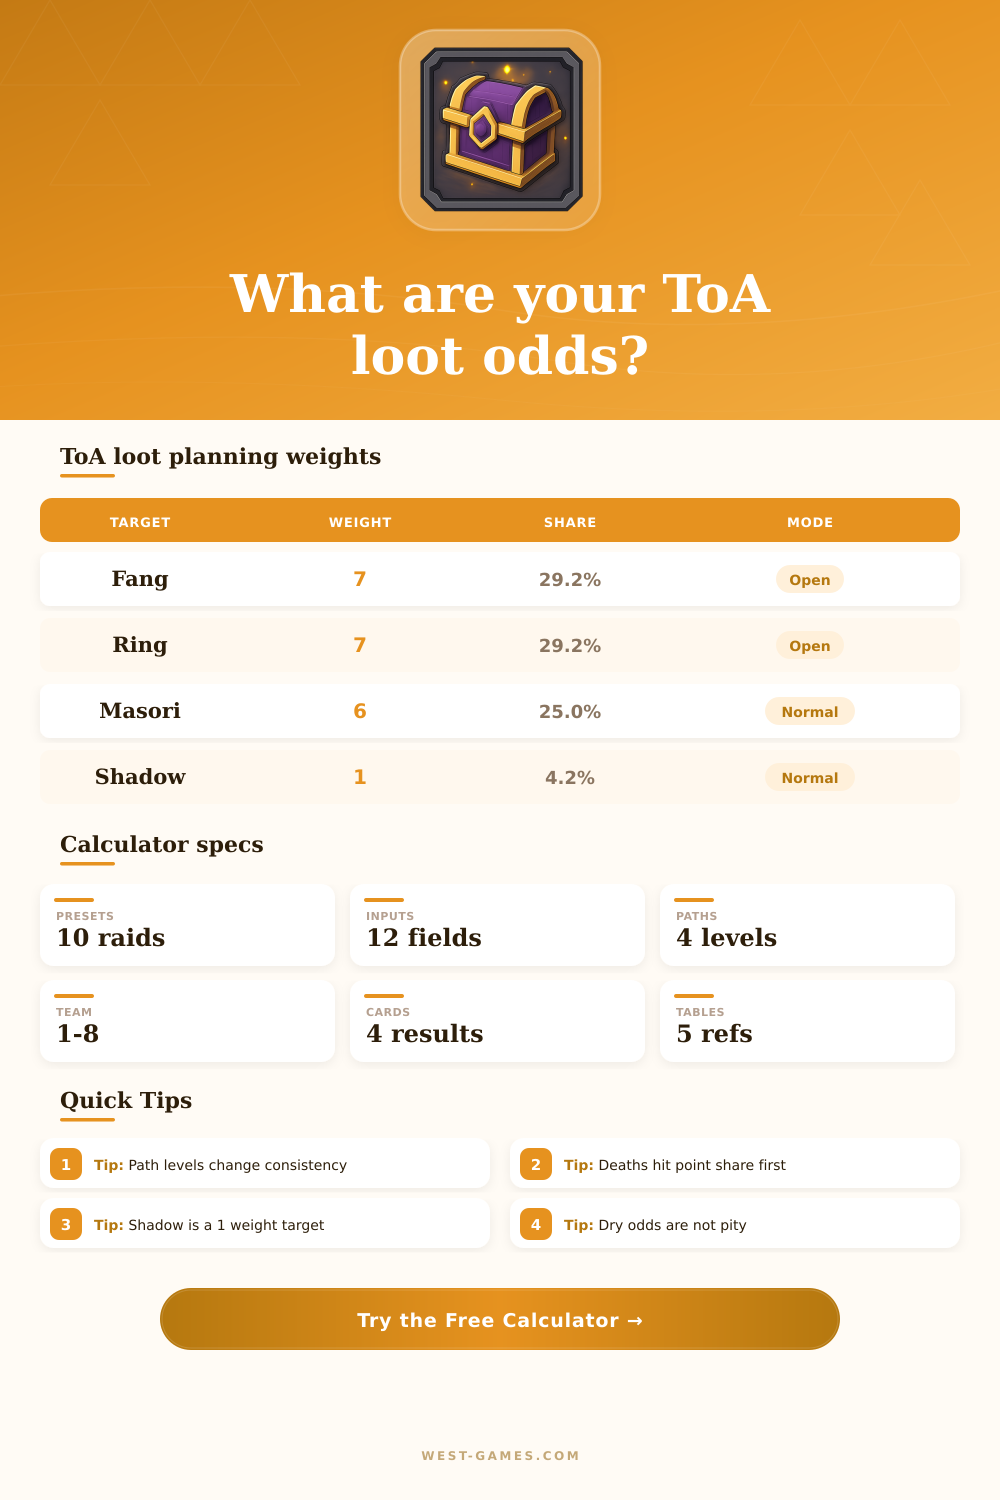
| Osmumten's fang | 7 | 29.17% | Open |
| Lightbearer | 7 | 29.17% | Open |
| Elidinis' ward | 3 | 12.50% | Restricted |
| Any Masori piece | 6 | 25.00% | Restricted |
| Masori mask | 2 | 8.33% | Restricted |
| Masori body | 2 | 8.33% | Restricted |
| Masori chaps | 2 | 8.33% | Restricted |
| Tumeken's shadow | 1 | 4.17% | Restricted |
Entry-mode restricted targets are modeled with a 1 in 50 bypass after the selected unique weight is rolled.
| Combined paths | Average path | Pressure | Planner meaning |
|---|---|---|---|
| 0 to 3 | Below 1 | Low | Learning pace |
| 4 to 7 | Near 1 | Moderate | Stable farm |
| 8 to 11 | Near 2 | Medium | Mechanics check |
| 12 to 15 | Near 3 | High | Death risk rises |
| 16 | All level 4 | Severe | Pace usually drops |
Path pressure does not multiply loot directly; it helps explain whether the entered completion pace is realistic.
| Mechanic | Value used | Applied to | Effect |
|---|---|---|---|
| Base denominator | 10,500 | Team roll | Starting 1% rule |
| Raid level value | 20 per level | Denominator | Lowers points needed |
| Death penalty | 20% or 1,000 | Your points | Lowers name share |
| Player cap | 64,000 | Each player | Clamps input |
| Team purple cap | 55% | Whole raid | Limits chest roll |
Teammate points should already include their own deaths; the death input here only adjusts your personal points.
| Preset | Level | Team | Path profile | Target style |
|---|---|---|---|---|
| 150 Solo First Purple | 150 | Solo | Low paths | Any purple |
| 250 Path Level Farm | 250 | Trio | Mixed level 2 | Ward or Masori |
| 300 Expert Shadow Roll | 300 | Solo | Balanced level 2 | Shadow weight |
| 400 Team Push | 400 | Four | High paths | Masori body |
| 550 Modifier Cap | 550 | Full team | Severe paths | Any purple |
Presets are starting points. Replace the point totals and completion time with your tracker data for the useful comparison.
With hopes raised, you join the queue for the Tombs of Amascut. You find yourself spending the next three hours raiding without even a hint of a purple flash in your name. Many player share this experience because they don’t understand loot table. They assume higher difficulty mean better odds, when it’s realy more about math and patience than sheer aggression.
Invocation points act as a currency for your chance at rare items, and they gets rolled into a pool, one point from every player on the team. The larger the pool, the higher the chance of rolling whatever’s in there. Where do you rank within that pool? That determines your personal share. If you’re high on points, but die twice in encounter, those penalties can realy add up and cut down what you recieve significantly.
Understanding Amascut Loot Math
Since the number of deaths matter when planning runs, a good run at level two hundred will generally give you a better return on investment than pushing through a mess at three hundred while constantly respawning. A lot of people attempt to raise their invocation score higher then five hundred because they think the modifier opens new levels of reward. But the modifier tops out; you won’t get a better drop rate if you go over five-hundred. Beyond the cap, every additional point makes paths more difficult, slows down your progress, and doesn’t help at all. If you’re farming for a Masori or a Shadow piece, anything you spend raising yourself above the cap will be wasted time with no statistical benefit whatsoever.
You’re trading a higher chance of success for time saved and the exchange rate is awful at high end. The problem with targeting something is that weight distribution on the table means high-value item have a larger slice of pie than rarer drops. Rare drops like Tumeken’s Shadow has a smaller chance to drop compared to high value items. Items such as Lightbearer or Osmumten’s Fang weigh heavily in their respective tables.
The calculator above will run math for you once you select your target (see top). This calculates the number of raids you could expect to run into before luck finally smiles upon you. It’s useful to think about it less as guaranteed results and more as expected results over a large sample size. Normal variance means doing fifty raid and coming up empty-handed is entirely normal.
There’s also a qualitative aspect that pure math alone can’t describe: Path levels. The higher the path setting, the less forgiving of mistakes it is. Runs take longer, you die more often or you don’t even finish them. Get to level four on Akkha when playing with teammates who can’t handle her mechanics yet? Your runs-per-hour goes in the toilet. The fewer you get done each week, the longer the grind lasts. You have to wait longer to build up enough chance to have a shot at a given drop.
Sure, maybe having a great percentage per raid seems like a good thing. But if you’re only able to do two raids a week because it’s so tough rather then ten, then that grind goes on forever. It’s here that the true strategy comes into play, finding that sweet spot between fast and safe. Yes, it’s random sometimes; that’s how the game was designed. It strings together failures every now and then even if you do have everything lined up perfectly.
When you need to push and when you should of pull back is the trick. Take a step back when you feel like you’re just going through the motions. Do this if you can’t see yourself finding the time to hit a target as expected, or switch modes if you think your expectations are too high. A lower-pressure normal run might produce more consistent results and ultimately help you get a specific item faster anyway.
ToA isn’t really about going for the biggest hits. It’s much more about maintaining consistant completions over time. Long-term consistency trumps short-term intensity. It doesn’t matter as much whether you hit super-hard stuff or not; you don’t want to go for maximum difficulty and get wiped three times out of four. Instead, aim to survive consistently while completing raids, and keep an eye on the long game. The longer you stay in room, the more likely the shadow will eventually appear.