🧟 7 Days to Die Loot Stage Calculator
Estimate effective loot stage from player level, game stage pressure, biome, POI tier, container value, Lucky Looter, loot bonus buffs, difficulty, party scaling, days survived, and expected loot tier.
| Loot stage | Expected band | Typical finds | Planning read |
|---|---|---|---|
| 1-24 | T1 Primitive | Stone, cloth, food | Scrap and basics |
| 25-49 | T1 Improved | Better primitive gear | Early questing |
| 50-74 | T2 Starter | Pipe guns, bows | Weapon unlocks |
| 75-99 | T2 Iron | Iron tools, armor parts | Workbench goals |
| 100-149 | T3 Midgame | Quality tools, mods | Tier 3-4 POIs |
| 150-199 | T4 Advanced | Steel starts, rifles | Loot-room focus |
| 200-299 | T5 High-end | Strong guns, vehicles | Wasteland runs |
| 300+ | T6 Endgame | Top quality rolls | Max route farming |
| Source | Low value | High value | Why it matters |
|---|---|---|---|
| Forest | +0 | Safe | Stable early loot |
| Burnt Forest | +6 | Moderate | Better route pressure |
| Desert | +10 | Moderate | Good tool routes |
| Snow | +18 | High | Better main chests |
| Wasteland | +30 | Very high | Best reward, worst danger |
| POI tier | +0 | +48 | Skulls and quest tier |
| Modifier | Input | Best target | Model use |
|---|---|---|---|
| Lucky Looter | 0-5 ranks | Any loot run | Percent stage lift |
| Loot bonus | 0-300% | Main containers | Buffs and gear |
| Container value | Trash to main | Final rooms | Access bonus |
| High-value rolls | Container count | Safes and crates | Upgrade chance |
| Blood bags | Bag container | Horde night | High variance |
| Setting | Game stage | Loot stage | Practical effect |
|---|---|---|---|
| Lower difficulty | Reduced | Indirect | Safer POI access |
| Nomad baseline | 1.00x | Baseline | Default route read |
| High difficulty | Raised | Risk flag | Harder fights |
| Nearby party | Diminishing | Highest looter helps | More pressure |
| Days survived | Raised | Not direct | Blood Moon pacing |
| Preset | Level | Biome | POI | Loot focus | Risk read |
|---|---|---|---|---|---|
| Fresh Forest Houses | 3 | Forest | T1 | Basics | Low |
| Day 7 Trader Route | 18 | Forest | T2 | Tools | Medium |
| Desert Tool Stores | 32 | Desert | T3 | Tools | Medium |
| Snow Tier 4 Quest | 55 | Snow | T4 | Guns | High |
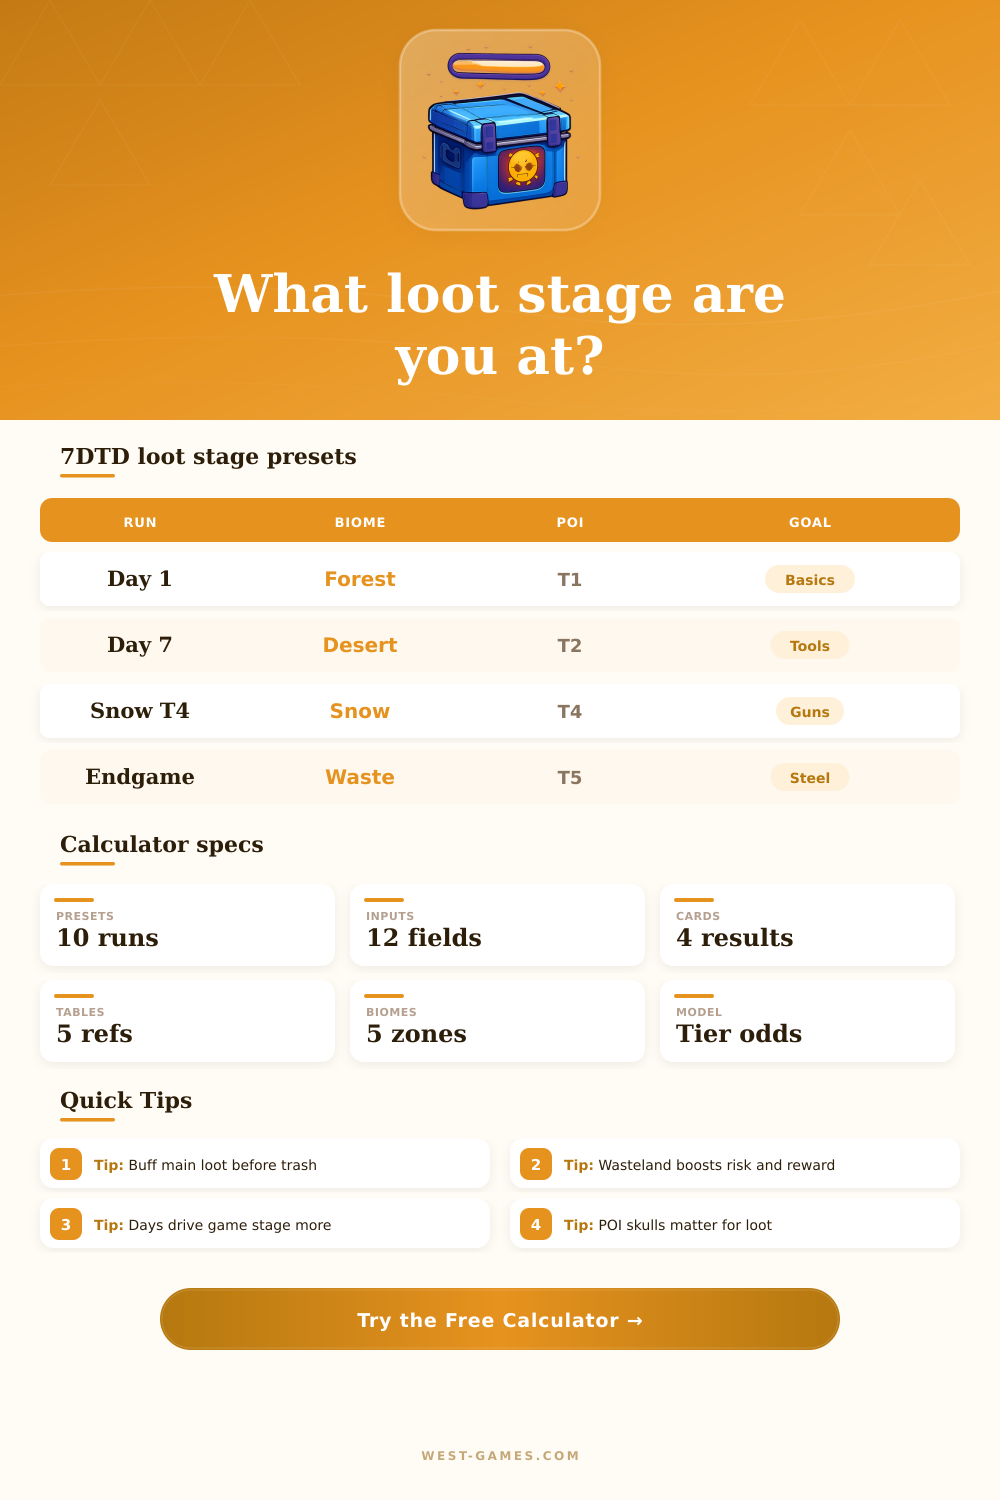
| Wasteland Tier 5 POI | 82 | Wasteland | T5 | Steel | Very high |
| Endgame Sweep | 140 | Wasteland | T6 | T6 rolls | Extreme |
And then there’s that frustration, where you clear out some high-tier point of interest for twenty minutes. And all you get is expired canned goods and junk. That kind of frustration make players wonder why they even bother.
In 7 Days to Die, the loot system are layered, and these layers aren’t understood by most players until hunger forces them to scrounge for resources. Those layers, when understood, transform a game of chance into a strategic exercise, one where you plan out your path based off odds rather than just guess at what might be in each container.
How to Find Better Loot in 7 Days to Die
It’s all tied to player level, which is part of it, but that isn’t all. There’s also your character level, a base quality floor that acts as your starting point. That’s then multiplied by biome, or more precisely the level of the point of interest (which can dwarf it). Want to play at level 10 in the forest? You’re looking at primitive scrap there. Level up to the wasteland and keep playing at 10? The zone itself demand a higher-tier drop and that greatly shifts the effective loot stage up.
Plug in your parameters for your route, and the calculator above do the math for you. It saves you from having to try to memorize complicated coefficients when you’re taking zombie fire. It turns vague modifiers into a clear expected tier so you can decide if this trip is worth the ammo and lockpicks.
New players tend to view Lucky Looter as a vanity perk, something that doesn’t actualy increase the amount of loot you find. In fact, at max rank it’s doing something else: raising the average of what you get (in terms of quality) while leaving the spread of results unchanged. Add that to server-side multipliers and temporary buffs like Lucky Goggles, and the effective stage can shifts enough to transform an ordinary crate into a possible home for advanced tools. To put it another way: Open several high-value containers during one run, and small percentage increases compound. The page itself has a clear reference table illustrating this.
But surviving days is not a direct loot increase. A lot of people think that if they just wait long enough through hordes, they’ll get higher quality stuff when they open every container. The game doesn’t work like that. Days don’t make containers contain more loot. Days mostly affect zombie difficulty and encounter pressure.
Days make travel more difficult, they do not make the rewards at the end better. To get better loot, you must either move somewhere with better loot, or make your access routes safer and easier. Day 30 isn’t going to transform a trash can into a safe deposit box. You actualy have to visit somewhere where there’s high stage loot and be able to open it in safety.
The tool can help you visualize some of the tradeoffs associated with party play in particular. For instance, when you add a teammate, your group’s average stage go up. That means the enemy you’ll encounter becomes harder. But now you have more people pooling together to raid high tier points of interest that is suicidal solo. The trick is having enough collective power to clear out the building fast and not waste your buff timers fending off basic zombies while leveling up.
It also means that if your lead looter is far above your other players’ levels, then adding them may not raise the average stage high enough to make it worthwhile. Container selection matters This is another area where choosing your containers is even more important than in many others. A timed buff on some roadside cupboards? Waste of potential. Boosts should of been saved for sealed shipping crates, main loot rooms and safes; containers with a higher-than-average base value. Often times, the key to finding that rifle instead of a pipe gun will be which container and when it’s opened.
Luck plays a role here too but so does resource management. You have no way to know what the RNG will roll up, but you can increase the odds by focusing on the correct containers in the correct zones. Bottom line: Treat loot runs as missions, not scavenger missions. Map out your path based on ranked point of interest and biome modifiers. Tweak the odds a little in your favor using perks. Don’t waste precious buffs on low-value targets. Get your character level matched up with high-tier areas with suitable container access. And when you do, the sting of fruitless rooms vanishes.
Luck ceases to be a hope and becomes a craft, carefully planned and engineered. That’s the distinction between survival and thriving… One more day at a time.