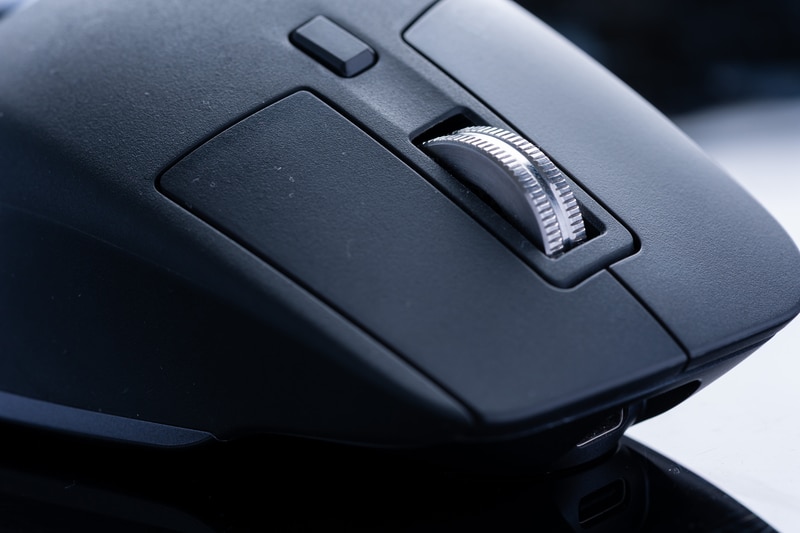
Logitech has been serving the gaming community for almost three decades now. The gaming community has always admired their high-quality products. Their mouses are the most famous ones out of their product list. One of them is Logitech G Pro, which is famous for its high speed and easy-to-handle hardware. However, some of its purchasers feel difficulty in connecting it with the system. Practically, it is quite easy but seems impossible when you unbox it. Therefore, if you are also the one who has a question in mind: how to connect Logitech G Pro wireless then you should go through the following guideline.
How To Connect Logitech G Pro Wireless?
The following guide will show you the path of how to connect Logitech G Pro systematically. You are advised to follow all the steps to successfully connect your Logitech G Pro. In case, you get stuck anywhere during the process then you can always consult the user manual provided with the mouse.
1. Unboxing
Unboxing is the first step in the process. After unpacking your product, you should take out all the products inside the box. In this step, you have to make sure that the box contains everything that was promised earlier. Moreover, you should gently take out the products from the box so that they are not damaged.
2. Turn On the Power Button
After unboxing, the next step you need to follow is turning on of power button. You can find this button on the bottom side of your mouse, where you need to remove the plastic cover. Beneath this cover, you will find this button. Just by pressing it, the mouse will turn on. Remember that this step is critical in connecting your mouse with your system.
3. Plug in-in the USB Into your System
In this step, you will need to plug in the USB dongle provided at the bottom of the mouse. You can find this dongle inside the plastic cover discussed above. After plugging it into your system, your computer will ask for your permission to install the drivers. You can also make your mouse act like a wired one. For this, you will need to use the cable provided to you inside the box. Instead of using a USB dongle, you will be using a wired cable whose one end is attached to the mouse and the other to your system. The benefit of this cable is to use your mouse when it is charging.
4. Install the Drivers
After your computer detects the USB due to the voltage difference, it will ask your permission to download drivers to make your mouse function. In case, if your computer is not asking for permission then, in this case, you will need to download the drivers manually. Additionally, in the case of manual installation, you will need to make sure that the site that you are using for the installation of drivers is a trusted one.
