🏇 Umamusume Banner Calculator
Plan Uma Musume jewels, singles, 10-pulls, SSR or 3-star rates, spark count, pity-style progress, target copies, and probability of hits before spark.
| Resource | Pull value | Spark value | Calculator use |
|---|---|---|---|
| Single pull | 150 jewels | 1 point | Base conversion |
| 10-pull | 1,500 jewels | 10 points | Batch planning |
| Single ticket | 1 pull | 1 point | Adds to pull bank |
| 10-pull ticket | 10 pulls | 10 points | Adds to pull bank |
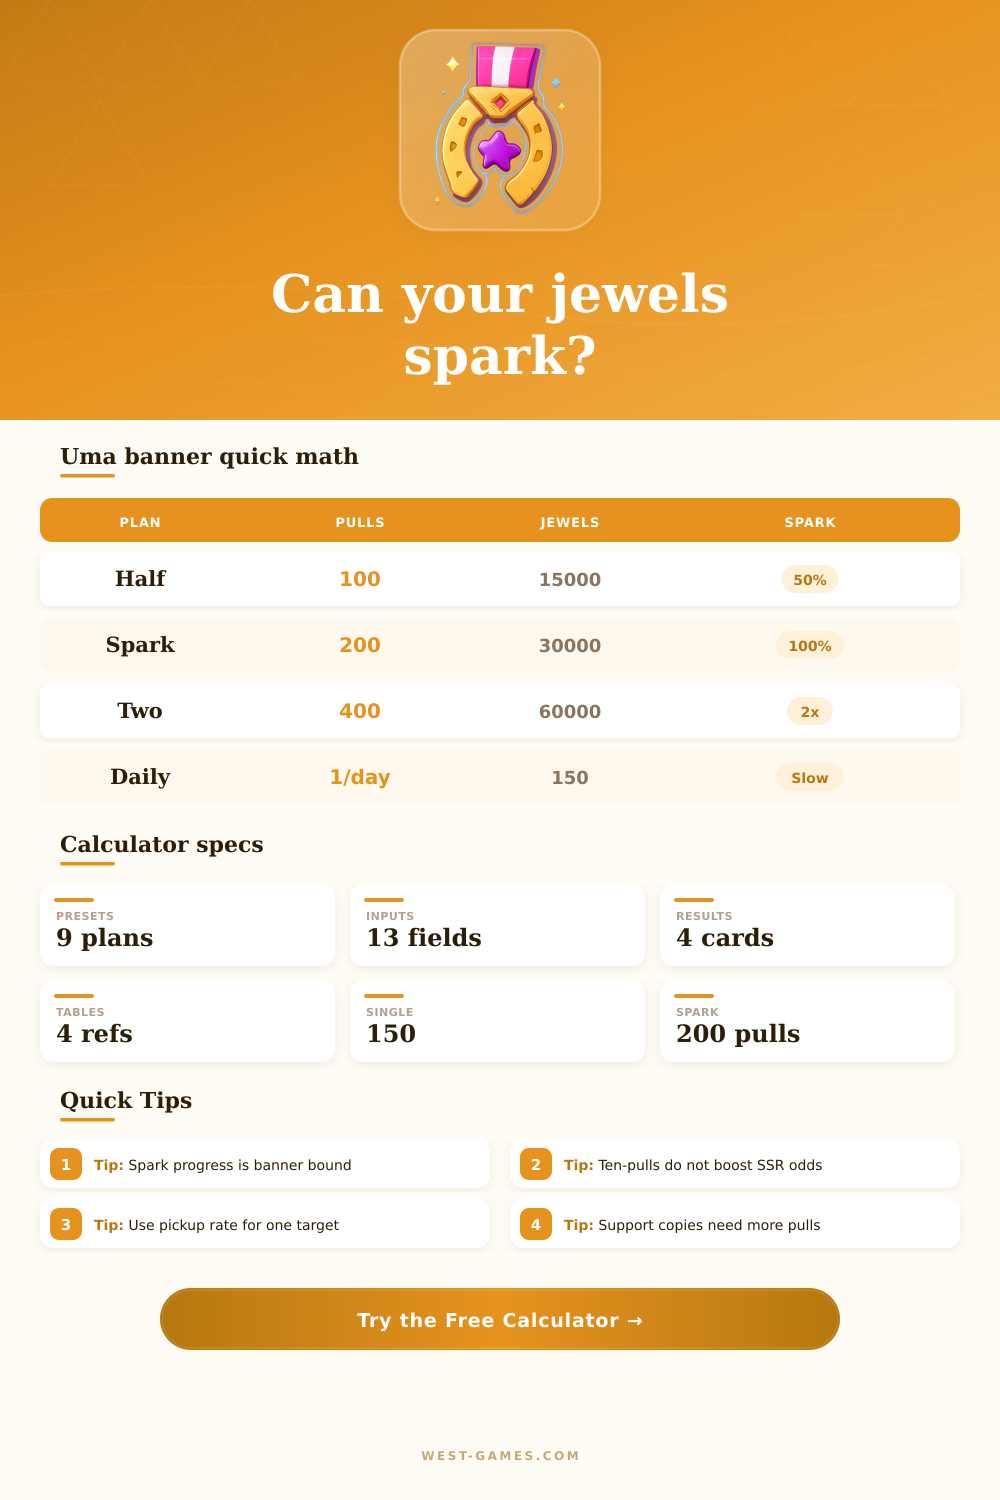
| One spark | 200 pulls | 200 points | Exchange copy |
The calculator floors jewels into whole pulls and then adds ticket pulls and manual extra singles.
| Banner | Top rarity | Pool rate | Target default |
|---|---|---|---|
| Trainee character | 3-star | 3% | 0.75% |
| Support card | SSR | 3% | 0.75% |
| Dual pickup support | SSR | 3% | 0.75% each |
| Any top rarity | SSR or 3-star | 3% | Set share to pool |
| Custom event | Editable | Manual | Manual |
Use the in-game banner details for exact pickup rates. The pool and target rates are separate inputs.
| Pulls | 0.75% target | 1.5% target | 3% any SSR/3-star |
|---|---|---|---|
| 50 pulls | 31.4% | 53.0% | 78.2% |
| 100 pulls | 52.9% | 77.9% | 95.2% |
| 150 pulls | 67.7% | 89.6% | 99.0% |
| 200 pulls | 77.8% | 95.1% | 99.8% |
These are at-least-one random hit odds. Spark exchange is a separate guaranteed copy when available.
| Current count | Pulls left | Jewels left | Planning note |
|---|---|---|---|
| 0 / 200 | 200 | 30,000 | Full spark from zero |
| 50 / 200 | 150 | 22,500 | Quarter progress |
| 100 / 200 | 100 | 15,000 | Half spark |
| 150 / 200 | 50 | 7,500 | Short finish |
| 190 / 200 | 10 | 1,500 | One 10-pull away |
If your current count exceeds the threshold, the calculator carries full sparks and the remainder into the next cycle.
You want to get that fancy-ass trainer card so badly, but 30 grand of jewels might not be enough. It’s the old Uma Musume conundrum: How much is too much? This is a digital game of hope vs. Math. Will fate smile on you? Should you save up just to play it safe? Thinking ahead will stop panic and turn a coin toss into an educated bet.
Every pull give you some points and each point moves you closer to getting your own guaranteed copy with two-hundred pulls. It’s kind of like a soft pity timer where you’ll get what you want eventually, regardless of the random number gods conspiring against you. But once players spot the exchange shop they forget about chance entirely. The guarantee cancels out everything else right? That is a dangerous idea because it overlooks the cost required to reach said guarantee. You could blow through enough jewels to purchase two copies but require just one.
How to Save Money on Card Pulls
Resource management are more important than hitting an arbitrary number. Before parting with jewels, know what risk is at play. Banner type). Support card banners draw from an SSR pool across several targets, whereas trainee banners has defined pickup odds and rates capped at three stars.
Plug those into the calculator, then input target rates and jewel balance. It will do the math for you so no guesswork required about how split attention impacts your odds. For instance, if a banner calls out two cards, they’ll each recieve half of the increased chance percentage. Your own odds are much lower then that of a solo spotlight. Adjust expectations accordingly not by a one-size-fits-all success rate.
Free pulls is included in your spark progress, but don’t consume any currency. This is one advantage many player miss, as they view tickets as bonus content rather than something that fits into their plan. But using both five and 10-pull tickets will help you close the gap between now and the next exchange milestone. This lets you make progress towards your immediate goals without stretching your jewel reserves too thin for future event.
You’ll see the conversion rates from each resource to point in the reference table below, which helps you focus on what provides the highest return. This changes how you handle duplicates: it’s no longer about just acquiring them, it’s about managing probabilities. When going after max limit breaks on support cards, you’re hoping for multiples of a rare event. As such, your chances of rolling two copies drops significantly as you move past one copy to the next. At this point, expected value becomes more important than simple yes-or-no success metrics.
Instead of planning for the best case scenario, you begin planning for the average. And you realize that variance will occur. One common mistake is failing to distinguish between target and pool rates. When we see a three percent SSR rate, that doesn’t equal a three percent shot at pulling your desired horse. It represents three percent of all pulls resulting in SSRs shared among the various featured cards. If you don’t factor in how those pulls get split up, you’ll burn through your budget much quicker than expected. Spend some time double-checking those figures in-game before committing them to your planner to avoid such expensive mistakes down the line.
Balancing financial reality with ambition is an art form in managing banners well. On one hand, you want the optimal team composition, but on the other, you don’t want to leave yourself dry for upcoming new banners next month. You should of planned better. By treating pulls like a budgeting exercise instead of a gambling spree, you put yourself in control of the process. When you go into each summon knowing exactly what you will and won’t get for your money, you can enjoy the thrill of the pull while feeling comfortabley that you won’t have regrets.