🏺 Tombs of Amascut Loot Calculator
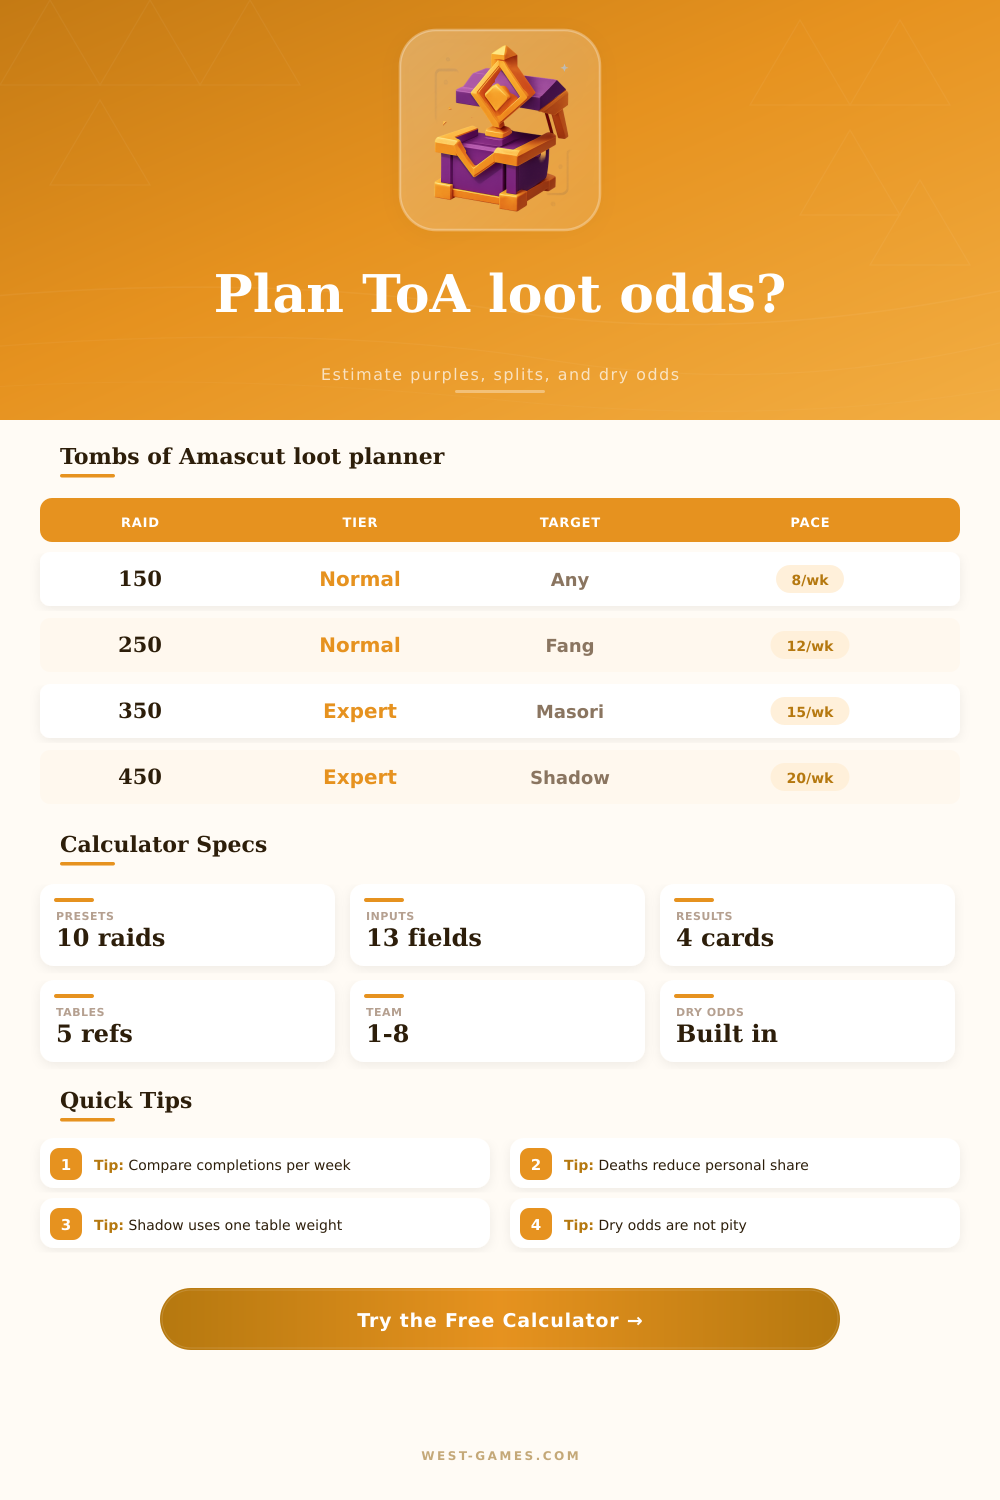
Plan normal and expert Tombs of Amascut loot around invocation tiers, path invocations, deaths, team split rules, purple table targets, weekly completions, and dry odds.
| Raid level | Planner bracket | Effective scaling | Use case |
|---|---|---|---|
| 150 to 199 | Normal baseline | Full value | First stable purple plan |
| 200 to 299 | High normal | Full value | Farm before expert |
| 300 to 399 | Expert | Full value | Main unique hunt tier |
| 400 to 550 | Expert push | Slower after 400 | Compare pace carefully |
| 551+ | Cap compare | No added value here | Difficulty context only |
This planner accepts levels above 550, but it treats extra level as pace and risk context rather than extra loot modifier.
| Target | Weight | Share of table | Planning note |
|---|---|---|---|
| Osmumten's fang | 7 | 29.17% | High-weight target |
| Lightbearer | 7 | 29.17% | High-weight target |
| Elidinis' ward | 3 | 12.50% | Mid-weight target |
| Any Masori piece | 6 | 25.00% | Combined armor roll |
| Single Masori piece | 2 | 8.33% | Specific armor slot |
| Tumeken's shadow | 1 | 4.17% | Lowest table weight |
Any purple uses the full active table. Specific targets multiply personal purple chance by the listed table share.
| Combined paths | Average path | Pressure | Planner meaning |
|---|---|---|---|
| 0 to 3 | Below 1 | Low | Learning or speed |
| 4 to 7 | Near 1 | Moderate | Stable normal farm |
| 8 to 11 | Near 2 | Medium | Mechanics check |
| 12 to 15 | Near 3 | High | Deaths can rise |
| 16 | All level 4 | Severe | Pace usually falls |
Path pressure is not a purple multiplier. It helps explain why a harder plan may have fewer completions per week.
| Split rule | Chance basis | Your planning share | Best read |
|---|---|---|---|
| FFA | Your name only | Personal point share | Log progress |
| Equal split | Team purples | 1 divided by team size | Shared payout planning |
| Weighted split | Team purples | Your point share | Contribution-based team |
| Iron or personal | Your name only | No team payout | Collection tracking |
This calculator does not use market prices. Split share shows how much of the team's purple progress belongs to your plan.
| Preset | Level | Team | Target | Schedule role |
|---|---|---|---|---|
| 150 Normal Solo | 150 | Solo | Any purple | Baseline consistency |
| 250 Trio Fang Hunt | 250 | Trio | Fang | Normal team farming |
| 300 Expert Solo | 300 | Solo | Shadow | Expert benchmark |
| 400 Team Masori | 400 | Four | Masori body | Split comparison |
| 540 Cap Compare | 540 | Eight | Shadow | High-pressure cap test |
Presets are starting points. Replace point totals, weekly completions, and death counts with your tracker data for useful planning.
Every Old School RuneScape player has a question when they enter Tombs of Amascut: How many times will I have to run it? How long until I get this drop? What’s the answer? This isn’t just a grind or a matter of luck. Several things affects this. The variables include probability math, team composition and invocation tiers.
These is weighted tables. The loot system is built around weighted tables. These table reward volume while punishing specificity. Do you want to find Tumeken’s shadow? Well, that means you’re hunting for something with one weight unit out of a total table weight of twenty-four. That’s a narrow target. If you broaden your sights to include anything from Osmumten’s fang to any piece of Masori armor, those weights climb significant, which alters your expected wait time. Use the calculator above to run numbers for yourself. Turn abstract weights into real weekly chances. Erase the guesswork about whether expert mode will be worth it due to increased difficulty.
How ToA Loot Works
That changes when you consider path invocations. Every time you raise your paths, you put more mechanical pressure on yourself which affects your weekly completion rate. Sure, a level four setup sounds cool. But if you’re dying more or bailing out, it reduce your overall sample size. Less completions = less opportunities to roll on the loot table.
And it’s not just about how high you set your raid level. That’s why the tool uses expected deaths/minutes-per-completion in its model. It demonstrate that a more difficult, slower run will typically result in less loot over the course of a month different than a clean normal mode clear at a lower speed. Here’s where most players fall short: They want higher difficulty runs because of prestige, yet they fail to account for economic reality of their time investment.
Another thing to consider is team splitting. If your entire raid are made up of 8 people (with equal split), that severely reduces your odds of getting something when you run compared to going alone or as a duo. But larger teams tends to run more raids each week than smaller ones due to the sharing off resources and being able to let mistakes slide here and there. Do you reduce your loot share by running with a larger team, then make up for it by doing more runs? It really depends. Change the variables around and see how it affects you based off a financial perspective.
Which brings me back to dry streaks. You should of know that random number generation doesn’t remember anything. Just because you got unlucky on ten raids doesn’t mean a drop is guaranteed next. The calculator gives you confidence intervals (e.g., how many times must I run to get a 90% chance of getting my item?). That’s important for managing expectations. If you don’t get lucky on a raid and quit early thinking there is a pity system, you’re going to be frustrated. In fact, there isn’t one coded.
A lot of players are also caught up in trying to maximize their raid level, rather than focusing on what they can realisticly do each week. While doing 500 invocation seems like you’re making good progress, higher failure rates and longer runs will cut your completions in half. That’s essentially farming more inefficiently. These effective scaling thresholds is outlined in the reference tables on the page. They indicate when diminishing returns start to set in.
The instant gratification of getting a good loot roll isn’t everything; it’s part of the planning for a ToA. You also need to consider what you’ll do in the following months, and which individual item could increase your bank balance or make you more effective at the game. Let the calculator crunch the probabilities for you. You can then come up with a plan to carry it out. It brings hazy expectations into concrete action steps with measurable results.
Whether you’re farming items for gold or searching for something rare, the mechanics are identical. When the odds is working against you, more volume is better than greater intensity. Heroics don’t matter as much as consistency over time. Once you realize that your drop chance depends on things like your path level and number of players, you stop leaving everything to luck. You play the numbers instead of fighting them.
The desert does not care about your efforts. It will respect your plans though.