🏺 TOA Drop Rate Calculator
Estimate Tombs of Amascut purple chance from raid level, team points, personal deaths, selected unique weight, target raids, and completion pace.
| Raid level | Mode | Modifier rule | Farm note |
|---|---|---|---|
| 0 to 149 | Entry | Full value | Restricted uniques |
| 150 to 299 | Normal | Full value | Full table opens |
| 300 to 399 | Expert | Full value | Strong purple jump |
| 400 to 550 | Expert+ | One-third value | Slower scaling |
| 551+ | Cap | No added value | Difficulty only |
The calculator treats 550 as the unique modifier cap and keeps accepting raid levels above it for planning context.
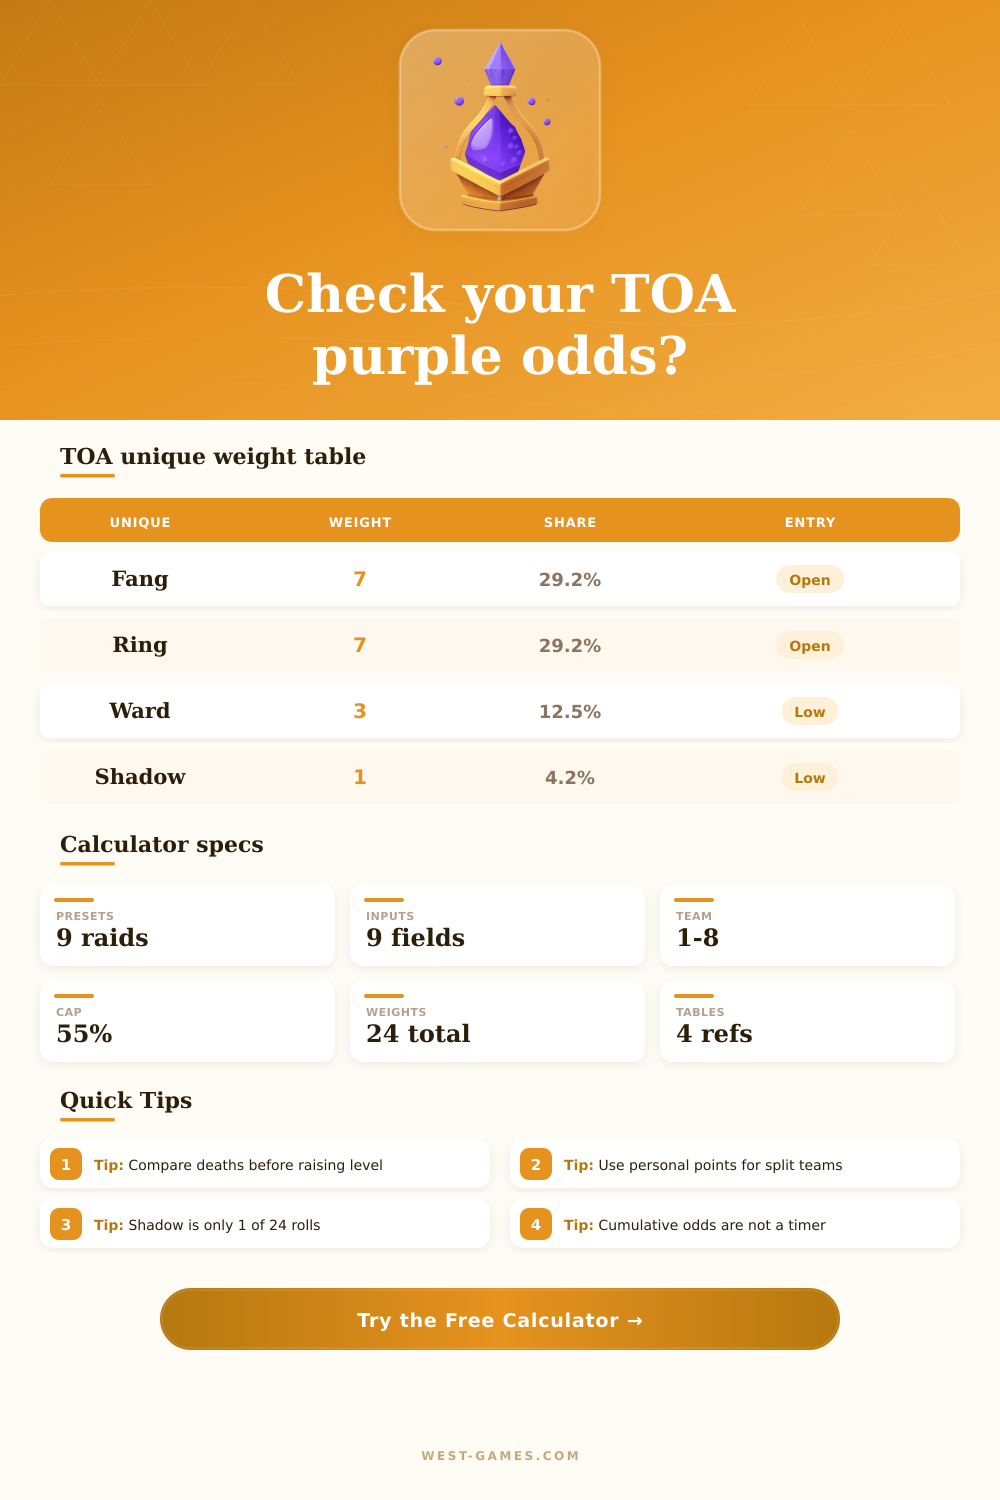
| Unique | Weight | Share | Entry handling |
|---|---|---|---|
| Osmumten's fang | 7 | 29.17% | Open |
| Lightbearer | 7 | 29.17% | Open |
| Elidinis' ward | 3 | 12.50% | Restriction roll |
| Masori mask | 2 | 8.33% | Restriction roll |
| Masori body | 2 | 8.33% | Restriction roll |
| Masori chaps | 2 | 8.33% | Restriction roll |
| Tumeken's shadow | 1 | 4.17% | Restriction roll |
For sub-150 raids, restricted uniques are modeled with a 1 in 50 bypass roll after the item is selected.
| Mechanic | Calculator value | Where used | Effect |
|---|---|---|---|
| Base unique | 10,500 pts | Points per 1% | Starting denominator |
| Raid level | 20 per level | Modifier | Lowers denominator |
| Death | 20% or 1,000 | Your points | Reduces share |
| Player cap | 64,000 pts | Input clamp | Limits one player |
| Team cap | 55% | Team purple | Limits total roll |
Personal deaths are applied sequentially to your entered points; teammate points should already include their own deaths.
| Preset | Raid level | Team | Point style |
|---|---|---|---|
| 150 Solo Baseline | 150 | 1 | Learning farm |
| 250 Trio Farm | 250 | 3 | Even shares |
| 300 Expert Solo | 300 | 1 | Full table |
| 400 Team Push | 400 | 4 | High total |
| 550 Modifier Cap | 550 | 8 | Capped scaling |
Use the preset buttons as starting points, then replace the points and minutes with your own completion data.
The math is simple: each death will cost 20 percent of your points. However, the penalty isn’t flat; it’s sequential, which means it compounds fast. You don’t need to open up Excel to know what this looks like. But if you want to know exactly how much your odds decrease after each death, you’ll need to calculate it correcty.
This mean that your team’s point distribution across members is simulated by the tool above. It will calculate exactly what percent of reward pool you control based on your personal contribution and the team’s effective raid level. Why does this matter? The unique drop chance isn’t simply a flat percent for everyone in group. Even if the group overall have a good chance to trigger a purple drop, your own unique drop chance is based off your portion of the points, which goes up with higher invocation levels.
Use Math to Improve Your Loot Odds
That’s why going from 300 to 500 gives you less value for your effort, as shown on page’s reference table (which details those weight changes). The “maximize modifier” obsession doesn’t account for how team coordination tend to be the real bottleneck, not any one person’s power level.
You can put yourself in a situation where everyone on your team get maxed out. But if you’re running with seven other people who take forever to get through things, it won’t matter what you do individually. Your small gain in drop probability will be overwhelmed by the sheer amount of time everyone puts in. Better to run with a few friends who know what they’re doing and wrap up fast every time, then to run with an entire team of eight who end up taking like forty-five minutes to try because nobody can communicate properly and/or has low enough combat stats.
Using the calculator, you can play around with different numbers and see when having more people actualy improves your chances individually or merely waters down the whole thing.
The other thing spreadsheets don’t record is the psychology of dry spells. You might have a 20% probability of getting something on a given raid run and yet not see anything after two hundred runs. Players break down over that sort of variance, switching modes too early or even blaming themselves for bad luck rather than acknowledging statistical reality. On average, you’ll get this much out of a raid. But that’s the mean; the mean lies if all you have is a single life in Old School RuneScape. A better way to think about your expectations is to think in terms of confidence intervals. How many raids do I need before I’m guaranteed to find it with a 90 percent probability?
The thing most players don’t realize about these items is that they has a weight to them. By default, they sit at the bottom of the probability hierarchy. They’re designed that way because chasing them means you need both points and patience, something that very few people want to spend in today’s game. Before you dump hundreds of hours into grinding for rare drops like Masori armor parts and Tumeken’s shadow, use the calculator to break down the odds of those items. This will give you an idea of just how steep your climb is before you start investing time into it. It cuts through the hype and leaves you with nothing but cold, hard probabilities.
At the end of the day, raiding is as much about performance as it is expectation management. You can plug in your real numbers, such as completion time and deaths. You are no longer guessing. You can compare solo runs against duo or trio setups to see where your time is best spent. Trio comparison. And that’s when the math stops caring about how difficult the last night was for you: It only cares about the points on the board right now.
Let that clear understanding direct your decision about whether you’ll go for the big wins with higher level runs, or settle into something more safe but less valuus each time out. More often than not, whether you have a good raid or waste your night has little to do with luck. It’s simply better math before you ever log in.