Ball Tower Defense Calculator
Estimate unit damage, attack speed, splash control, upgrade path output, placement count, wave HP, DPS, time-to-clear, and lane coverage for a Ball TD defense setup.
| Unit Preset | Role | Damage | Speed | Range | Best Use |
|---|---|---|---|---|---|
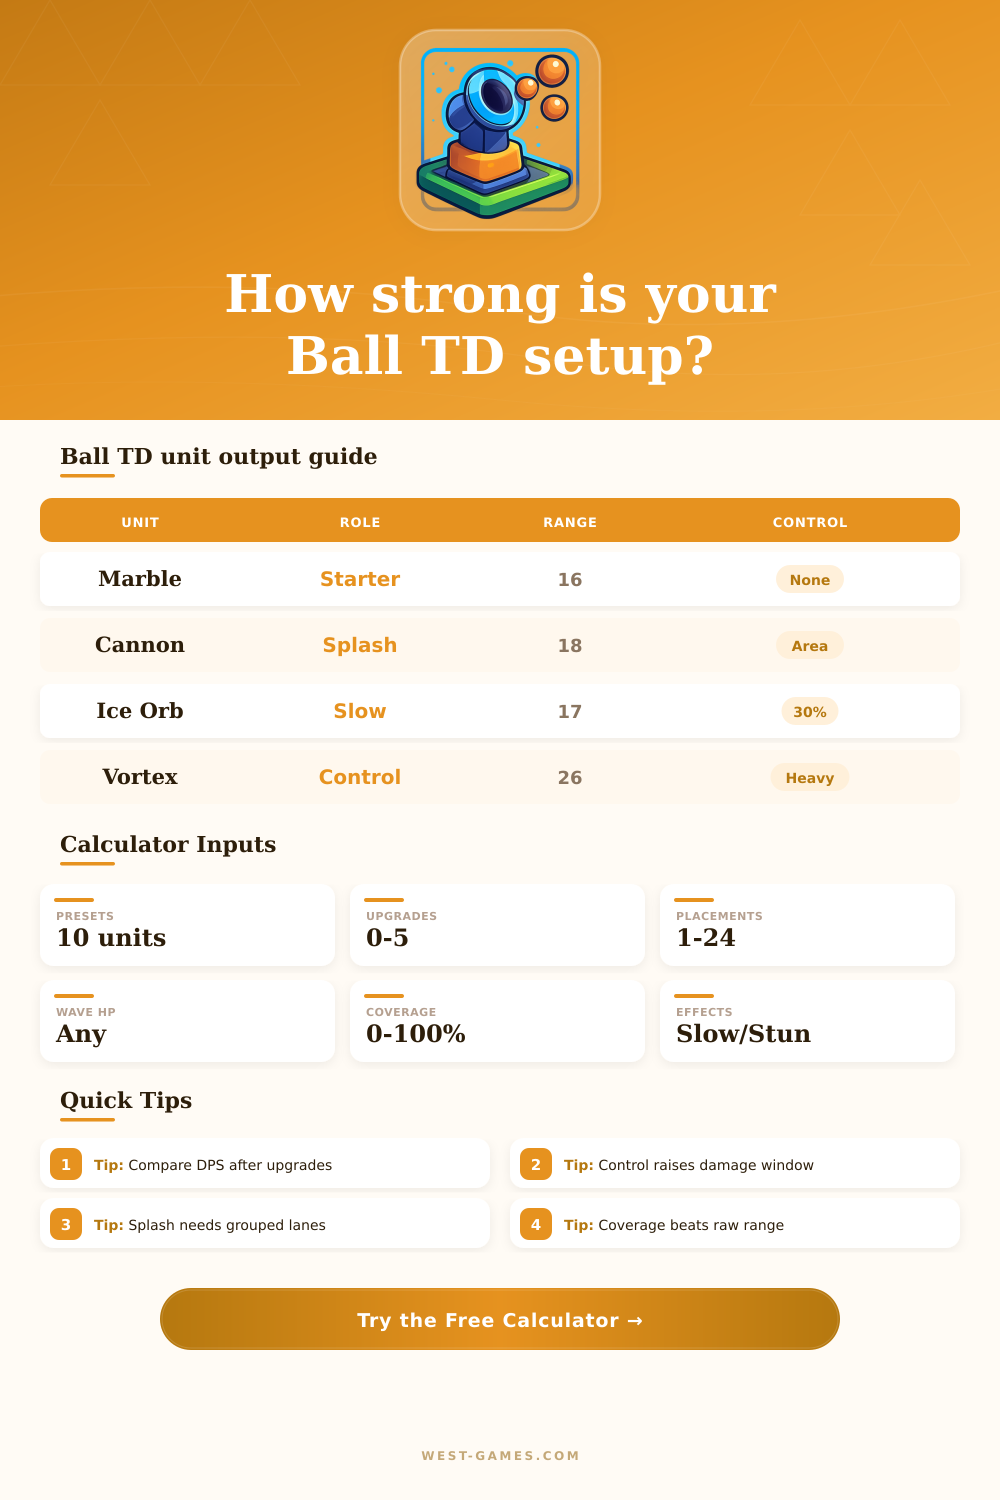
| Starter Marble | Early lane | 12 | 1.15 sec | 16 | Cheap baseline planning and first-wave coverage. |
| Rapid Rubber Ball | Fast hits | 8 | 0.42 sec | 14 | Low armor waves with many small enemies. |
| Cannonball Launcher | Splash | 36 | 1.75 sec | 18 | Grouped waves where splash targets stay high. |
| Ice Orb Roller | Slow | 18 | 1.10 sec | 17 | Extending the damage window for other units. |
| Bowling Stun Ball | Stun | 28 | 1.45 sec | 15 | Holding enemies at bends or short choke points. |
| Magnet Ball | Cluster | 20 | 0.95 sec | 20 | Improving splash value with pull-style control. |
| Plasma Ball | Core DPS | 46 | 1.25 sec | 21 | Reliable mixed-wave damage after mid upgrades. |
| Meteor Ball | Burst | 84 | 2.80 sec | 24 | Boss chunks and armored enemies with support. |
| Vortex Ball | Control | 34 | 1.80 sec | 26 | Long-range slow lanes with clustered enemies. |
| Prism Ball | Endgame | 60 | 0.82 sec | 22 | High upgrade scaling and strong late-wave DPS. |
| Setting | Damage | Cooldown | Range | Effect |
|---|---|---|---|---|
| Tier 0 Base | 1.00x | 1.00x | 1.00x | 1.00x |
| Tier 2 Spin | 1.85x | 0.84x | 1.18x | 1.16x |
| Tier 4 Track | 3.50x | 0.66x | 1.45x | 1.38x |
| Tier 5 Final | 4.80x | 0.58x | 1.62x | 1.52x |
| Rapid Path | 0.94x | 0.82x | 0.95x | 0.96x |
| Control Path | 0.90x | 1.06x | 1.08x | 1.45x |
| Range Path | 0.98x | 1.02x | 1.35x | 1.10x |
| Factor | Input | Calculator Logic | Best Use |
|---|---|---|---|
| Splash | Avg targets | Extra targets add reduced area DPS | Curves, loops, and choke lanes. |
| Slow | Uptime % | Raises damage window by slow strength | Long lanes with steady contact. |
| Stun | Uptime % | Raises output while enemies pause | Burst phases and short kill zones. |
| Straight lane | 0.82x | Less range overlap | Simple first lane segments. |
| Choke point | 1.18x | More time in stacked range | Kill boxes and loops. |
| Split lane | 0.68x | Placements divide attention | Multi-lane routes. |
| Wave Type | Enemy HP | Count | Pressure | Calculator Setup |
|---|---|---|---|---|
| Early swarm | 80 to 250 | 30 to 60 | Many small enemies | Use low resistance and 1.5 to 3 splash targets. |
| Mid mixed wave | 500 to 1500 | 25 to 45 | Balanced HP and speed | Use tier 2 to 4 and moderate slow uptime. |
| Armored push | 1800 to 4500 | 10 to 28 | Resistance matters | Raise resistance and compare damage path output. |
| Boss lane | 12000+ | 1 to 8 | Huge HP pool | Set splash near 1 and focus on direct DPS. |
Placing the tower into a ball tower defense game requires finding a balance between the damage the towers will do and the control that the towers will have over the movements of the enemies. A lack of balance in the placement of these defensive structure can cause the enemies to leak through the lanes that were constructed. Although the game might provide player with the option of placing the towers into the map by themselves, players must also consider the coverage that the towers will provide and the control that the towers will have on the enemies’ movement.
The calculator help the player to determine these factors, as the calculator will automatically calculate the mathematical equations that determine the outcome of each decision made within the game. By using this calculator, players can avoid guessing at where to place the defensive towers. Instead, using the calculator will ensure that the defensive towers will be able to close the gap between the enemies and the end of the game map lane.
How to Use the Tower Placement Calculator
Each of the game’s input will relate to specific event that occur within the map of the game. The placement count is use to determine how many tower of the same type are to be constructed on one lane. This is an essential element to input into the calculator.
The other two element are the HP of the wave and the number of enemies that will enter the map. These two elements will allow the calculator to determine if the towers can eliminate the health of all of the incoming enemies. The third element is the resistance that the enemies have to the damage that the towers will do.
The splash targets element is use to determine how many enemies will enter a splash area. However, this element is only useful in situations in which the enemies are forced to enter this area. The slow and stun uptime elements will allow players to set the amount of time that the enemies will remain in the fire range of the defensive towers.
The more time that the enemies are within this range, the more likely the towers will eliminate the enemies prior to the arrival of the next bend in the map. The calculator will translate these elements into three specific elements that will allow players to analyze the performance of their constructed tower. The first element is the effective DPS of each lane.
This determines how fast each lane will deplete the enemies. The second element is the time it will take to clear the enemies from the map. This is calculated by dividing the total amount of health of the wave by the effective damage per second of that lane.
The third element is the coverage of each lane. This element calculates the length of the track that is covered by the defensive towers. The final element is the comparison between the outcomes of each scenario.
If a player decides to upgrade the towers in the lane by one level or to place another type of tower, the calculator will display the comparison of how these two scenario will differ in terms of the outcome of the wave. Many ball tower defense player place too much value into the raw damage that the towers can do and too little value into the amount of time that the enemies will spend slowed or stunned by the areas create by the towers. Constructing a control path for the enemies may reduce the damage that each wave does with each hit to the defenses, but it will ensure that the enemies remain within the range of fire from the defensive towers for a longer period of time.
This same logic can be applied to split lane as well. The calculator for ball tower defense maps will reveal these outcome for the players, allowing for the players to make decision without simulating the waves that the enemies will make. The reference table on the page will allow players to understand the different unit presets and the multipliers that each upgrade will provide.
These tables will indicate which tower are strong during the early swarms of enemies and which will do the most damage when the resistance from the enemies begins to increase. These tables can also indicate the outcomes of specific lane shape. These reference tables can be used to verify the calculation that the calculator has made should the players’ calculations reveal different results.
The best way to use the calculator is to utilize the same lane for two instance of the game with the intention of making small changes to the parameters of the defenses. For example, a player can change from a damage path to a control path for the enemies. Additionally, a player can use the calculator to add two tower to the game to determine whether that will help to even the score with the enemies as compared to upgrading the towers of that lane.
These type of decisions could of been made prior to the next wave of enemies approaches the player’s constructed defenses. Ball tower defense games reward the players who understand the system of each of the game’s lane and the impact that each element of that system can have on the outcome of the game.