Gemstone Crab XP Calculator
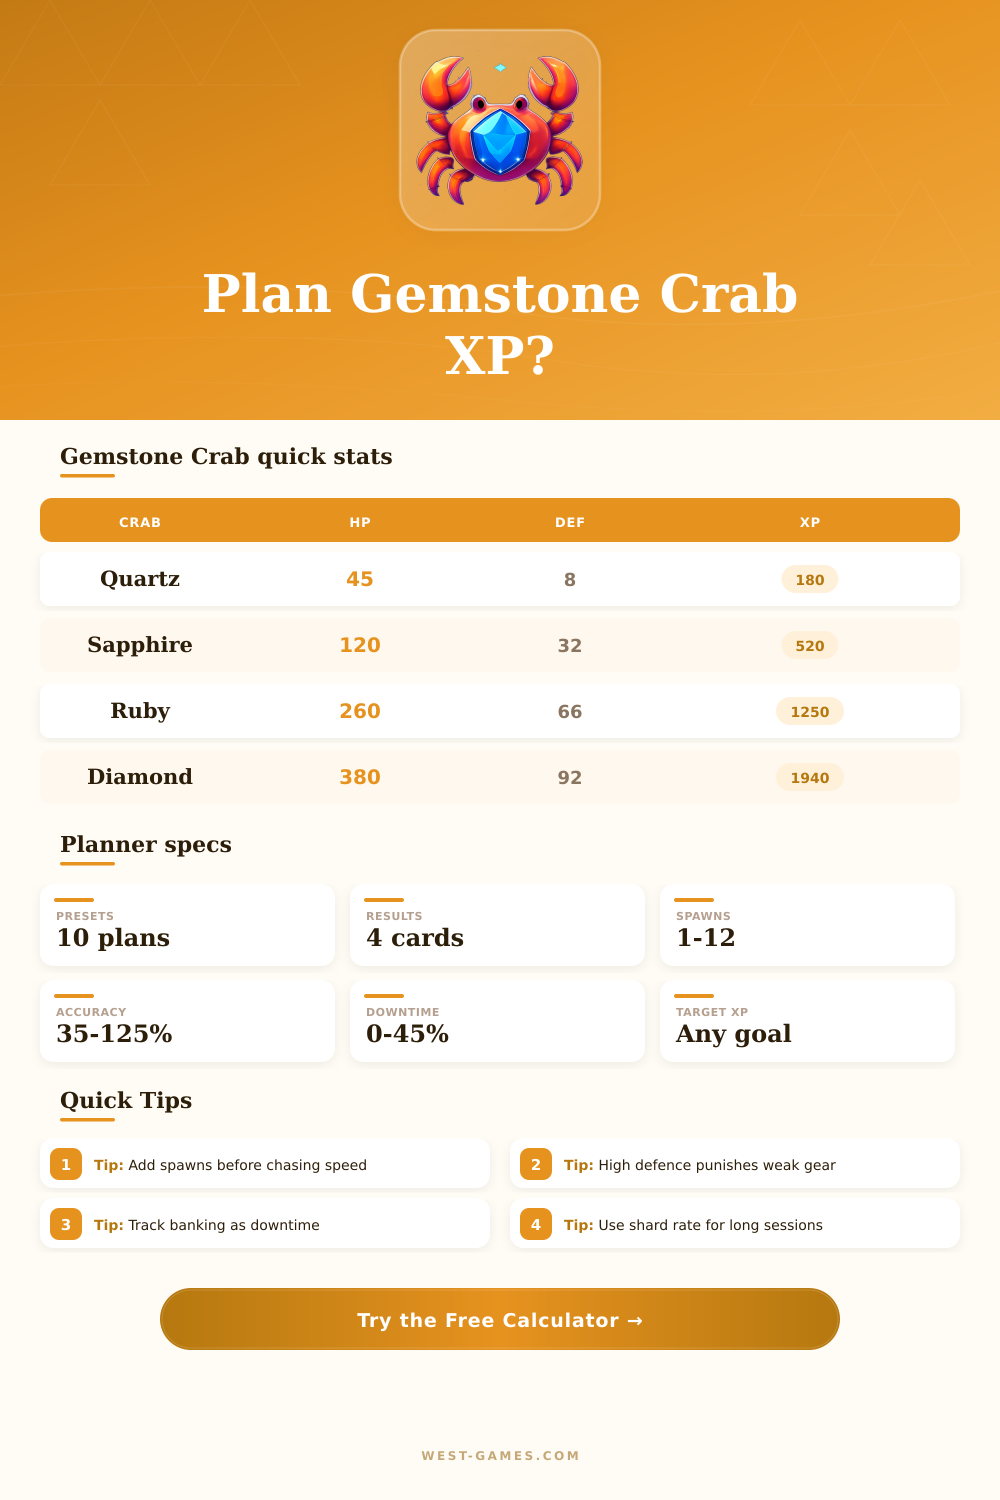
Plan crab training XP from HP, defence, XP per kill, spawn count, kill speed, gear accuracy, downtime, drops, shards, and target sessions.
| Crab | HP | Defence | XP per kill | Respawn | Shard rate |
|---|---|---|---|---|---|
| Quartz Crab | 45 | 8 | 180 | 12 sec | 0.08 |
| Agate Crab | 80 | 18 | 320 | 14 sec | 0.16 |
| Sapphire Crab | 120 | 32 | 520 | 16 sec | 0.28 |
| Emerald Crab | 180 | 48 | 820 | 18 sec | 0.42 |
| Ruby Crab | 260 | 66 | 1250 | 22 sec | 0.65 |
| Diamond Crab | 380 | 92 | 1940 | 26 sec | 0.95 |
| Obsidian Crab | 520 | 118 | 2720 | 30 sec | 1.35 |
| Onyx Crab | 720 | 150 | 3920 | 36 sec | 2.10 |
| Crystal Crab | 900 | 175 | 5200 | 42 sec | 3.00 |
| Gear profile | Accuracy mod | Damage mod | Best crab range | Training note |
|---|---|---|---|---|
| Training weapon | 0.86 | 0.95 | Quartz to Agate | Low barrier but weak into defence |
| Balanced set | 1.00 | 1.00 | Sapphire to Emerald | Default planner baseline |
| Accurate ranged | 1.10 | 0.98 | Agate to Ruby | Stable hits with little travel risk |
| Gem-tuned magic | 1.06 | 1.08 | Emerald to Diamond | Good when accuracy stays above 70% |
| Heavy two-hander | 0.94 | 1.18 | Ruby to Onyx | Strong if misses are controlled |
| Crystal focus set | 1.18 | 1.12 | Diamond to Crystal | Best into high-defence targets |
| Party support aura | 1.08 | 1.05 | Shared rotations | Assumes buffs are active most of session |
| Rotation style | Travel per sweep | Loot comfort | Spawn pressure | Best use |
|---|---|---|---|---|
| Stationary camp | 0 sec | High | Needs dense spawns | AFK training |
| Short triangle path | 6 sec | High | Good sustain | Small crab islands |
| Wide cave loop | 14 sec | Medium | Supports faster gear | Ruby or Diamond routes |
| Bank reset rotation | 24 sec | Very high | Lower XP density | Food-heavy sessions |
| Shared party route | 10 sec | Medium | Depends on tagging | Group crab farming |
| Drop metric | Formula basis | Low-defence crab | High-defence crab | Planner use |
|---|---|---|---|---|
| Expected shards | Kills x shard rate | Many small rolls | Fewer richer rolls | Long-session forecast |
| Gem fragments | Kills x 0.18 | Fast fragment stacks | Slower but steady | Crafting side goal |
| Rare shell chance | 1 - miss chance | Volume matters | Accuracy matters | Compare speed vs power |
| Loot delay | Downtime input | Can erase speed gains | Less punishing per kill | Track banking honestly |
Between back-to-back meetings, you take a twenty-minute break and open your client to do just a few kills. Before you know it, two hours have passed and you’re sitting in front of a dead zone, ravenously hungry and praying for more prayer pots. The truth about gemstone crab training is that it’s a sloppy haggle between your patience, the accuracy of your gear, and how quickly they spawn. On paper, the math seem decent, but in reality, your experience per hour can feel like it’s bleeding out instead of building up.
But respawn timers don’t always play ball. After plugging in your specific constraints, the calculator at the top will crunch numbers for you, so you don’t have to guess your own cost-per-downtime over an extended play session.
Why Gemstone Crab Training Can Be Difficult
Most players focus only on kill speed, assuming that doing more damage mean getting more experience. This is a common mistake. Your base damage isn’t the whole story, as defense and accuracy modifiers stretch fights way out longer then you’d think. Sure, when you get that hit home with a heavy two-hander, you’re dealing some serious hurt…but miss chance compounds fast, especially if you’re fighting a diamond crab. Missed swings aren’t just time-wasting, either: they burn through your food supply, forcing you to bank sooner rather than later. It’s downtime that sheer power cannot remedy.
You should of consider spawn sustain before you worry about rotation paths. Because the tool takes into account how many spawns is active at any given moment, if you’re killing four but only two respawn while you kill off the rest, you’ll spend a large amount of your run walking around or standing still. Better to stretch out your loop a little more than camp one point until there’s nothing left. When the spawns are sparse, a simple triangle tends to be superior to camping as you avoid wasting much time going back-and-forth yet stay constantly involved. You can even see which types of rotations is worth running versus simply being annoying by how they affect spawn pressure and comfort from the loot table on the page.
Gear is not as important as we believe if we do not have reasonable expectations regarding accuracy. For example, while a crystal focus set might sound like a great option against high defence targets, you’re wasting time using it if your weapon accuracy falls below 70%, you’ll swing half the time and accomplish zero damage. It would be more effective to swap to an accurate ranged profile, or even a balanced one which maintains hit chance above 50%, despite resulting in slightly fewer hits per second on average. In training situations where we seek predictable experience gains over random bursts of luck, consistency outweighs volatility.
The silent killer of effective training is downtime. You may enter a figure of 10% for downtime, which seems conservative enough, but that’s still going to be thirty-six minutes of straight-up lost time if you’re playing for six hours. Push that figure upwards if you’re spending a lot of time manually checking loot drops or getting distracted by logging out to see your messages. A second source of disappointment arises from the shard drop multiplier. Unless you’ve got some active bonuses in play, the shard drop rate will not reflect what most people expect. They’ll wind up disappointed at how long it takes just to collect enough shards to make an incremental upgrade to their gear.
The key to successful crab training, in the end, isn’t always about getting the most out of your output. It’s about setting realistic expectations for yourself. The best crab routine doesn’t have the right drop rate or kill speed every single time. It is simply one that gets the most consistent hits while reducing your idle time.
When you grasp the details of accuracy modifiers and spawn limits, the numbers stop being a mystery, and they begin to look more like a puzzle with an answer. They become less a succession of random occurrences and more a controlled flow of actions that reliably add up. And then, and only then, do you really start having fun doing the training… Rather than just churning through the grind.