🔮 Diablo 4 Sorceress Skill Tree Calculator
Plan Sorceress skill points, mana pressure, cooldown coverage, and elemental synergy before you respec.
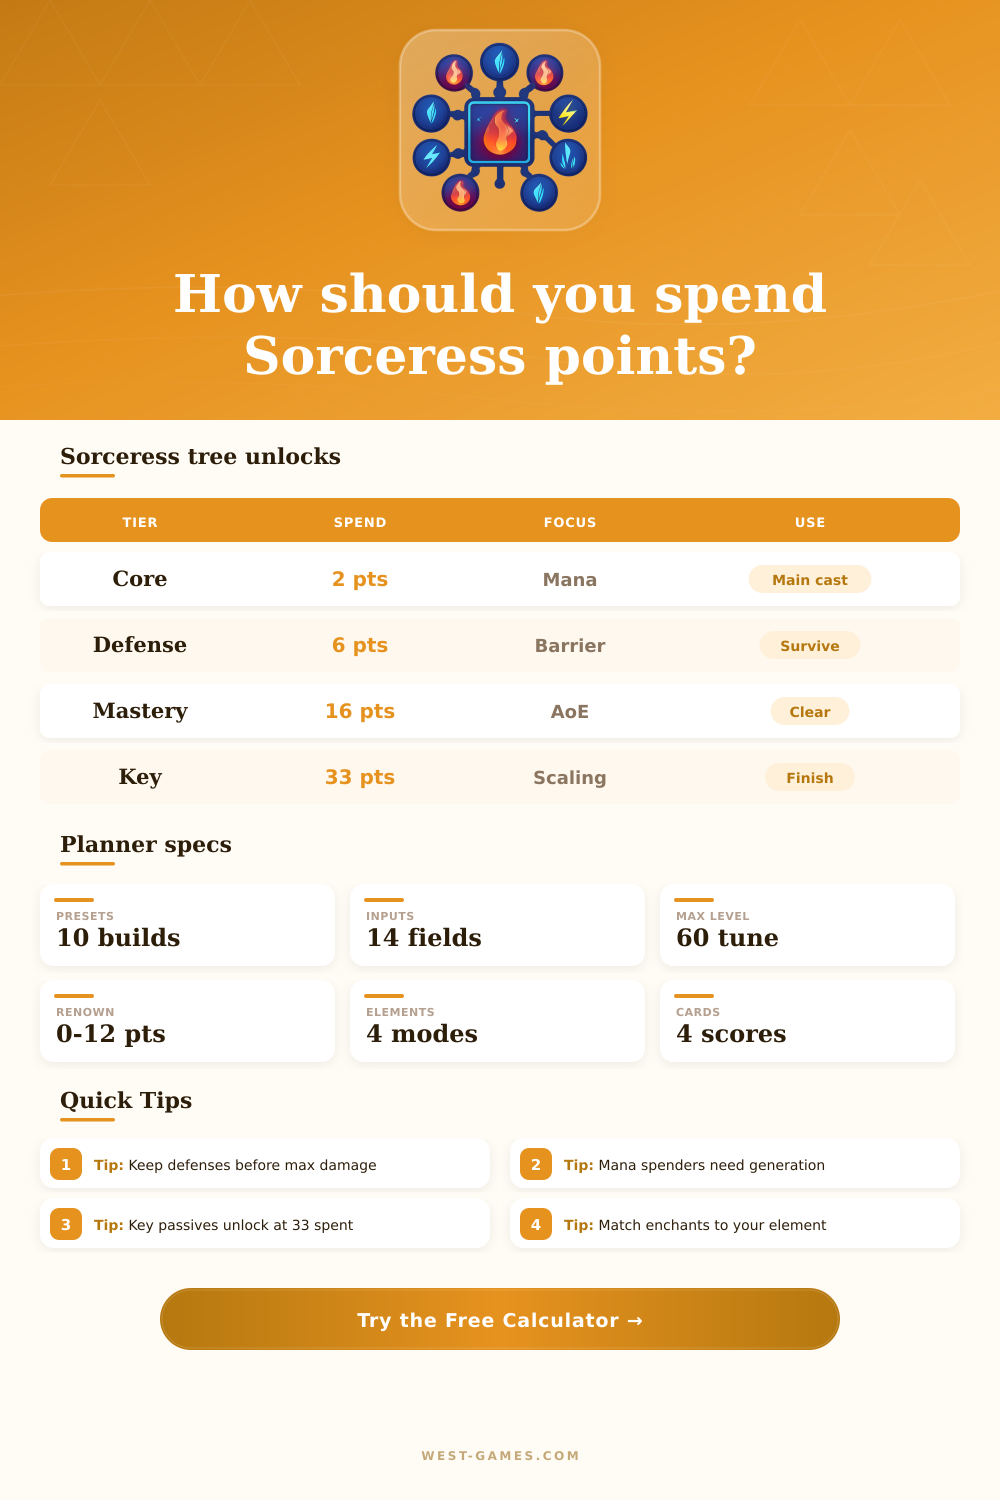
| Tier | Spent Points | Typical Sorceress Use |
|---|---|---|
| Basic | 0 | Resource support, enchant setup, early pathing |
| Core | 2 | Main spenders such as Fireball, Chain Lightning, Ice Shards, Frozen Orb |
| Defensive | 6 | Teleport, Flame Shield, Ice Armor, Frost Nova, survivability routing |
| Conjuration | 11 | Hydra, Ice Blades, Lightning Spear, active summon scaling |
| Mastery | 16 | Firewall, Meteor, Blizzard, Ball Lightning, large-area damage |
| Ultimate | 23 | Inferno, Deep Freeze, Unstable Currents, ultimate passives |
| Key Passive | 33 | Combustion, Shatter, Avalanche, Vyr's Mastery, Overflowing Energy |
The calculator warns when your spent points do not open a tier that your selected plan relies on.
| Skill | School | Model Cost | Planner Role |
|---|---|---|---|
| Fireball | Fire Core | 40 mana | Burst AoE, enchant clear chains |
| Firewall | Fire Mastery | 30 mana | Burning zone, DoT uptime |
| Meteor | Fire Mastery | 40 mana | Delayed burst and immobilize synergy |
| Chain Lightning | Shock Core | 35 mana | Leveling bounce damage and clear |
| Ball Lightning | Shock Mastery | 50 mana | Close-range high hit frequency |
| Frozen Orb | Frost Core | 40 mana | Chill, vulnerable setup, projectile coverage |
| Ice Shards | Frost Core | 30 mana | Single target, frozen target burst |
| Blizzard | Frost Mastery | 40 mana | Control field and ice spike scaling |
Costs are model inputs for planning pressure; adjust the field for exact gear, patch, and aspect behavior.
| Archetype | Damage Weight | Safety Weight | Best Fit |
|---|---|---|---|
| Leveling | 1.00x | 1.00x | Early campaign, renown cleanup |
| Endgame Clear | 1.12x | 1.05x | Nightmare dungeons, Pit-style clears |
| Bossing | 1.20x | 0.95x | Durable single target windows |
| Speed Farm | 1.08x | 0.90x | Helltide, open-world loop speed |
| PvP | 0.95x | 1.20x | Control, burst timing, escape tools |
| Hardcore | 0.90x | 1.35x | Barrier-first progression |
| Conjuration | 1.05x | 1.08x | Hydra, Spear, Blades active stacks |
Weights do not replace in-game testing; they make tradeoffs visible before you commit a respec.
| School | Primary Scaling | Useful Enchants | Risk |
|---|---|---|---|
| Fire | Burning, crit damage, immobilize | Fire Bolt, Fireball, Firewall | Needs uptime on moving targets |
| Frost | Chill, Freeze, Vulnerable, barriers | Frozen Orb, Ice Shards, Frost Bolt | Bosses reduce freeze value |
| Shock | Crits, Crackling Energy, cooldown loops | Chain Lightning, Spark, Ball Lightning | Can overrun mana without returns |
| Mixed | Utility tags and broad coverage | Fire Bolt plus utility slot | Lower focused multiplier |
A focused element usually scores higher, while mixed setups can be more comfortable for leveling or Hardcore.
| Pattern | Basic | Main | Defense | Conj | Mastery | Ultimate | Passives |
|---|---|---|---|---|---|---|---|
| Early Leveling | 2 | 5 | 4 | 1 | 0 | 0 | 6 |
| Core Spender | 1 | 5 | 8 | 2 | 2 | 3 | 18 |
| Mastery Clear | 1 | 1 | 9 | 3 | 5 | 3 | 22 |
| Conjuration Stack | 1 | 3 | 7 | 12 | 3 | 3 | 18 |
| Hardcore Barrier | 1 | 5 | 12 | 4 | 3 | 3 | 24 |
These patterns are planning baselines; enter exact ranks if gear grants extra skill levels or if a season changes your point budget.
The Sorceress class in Diablo 4 is a class that require players to manage multiple system within the game at the same time. Players must choose an element for the character, choose a spender skill for the character, and manage defensive skill for the character while managing the mana bar for the character. Due to the need for players to manage so many different systems at once, a planning tool can be of benefit to the player.
Such a planning tool will allow the player to test out different builds before spending any gold on a respec for the character. The inputs for the calculator allow the player to describe there current situation with the character. The level and renown of the character indicate how many game point the character can spend.
Plan Your Sorceress: Mana, Defense and Skills
The archetype chosen for the character will impact how the game weights the different stats for the player’s character. The player will provide data for the mana cost and the cast rate of the skill with the main skill chosen; the skill needs to be cast often enough to avoid failing to use the skill. The defensive points selected and the cooldown reduction for the character will allow the game to calculate how often a player has a defensive skill ready; this is one of the main stats for players to consider when building their character.
Mana pressure is a stat that many players discover when they are too late in the game to fix the issue. Players may have spent a lot of time and resources into building skills to deal enemies, but they may find that their spender spell cost a lot of mana relative to how fast they can generate mana. The mana pressure will calculate the net drain of mana the player will have after applying the mana cost for the spender skill and mana return, and the mana generated by the character.
A positive result or a small net drain means the player can continue to use their spender skills throughout packs of enemies. A large net drain, however, means that their mana generation stats are too low or that their spender spell have a high cast rate. Defense uptime is similar to mana pressure.
The defense uptime will calculate the player’s points invested into defensive skills, the cooldown reduction for those skills, and how the archetype relates to the value of safety in the game. The percentage of the time that a Sorceress player can have their defensive skills active is important when playing against enemies in higher tiers of content; a single missed defensive spell could result in the player’s death, and the cost of death is higher then the benefit of dealing more damage with every enemy encounter. The tables listed on the page will show the thresholds for skills to be unlocked and the common allocations of game points for different character and builds.
These tables allow players to see whether the game will open the skills that the character requires. Many players often make the mistake of putting points into damage passives before the character reaches thirty-three total point. The calculator will apply a penalty to the final score for synergy if the total spent points for the character does not match the tier for the type of character the player is creating.
The choice of element that will be used for the Sorceress class creates different tradeoffs for the class. Fire elements provide benefits for games that burn up and use combustion damage, but require the player to continue using the skill on moving target. Skills using frost damage provide safety to the character while dealing damage with vulnerable enemies, but struggle using this damage type because many boss in the game ignore freeze damage.
Shock damage is beneficial for the cooldown of skills and the energy that continuously crackles off of the character, but can drain the mana of the character too quick if the player does not include some type of mana return game skill. The archetype for the character is required in the calculator because the same points can have different benefits based on the goal for the character. A player that intends to use the character for speed farming will have lower defense uptime due to the constant movement of the character.
A boss plan will require the character to have higher ranks for single-target damage while the character will have lower cooldowns to avoid struggling through fights. Hardcore plans require the character to have high safety stats because the cost of the player’s death is permanent within that game. Common mistakes are made in the same areas for Sorceress character.
One of the most common mistake is to max out the main skill for the Sorceress while leaving the defensive skills to a low level, which will result in the player dying between packs of enemies. Another of the most common mistake is to put points into every damage passive skill while ignoring the importance of mana generation for that game; this will result in the player using their spender skill only twice before having to use their basic attacks for twenty second. The value of using the calculator is that it require the player to make a decision about the purpose of their character.
If the character is to have fast clear speeds, the weights will reflect fast clear speeds. If the character is to have high survival skills for bosses, the weights will reflect that purpose. Thus, the calculator does not play the game, but it does remove the guesswork of the planning process before the player enter a dungeon.