🎯 Telos Drop Rate Calculator
Estimate Telos unique odds from enrage, streak length, Luck of the Dwarves, claim style, death risk, kill speed, anima orb sequence, dormant weapon targets, dry streaks, and expected hours.
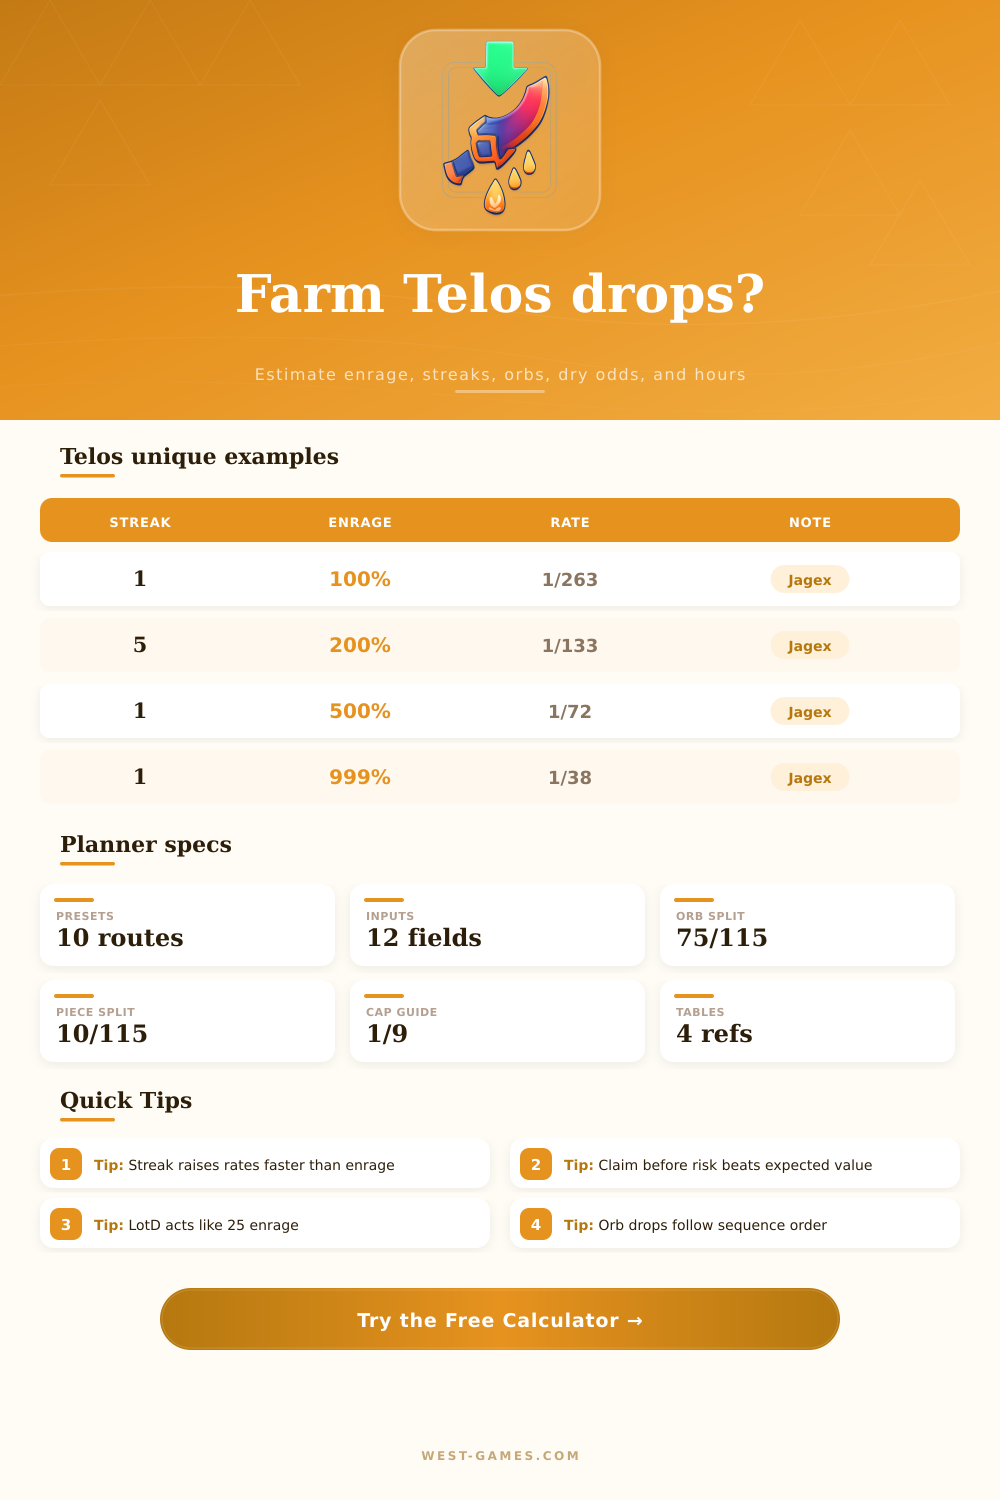
| Streak | Enrage | Unique rate | Planning use |
|---|---|---|---|
| 1 | 100% | 1/263 | Baseline claim |
| 1 | 500% | 1/72 | High solo claim |
| 5 | 200% | 1/133 | Streak example |
| 1 | 999% | 1/38 | Pre-1000 check |
| 1 | 1024% | 1/37 | Post-1000 check |
These examples are the anchor points used to sanity-check the calculator output.
| Result after unique | Weight | Percent | Calculator target |
|---|---|---|---|
| Next anima orb | 75/115 | 65.22% | Orb targets |
| Dormant Seren godbow | 10/115 | 8.70% | SGB |
| Dormant Zaros godsword | 10/115 | 8.70% | ZGS |
| Dormant Staff of Sliske | 10/115 | 8.70% | Staff |
| Reprisal ability codex | 10/115 | 8.70% | Codex |
Orb results advance through the anima sequence rather than rolling a random orb type.
| Band | Typical use | Risk pressure | Calculator note |
|---|---|---|---|
| 0-99% | Learning | Low | Penalty zone |
| 100-499% | Clean streaks | Moderate | Good practice |
| 500-999% | Rare hunting | High | Strong rate lift |
| 1000-1999% | Advanced farm | Very high | Mechanic pressure |
| 2000-4000% | Warden push | Extreme | Claim discipline |
Below 100% enrage, the planner applies the stated under-100 penalty and extra under-25 penalty.
| Style | Rate benefit | Main danger | Best fit |
|---|---|---|---|
| Claim every kill | Lower | Slower progress | Learning |
| Hold streak | Higher | Chest loss | Consistent kills |
| Short streak | Balanced | Moderate dry runs | Daily farming |
| Long streak | Highest | One death hurts | Low death rate |
| Title push | Variable | Survival first | Achievements |
Dry odds are calculated from the target chance per modeled kill, with claim risk applied separately.
It’s satisfying to hear Telos break apart, until you remember that all you have in your chest is absolute garbage. That’s why we have drop rates, though; it isn’t because people are spreadsheet addicts, but rather because losing out on hundreds of hours to variance makes it feel personal.
Once you put in your preferred streak and enrage level, the rest is handled for you by this calculator. You no longer need to guess if going for that juicy piece of loot is worth it, will it be mathematically feasible, or are you only emotionaly gambling? Knowing difference between the two changes farming completely.
How to Plan Your Game Time
Players think enrage is the only factor, but they is wrong: a streak increases your odds much more than a simple percentage does. It feels counter-intuitive. However, building up the multiplier from consecutive kills mean a short, low-risk streak will beat a flashy run at maxing out enrage if you get lucky enough to make both work.
You might try to chase a higher enrage for a better base-rate, but you would of ignoring how every additional kill puts all your progress at risk. And that’s really the trick: knowing what you’re even measuring. Are you looking at realistic yields, after factoring in the chance that you’ll die and lose all your hard-earned stuff, or the theoretical best odds?
And so we reach the part where I talk about Luck of the Dwarves. Basically, it’s a gentle bump to your enrage. It is a little bit of extra juice that smooths out some of those valleys and doesn’t really demand any additional dexterity with mechanics. For beginning players, having Luck of the Dwarves on while they’re looting adds a buffer that makes even the early grind seem less frustrating.
The tool accounts for that by treating it as a similar enrage buff to help you decide if item fits your build. It isn’t much, but when you’re deciding if a run is worth playing, that tiny detail can make all the difference.
But that’s just to talk about loot table as a whole. Even if you’re fortunate enough to snag one of those special rolls, how is it determined? As it turns out, the game doesn’t pull from an equal chance list. Once you have found a unique item, you will be pulling anima orbs about sixty-five percent of the time. That leaves the rest, which is shared between the Reprisal codex and dormant weapons, making them far more rare than many players think.
It’s a system that incentivizes collecting orbs, good on you! It punishes people who look for specific weapon drops without knowing the odds. Have a streak of unique luck and you might still walk away with nothing on what you realy wanted.
The other secret cost to all of this is time. When you include bank runs, reset mechanics, and the mental exhaustion of killing the same thing over-and-over, five minutes feels like twenty. The calculator requests those intervals so that it can convert vague percentages into real-world hours. Two hundred kills might sound reasonable until you see that’s almost seventeen hours of your life.
And if you know that ahead of time, you’ll avoid getting burned out. You’ll have realistic expectations going in, and logging on won’t leave you mad when things don’t go as planned. That’s why it works. Time-based budgeting is a great way to plan your play sessions. And when players do that, they’re less likely to get pissed off about “dry streaks” because they anticipated them in advance.
The tool can be used in whichever way works best for your personal risk tolerance. Aggressive people may stretch their streaks to get as much of a rate modifier as possible, knowing they’ll need to start over if they die once. People who like being safe will claim often enough to keep their chances low, though never high. Neither approach is incorrect…
It’s simply a matter of choosing an appropriate strategy based off what you want to do. The reference charts included with the calculator show this for various enrage band levels. They show the trade-offs so you can easily see that a conservative player might end up getting more uniques per hour than a reckless one.
In the end, farming on Telos is as much about managing your expectations as it is beating the game. While it’s true that the numbers don’t lie, they don’t always guarantee results. There will always be variance, and no matter how perfectly you optimize your inputs there will be days when it’s simply a bad day.
Data can help inform your strategy. This helps reduce the randomness of your decision making process, though it won’t make the outcome any less random. Yeah, you’ll still need to kill the boss one time after another, hoping that this time the chest opens right.