🛠 Construction XP Calculator
Plan a building training session by object tier, build count, XP per build, material bundles, assistant bonus, rebuild loop, and session time.
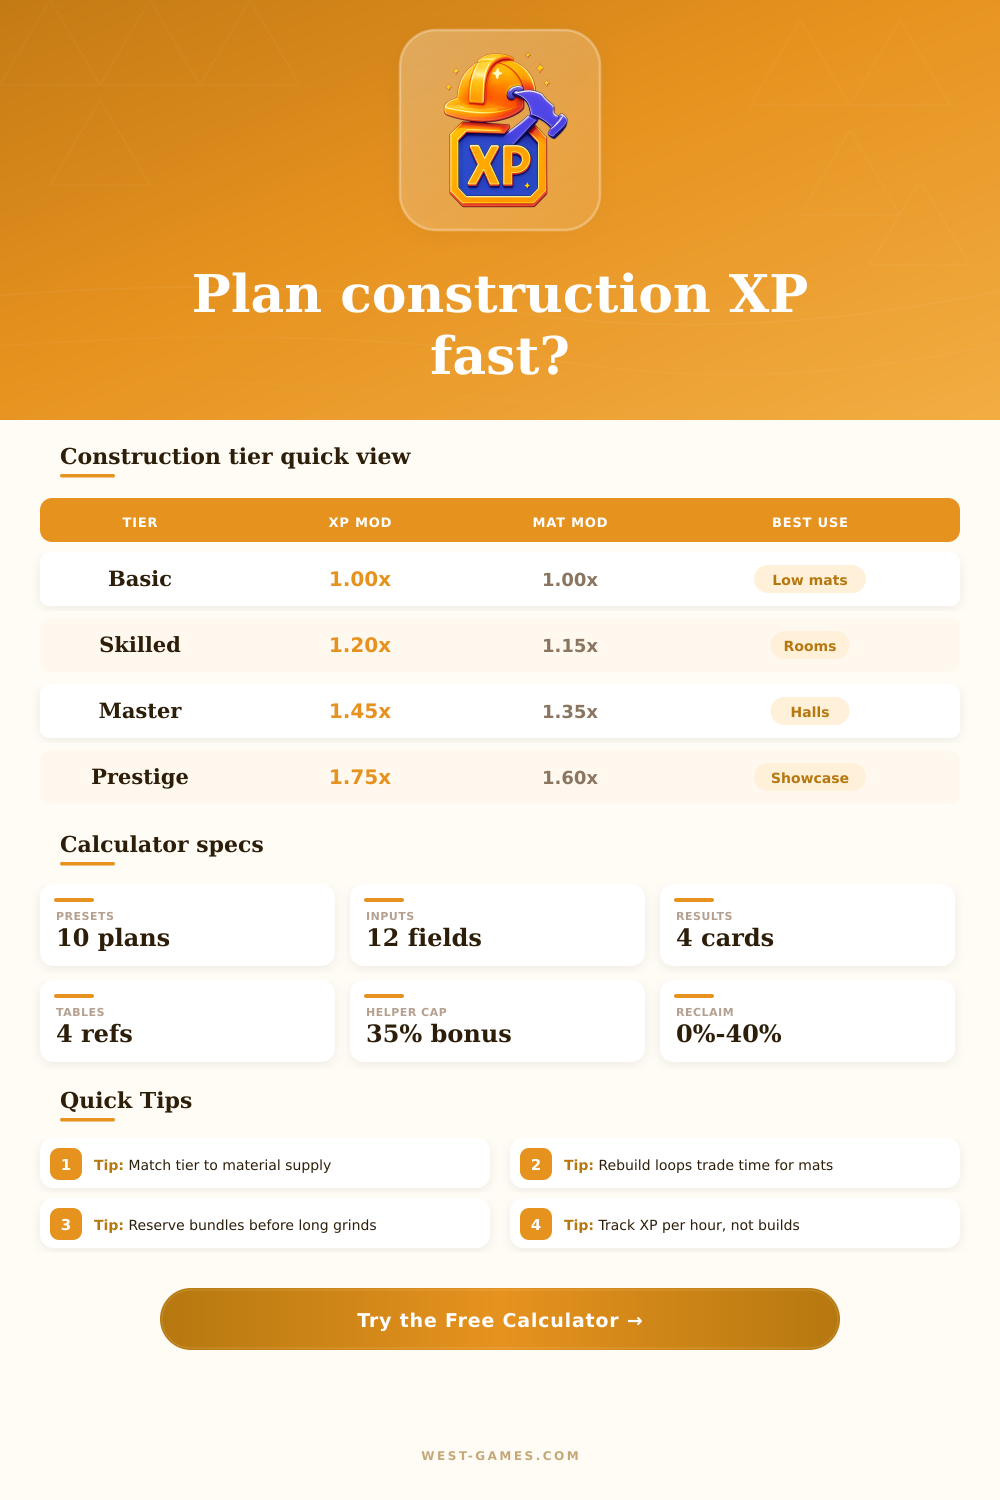
| Tier | XP mod | Material mod | Training use |
|---|---|---|---|
| Basic fixture | 1.00x | 1.00x | Fast starter benches, racks, and rough partitions. |
| Utility station | 1.10x | 1.08x | Storage, worktables, furnaces, and repeatable room pieces. |
| Skilled room piece | 1.20x | 1.15x | Cabinets, railings, tiled floors, and fitted structures. |
| Decorative set | 1.30x | 1.25x | Banners, trim packages, light props, and stage dressing. |
| Fortified build | 1.38x | 1.42x | Gates, reinforced walls, shields, and barricades. |
| Masterwork structure | 1.45x | 1.35x | Halls, stairways, towers, and high-skill room objects. |
| Prestige showcase | 1.75x | 1.60x | Display rooms and premium builds with strong XP bursts. |
| Experimental prototype | 1.90x | 1.85x | Risky custom blueprints where mistakes need reserve stock. |
Use the tier dropdown to model XP density and material pressure without locking the calculator to one game.
| Bundle | Units | Typical object | Planning note |
|---|---|---|---|
| Timber plank bundle | 25 | Benches and frames | Good for fast low-tier repetition. |
| Stone block bundle | 18 | Walls and floors | Higher material weight, fewer units per trip. |
| Metal fitting crate | 12 | Gates and braces | Use reserve for failed reinforced placements. |
| Cloth and decor roll | 30 | Stage sets | Light bundles suit decorative XP loops. |
| Enchanted kit bundle | 8 | Prototype builds | Small bundle size makes trip count important. |
| Mixed renovation pallet | 40 | Room rebuilds | Best for broad fit-out sessions. |
Custom bundle size lets you match server stacks, inventory slots, crates, or pallet rules.
| Factor | Range | Effect | Use when |
|---|---|---|---|
| No helper | 0% | Base XP | Solo training or no buff active. |
| Apprentice helper | 5-10% | Small XP lift | Basic gathering, tool handoff, or rested bonus. |
| Guild assistant | 12-20% | Strong XP lift | Organized room rebuilds and batch crafting. |
| Master crew | 25-35% | Peak XP lift | Events, limited boosts, or full crew support. |
| Speed pace | -12% time | Higher rate | You can click, stage, or queue builds cleanly. |
| Careful pace | +18% time | Lower waste | Rare materials or failure-prone blueprints. |
Assistant bonus affects XP in this calculator; pace affects session time and XP per hour.
| Cycle | Rebuild share | Reclaim | Time impact |
|---|---|---|---|
| New slots only | 0% | 0% | Fastest if space is available. |
| Same slot rebuild | 100% | 15% | Demolition on every repeated build. |
| Modular swap loop | 75% | 25% | Balanced teardown and material recovery. |
| Salvage-heavy teardown | 100% | 40% | Slowest, but saves rare materials. |
| Bulk placement line | 35% | 10% | Low teardown, strong throughput. |
| Practice dummy cycle | 90% | 5% | High repetition with little material return. |
The demolition seconds field lets you tune any cycle for animation speed or room travel.
| Plan | Builds | XP per build | Materials | Best checkpoint |
|---|---|---|---|---|
| Bench rush | 250-500 | 45-95 | Timber | Check bundle count every 30 minutes. |
| Room fit-out | 120-280 | 120-260 | Mixed pallet | Stage room materials before starting. |
| Fortified rebuild | 80-180 | 260-480 | Metal and stone | Compare reclaim savings against teardown time. |
| Prestige showcase | 40-120 | 500-1200 | Rare kits | Add reserve before committing the full run. |
| Prototype grind | 25-90 | 900-2500 | Custom kits | Use careful pace when mistakes are expensive. |
These are planning ranges only; enter your own XP, materials, and build speeds for the actual training route.
Construction training is something most people click away at like it’s nothing. Click, click, click. I use all this expensive material I just spent so much money on, and I still don’t feel any closer to leveling up.
In reality there’s a dance between preserving resources while using your time efficienty. Sure you want to level up as fast as possible but you don’t want to run out of inventory only to have to wait to get back in the game. This calculator exists right in the middle of that problem. Before you log in and start running numbers you can simulate various what-if situations. Helper bonuses is taken into account alongside tier multipliers. Then let the calculator crunch those numbers so you can worry about whether the time investment is realy worth the amount of material.
How to Use This Calculator
These are object tiers. Tiering up your object is one of the first choices you’ll make, and it’s something that decides both the cost/materials used as well as your experience gain. Low-tiered basic fixtures is quick and inexpensive; perfect for players with plenty of timber but limited playtime. High-end prestige showcases reward huge experience booms, but consume rare kits at what can feel like a punishing pace (if you’re unprepared). The page has a handy reference table that spells this out. It gives an overview of how all tiers scale; you get more bang for your buck, but it also cost more to get that value. Choose a tier to match the state of your supply chain, not your ambitions. Running out of material halfway through your session doesn’t matter how dazzling your object appear; you’ll kill your hourly experience rate by the mere act of setting up.
Some players prefer rebuilding on top of an existing item because their bases don’t have room, or because they want to fit more stuff into a specific location without enlarging their footprint. That’s fine if salvage is enabled, since it saves you some materials. However, it still eats away at your productivity as it take up all those seconds demolishing everything. Fortunately, you can plug that into the calculator too, entering reclaim percentage and teardown seconds, so you’ll know if it makes sense to rebuild even though you’re giving up space.
That’s a huge mistake most people make: assuming they’re conserving materials by building over existing stuff, but not realizing how much slower they are going to get when constantly toggling between build and destruction mode. A tiny thing that shapes how satisfying each session ends up being: Is it fast? Or is it a frustrating waste of time?
Many training guides overlook the importance of material bundling. Understanding how much fits in your inventory changes how often you must return to bank or home base, which directly affects how much you get done each hour. The bigger the bundles, the fewer trips; more time spent placing objects instead of running back to storage. This translates to better use of your time. By translating your overall material requirements into number of bundle and estimated trips, this tool enables your planning of logistics. You know exactly when you are going to run out. If you want to maintain a buffer for errors, you also knows how much extra you will need to avoid wasting hours of work during an interruption. Since failed builds don’t refund any materials used (and those wasted units compound across hundreds of actions), it’s worth planning for mistakes.
Beyond optimizing your build itself, there’s also assistant bonuses, which many players don’t pay attention to until they’ve already logged in and are realizing “oh, I should of waited.” With a rested training bonus or a guild helper, however, you’ll net an additional 20% (or more) experience, a huge difference in terms of time-to-level. And those multipliers compound, so if you’re rocking a high-tier build and you’ve got that buff going, it will feel like night-and-day compared to when doing it solo. Thanks to that, the calculator takes all this into account and helps you see whether it’s better to grind now while waiting on a helper or wait longer but get the full benefit of them. If it’s enough of a gap, it’s often worth postponing a run, even if that means you’ve got the mats prepped and ready to go.
In conclusion, learning how to build is about more than pushing buttons. It’s about seeing the whole workflow. You’re juggling resources, space, time and bonuses. The above helps you visualize the tradeoffs before you begin building. Then you learn which variables impact your hourly rate so that you can stop guessing and start confidently executing. Good planning transforms what was previously a chaotic grind into a predictable routine. In this routine, every minute is spent working towards your next level.