⚔ Status Effect Buildup Calculator
Estimate status procs from per-hit buildup, resistance thresholds, decay, hit rate, multi-hit scaling, enemy tier, proc duration, cooldown, and repeat-proc resistance growth.
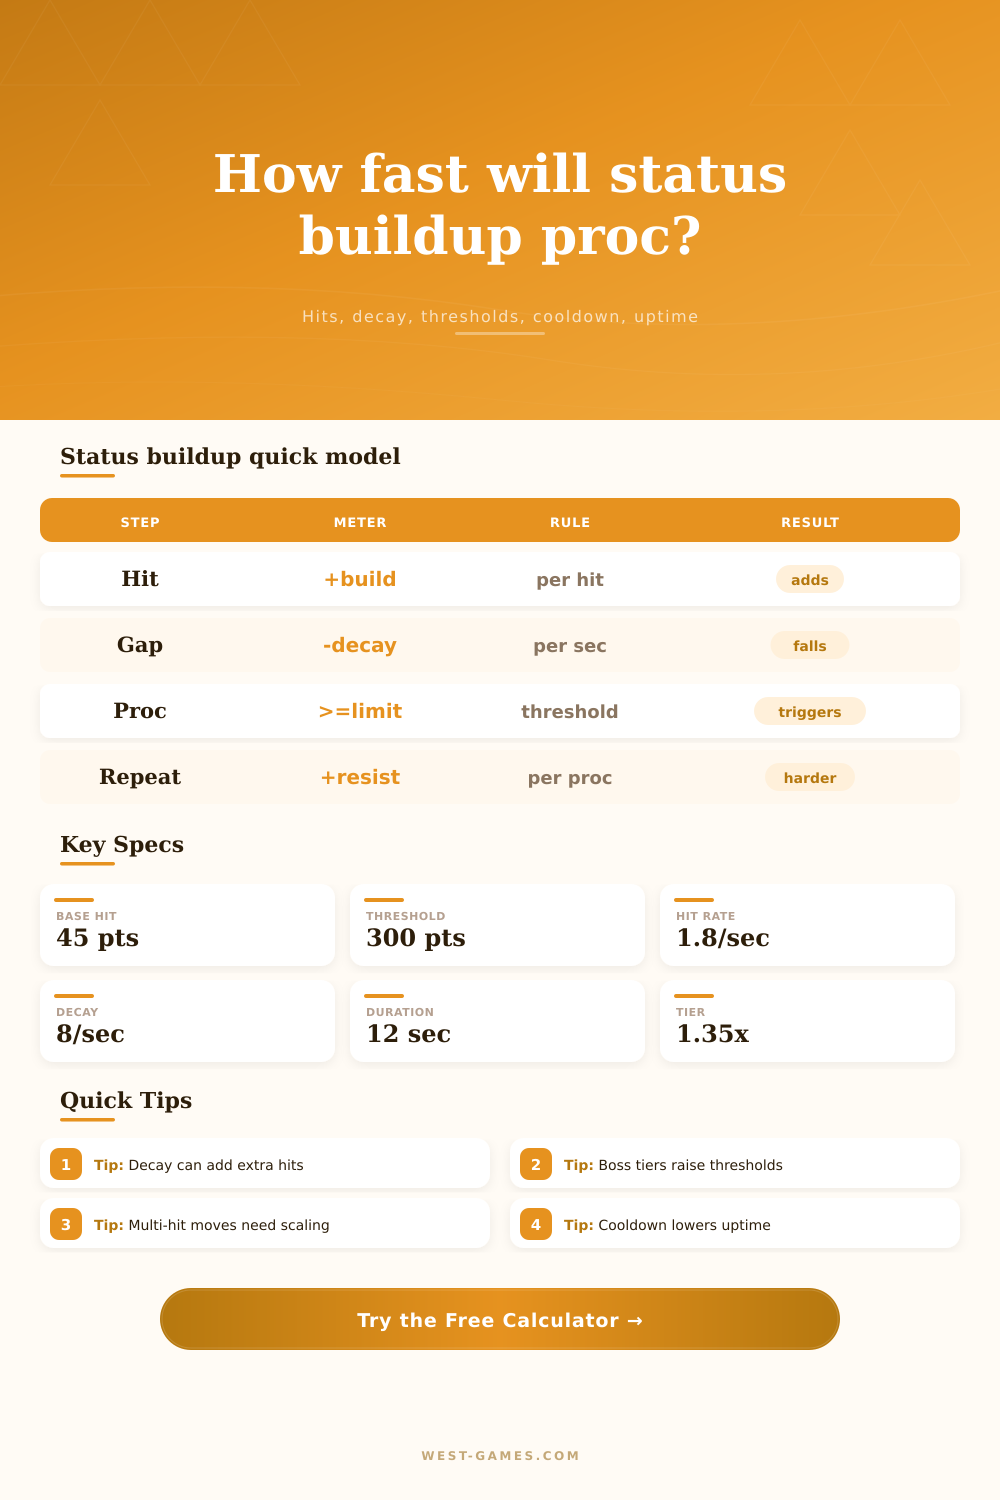
| Stage | Calculator variable | Formula used | Game-mechanic meaning | Useful check |
|---|---|---|---|---|
| Apply hit | Effective hit buildup | base hit x scaling x multi-hit x accuracy | Repeated attacks add buildup to a hidden or visible status meter. | Confirm whether each contact applies full or reduced buildup. |
| Lose pressure | Decay between hits | decay per sec x time gap | Status bars in many action RPGs fall when no new buildup is applied. | Raise decay for long chase or dodge windows. |
| Proc check | Adjusted threshold | base threshold x tier x repeat multiplier | The effect triggers once buildup reaches the target resistance bar. | Use enemy data when a wiki lists resistance values. |
| Repeat proc | Repeat multiplier | 1 + previous procs x growth percent | Some games make later activations require more buildup. | Set growth to 0 if repeat resistance does not exist. |
| Cycle uptime | Uptime percent | duration / (time to proc + duration + cooldown) | Compares active effect time against the full status loop. | Use 0 duration for instant burst statuses. |
| Tier | Multiplier | Example use | Threshold effect | Interpretation |
|---|---|---|---|---|
| Fragile target | 0.75x | Small enemy, weakness, exposed state | 300 becomes 225 | Fewer hits than the base meter. |
| Standard target | 1.00x | Normal enemy or training dummy | 300 stays 300 | Baseline calculation. |
| Guarded target | 1.25x | Armored enemy, partial resistance | 300 becomes 375 | Needs sustained pressure. |
| Resistant target | 1.50x | Elite enemy or poor matchup | 300 becomes 450 | Decay can become decisive. |
| Boss target | 2.00x | Boss, monster, or high-resistance foe | 300 becomes 600 | Repeat procs may be spaced far apart. |
| Near immune target | 3.00x | Almost immune but not fully blocked | 300 becomes 900 | Use to test if buildup is realistic. |
| Profile | Base buildup | Base threshold | Decay per sec | Duration | Cooldown |
|---|---|---|---|---|---|
| Bleed or burst damage | 45 per hit | 300 points | 8 points | 0 seconds | 2 seconds |
| Poison or damage-over-time | 30 per hit | 260 points | 5 points | 30 seconds | 0 seconds |
| Frostbite or debuff burst | 42 per hit | 320 points | 7 points | 20 seconds | 5 seconds |
| Sleep or paralysis control | 38 per hit | 360 points | 10 points | 8 seconds | 4 seconds |
| Blast or explosive proc | 35 per hit | 280 points | 4 points | 0 seconds | 1 second |
| Stun, stagger, or posture | 25 per hit | 240 points | 12 points | 5 seconds | 6 seconds |
| Scenario | Decay behavior | Cooldown behavior | Repeat resistance | Calculator setting |
|---|---|---|---|---|
| Souls-style buildup bar | Meter falls after pressure stops | Some effects ignore new buildup while resolving | Often enemy-specific | Use decay, duration, and cooldown fields. |
| Monster ailment threshold | Game-dependent decay or reduction | Status duration creates a damage window | Later thresholds usually rise | Use previous procs and growth percent. |
| Instant burst status | Decay matters before activation | Short lockout after burst | May rise after each burst | Set duration to 0 and cooldown above 0. |
| Control status loop | Missing attacks can reset progress | Duration is the control window | Often sharp growth on repeat | Raise decay and repeat growth. |
| Custom modded system | Use exact script values | Use exact immunity time | Use exact resistance correction | Set profile to Custom and edit all fields. |
This is where the status build leads to frustratingly long battles. You pull out your daggers and rush to fill the meter only for fight to drag on more longer than expected. Your attacks fizzle against enemy, they shrug off your blows, and their status bar deplete too rapidly for you to replenish it.
These are the invisible mechanics that don’t work together to make those numbers cooperate. The difference between a wasted combo and a satisfying proc is often down based off invisible mechanics. But it’s about more than just your damage output. It’s about buildup vs. Decay vs. It is also about resistance.
How to Win Status Battles
Most players thinks of damage meters as adding a flat number when they hit someone and then nothing happens until their next tick. They’re wrong. Damage meters are dynamic. Every time you hit someone, it go up. But anytime you avoid being hit, whether through dodging, running away or waiting for an attack to reset, it goes down. You can’t swing often enough to keep pace with the meter so you lose the battle.
Using the tool above will model this friction, how it ticks down even as it’s applied hit-by-hit on ticking clock, and tell you precisely how long it’ll take before it overcomes the drain.
The pace of engagement is set by enemy resistance levels. The base level is typical baseline for an average grunt. Bosses tend to have some multiplier which are double (or triple) the value. How does that factor into your pressure? If you go in hot and target’s size has increased, then you’re effectively applying less pressure.
That’s where the reference table on page comes into play. It lays out those multipliers and shows just how much more investment is required for lightly-armored targets compared to heavy ones. That will determine whether you want to play it safe or take a shot at a risky opening. It’ll also show why something that worked on smaller opponent may not work on bigger ones.
There’s also the issue of repeat procs. In many games, the first trigger is fairly simple, but following triggers increases in difficulty because they cause temporary immunity on the target. This is done so that the player can’t lock down an enemy with a permanent debuff. Without taking this into account, your long-term damage estimates will be over-optimistic. For example, you might think, “I’ll have a proc every minute,” but in reality, the second proc take four times longer than first. By letting you enter past procs, the calculator does just that. It adjusts to match and provides a practical assessment of time-on-target throughout fight.
And that’s where precision comes into play. Precision isn’t only measured by how well you hit with an attack. It’s also measured by your ability to keep the pressure on. Every missed opportunity doesn’t simply result in less damage, but also in more time for meter to decay. If you’re going from 90% to 75% accuracy, distance between strikes increases. This gives the meter decay more opportunity to chew away at your progress. And it compounds very rapidy. Before you know it, you need far more total swings before you reach that same point. This seemingly insignificant drop in efficiency leads to a huge difficulty in real life.
Building up status is all about flow management. Learn to push, learn to reset. Maintain positive net build-up during the entire fight. Visualize how your attack speed works with enemy’s resistance. Also, consider constant tick of decay. Stop guessing; plan. No longer hope for a lucky trigger; engineer one instead.
The meter will always empty itself. Just fill it quicker.
You should of planned better.