💧 Stardew Valley Sprinkler Layout Calculator
Plan Stardew Valley sprinkler spacing by plot dimensions, sprinkler type, pressure nozzle upgrades, edge buffers, blocked tiles, and available sprinkler count.
Checkerboard estimate for early-game sprinklers.
Classic 3×3 spacing with the center occupied.
5×5 spacing for late-game crop blocks.
Quality sprinkler expanded to a 5×5 area.
Iridium sprinkler expanded to a 7×7 area.
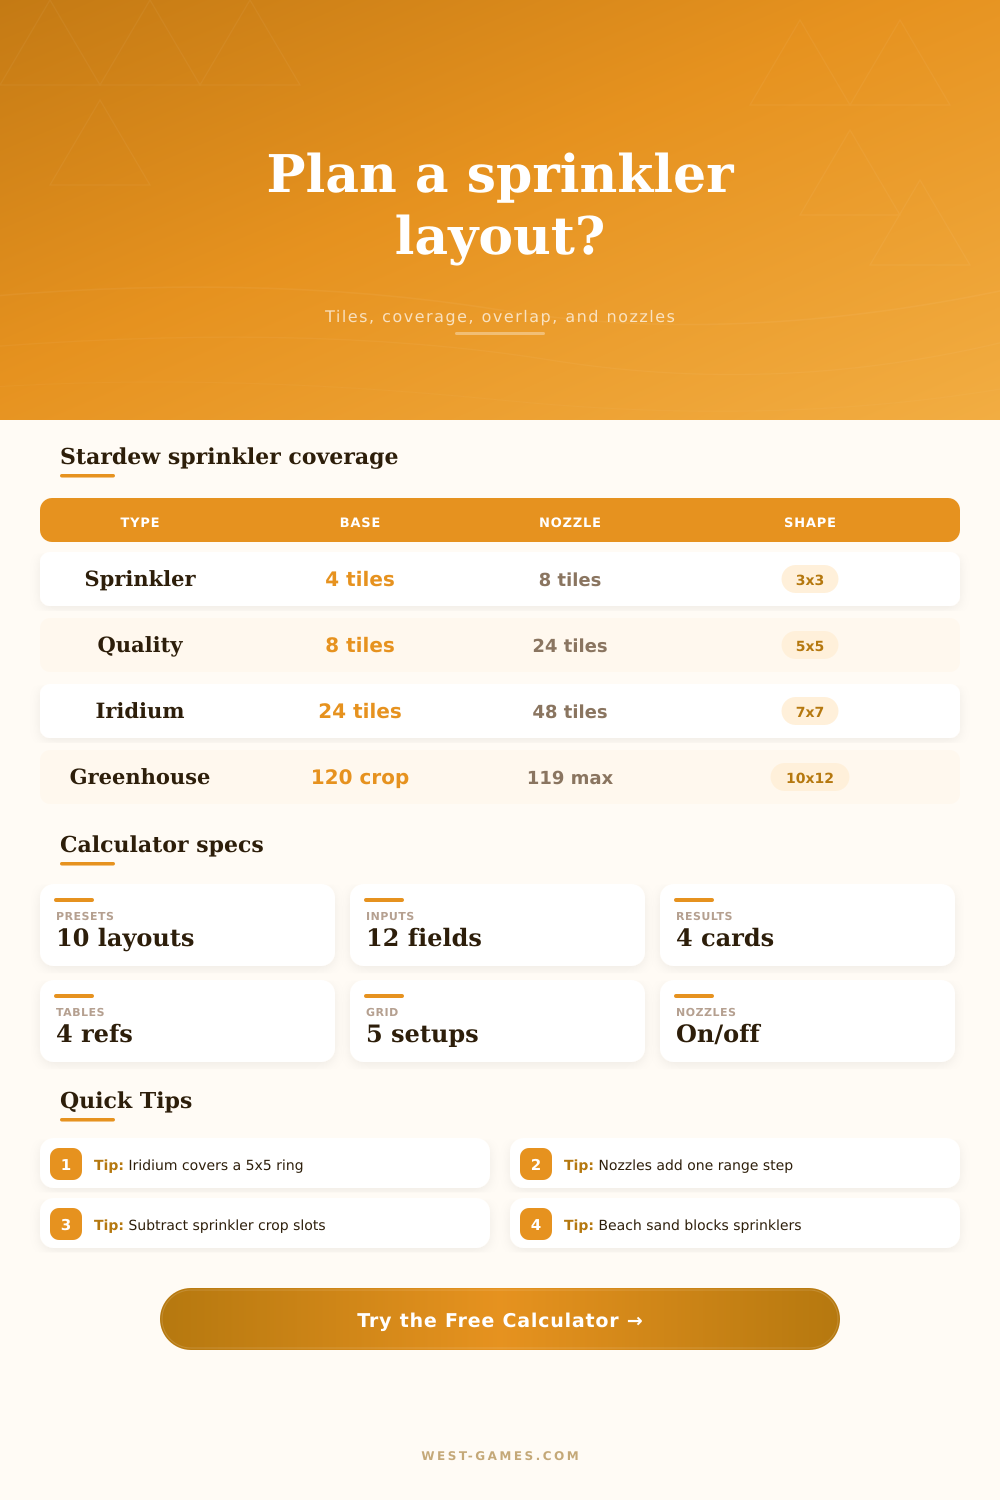
| Sprinkler | Watered tiles | Shape used by calculator | Recipe source | Best layout use |
|---|---|---|---|---|
| Sprinkler | 4 adjacent tiles | Up, down, left, and right only | Farming Level 2 | Small early patches or dense checkerboard plans |
| Quality Sprinkler | 8 surrounding tiles | 3×3 area excluding center | Farming Level 6 | Reliable mid-game 3×3 crop modules |
| Iridium Sprinkler | 24 surrounding tiles | 5×5 area excluding center | Farming Level 9 | Large late-game fields and greenhouse layouts |
| Placed sprinkler tile | 0 crop tiles | Center tile is occupied | All sprinkler types | Subtract from planting slots in dense fields |
Only tilled crop tiles are watered. The calculator counts unique watered crop slots and does not count the sprinkler tile itself as plantable.
| Base sprinkler | Nozzle range | Watered crop tiles | Default spacing | Calculator shape |
|---|---|---|---|---|
| Sprinkler plus Pressure Nozzle | 3×3 | 8 | 3 tiles | All surrounding tiles, center excluded |
| Quality plus Pressure Nozzle | 5×5 | 24 | 5 tiles | Two-tile radius square, center excluded |
| Iridium plus Pressure Nozzle | 7×7 | 48 | 7 tiles | Three-tile radius square, center excluded |
| Upgrade limit | One upgrade | One sprinkler | Per placed sprinkler | Pressure Nozzle and Enricher are alternatives |
Pressure Nozzles expand sprinkler range by one square ring for the three sprinkler tiers, which is why the watered-tile counts become 8, 24, and 48.
| Farm area | Useful dimension or tillable count | Buildable non-tillable count | Sprinkler planning note | Preset relation |
|---|---|---|---|---|
| Standard Farm | 63×31 largest tillable rectangle; 3,427 tillable tiles | 235 | Largest open farming map; ideal for big grid tests | Standard Farm Block |
| Greenhouse soil | 10×12 crop area, 120 crop tiles | Border can hold some sprinklers | Common benchmark for sprinkler crop-slot loss | Greenhouse presets |
| Four Corners Farm | 2,952 tillable tiles | 562 | Split quadrants make smaller rectangles useful | Four Corners Field |
| Beach Farm | 202-tile contiguous non-sandy patch plus scattered non-sandy tiles | Large sandy build area | Sprinklers do not work on sandy soil | Beach Non-Sand Patch |
| Riverland, Forest, Hill-top | 1,578; 1,413; 1,648 tillable tiles | 516; 1,490; 930 | Water, trees, cliffs, and quarry zones break up fields | Use blocked tiles |
| Wilderness, Meadowlands | 2,131; 2,066 tillable tiles | 444; about 2,141 | Open enough for medium blocks but still map-shaped | Custom dimensions |
Map totals help choose a starting rectangle, but exact farm designs still need local width, length, and blocked-tile entries.
| Metric | Formula | Uses plot dimensions? | Handles overlap? | Result output |
|---|---|---|---|---|
| Effective plot | (width - 2×buffer) × (length - 2×buffer) | Yes | No overlap yet | Breakdown area row |
| Watered tiles | Unique sprinkler target tiles inside effective plot | Yes | Yes, duplicates count once | Watered crop tiles card |
| Crop slots | Effective plot - blocked tiles - sprinkler positions | Yes | Center tile excluded | Coverage percent card |
| Coverage percent | Watered crop tiles divided by usable crop slots | Yes | Yes | Crop coverage card |
| Unused or overlap | Sprinklers × max range tiles - useful watered tiles | Yes | Yes | Unused or overlap card |
| Comparison grid | Same plot tested with five standard sprinkler setups | Yes | Yes | Five-setup cards |
Blocked tiles are subtracted as an even planning estimate because the calculator does not know their exact coordinates inside your field.
It’s easy: Sprinklers can start out as just one unit and a plan for where to put it. Stick it in a spot by your crops. Assume it all looks okay. That might be OK, until it’s not. This happens when you have a big summer crop cycle or something more ambitious, like filling a greenhouse. Efficient watering, much of the time, make the difference between hobby farming and making money at it.
The tool on this page handles the geometry. Simply enter the size of your plot, choose your sprinkler tier, and the calculator plot where the water will go tile-by-tile. The point is in knowing which designs pack the most inches of soil and which ones wastes some.
How to Plan Your Sprinklers
It’s tempting to plan early, since it’s easy to work with small numbers. Four tiles get watered by a basic sprinkler, so maybe just use every other tile in a checkerboard? That’s fine for a 3×3 section but it looks like a hot mess on a 15×15 plot. Switching between the different tiers, basic, quality, and iridium, show how coverage amounts scale. If you upgrade to a quality sprinkler, which sprays eight adjacent tiles rather than four, you’ll see your entire approach need to change: The optimal spacing is no longer the same. Higher tier tools makes a big difference, particularly when working on a 3×3 grid.
Spacing: Most people mess up here. Too far apart and you’ll have dry spots which can kill your crop. Too close and you’re paying for extra coverage which doesn’t help your bottom line. The calculator explicitly accounts for this overlap. It will show you how much of the watered area is actualy useful versus wasted. It is wasted on redundant watering. That’s a better metric than raw coverage, since having lots of coverage but massive overlap means you spaced your sprinklers poorly or bought too many.
The second thing that changes the equation are pressure nozzles: A sprinkler expands its coverage when paired with a nozzle; it’s like adding an extra tile in each direction. Seven times seven means an iridium sprinkler with a nozzle on it will cover 49 tiles, not shabby at all. That lets you spread sprinklers out by seven tiles horizontally and vertically and still get full coverage of the corners. The calculator takes that into account, check it out yourself to see just how many sprinklers you’ll really need to blanket a big rectangle.
Fewer sprinklers mean more room for crop plants, as every tile occupied by a sprinkler is a tile that won’t host starfruit or pumpkins.
Another useful feature is blocked tiles. Your farm isn’t just perfect open space. There are paths, scarecrows, and odd terrain that won’t support sprinklers, like the sandy areas on the Beach Farm. You can input those obstructions in the blocked tiles field. The tool will take them out of the area available to you so you’ll see what’s realistically possible (as opposed to what’s theoretically).
I leave a buffer along the edges. For example, sprinklers don’t go all the way to the end of my property (right up against the road or a fence) because I don’t like them there. A buffer of one or two tiles maintains a clean layout and keeps the drops of water away from useless ground anyway. The calculator will adjust downward for such buffers, so your effective plot size is what’s left after subtracting the buffer. It means shrinking your playable space a bit, but at least no drop of water goes onto useless ground. Often, it’s just enough to keep you from placing sprinklers that reach past the edge of your tilled zone.
The change is late in the game, when you’re not saving coins anymore, but rather trying to save time. Iridium sprinklers cost more initially, but you don’t have to stand out there holding a watering can. You manage systems. The comparison at the bottom of the tool shows that it is much more efficient. There is a much bigger difference between the dense grids required for the basic ones and the larger, more open fields suited for the iridiums. By planning out your grow, you avoid the heartbreak of having half your rows empty because you didn’t plan for enough space.
The calculator allows you to try various offsets to determine what leaves the least amount of water unused. Occasionaly it’s just moving the entire grid over by a single tile that gets you from a wasteful row of dead ends to a perfect match.
Its aim is simplicity. How do you irrigate each crop, but not waste precious farmland on overlapping coverage or obstacles? Plug in and get map from the calculator. Turn up the soil and sow some seed. Voila: the disorder of the first few years of farming will fall neatly into place as you realize where all those tiles fit. And then it is time for the fun part.