Red Dead Redemption 2 is one of the better titles on the market, and it is considered a must-play. You will find the graphics on this game to be pretty effective, and more and more owners are getting behind this game every day. So, you should test it out if you’re planning on getting a new title this season.
For the most part, the game is pretty stable and free from bugs. You will not have to worry about any extensive errors when relying on this game, and it is one of the more consistent options on the market.
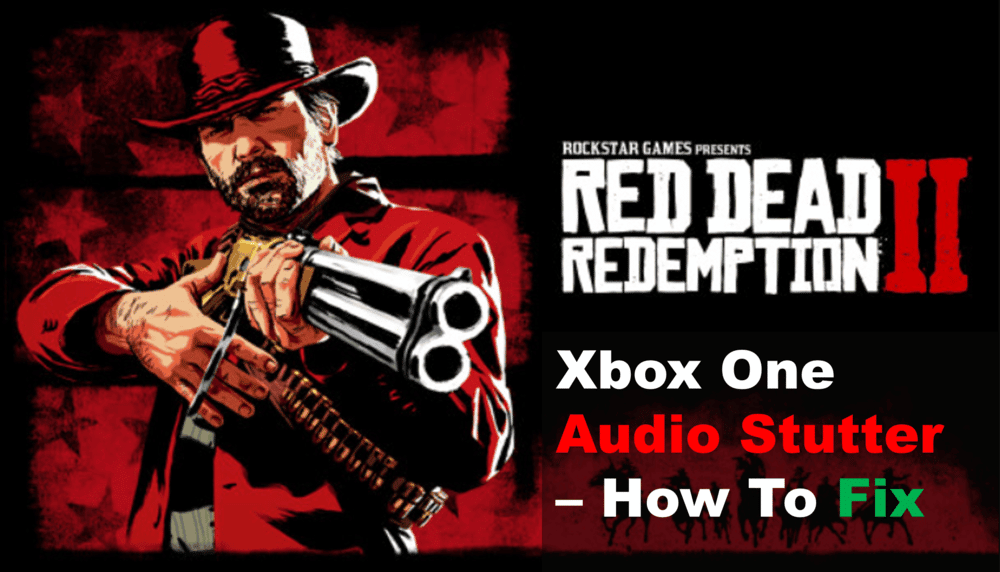
However, that doesn’t mean that it is sunshine and rainbows all the time. You will struggle a bit here and there when it comes to securing a good response from the unit. This is especially true for the Red Dead Redemption 2 Audio Stutter Xbox One. So, if you’re in the same boat, try some of these fixes.
Red Dead Redemption 2 Audio Stutter Xbox One
- Cycle HDR Mode
First, you need to check on the HDR mode. You have to make sure that the TV that you’re using can present the desired quality and that there are no issues with the configurations.
For the majority of players, the fix was to cycle in and out of this mode. So, if you’re also stuck in these errors and can’t seem to find your way through a fix, it is a good idea to cycle through this mode. It will not take you a long time, and the situation will be fixed rather quickly.
- Check Motion Plus Features
Next, you have to check up on the motion plus features as well. For some users, turning off this feature helped them with the audio stutter. While you will end up losing some frames, the audio will get crispier. So you will not have to bother with the same errors down the road.
- Power Cycle Your Xbox
Sometimes, all that you have to do is to rely on basic fixes like power cycling the system. It will not take you much time, and you can first turn off the Xbox and then remove all power from the unit. From there, keep the unit dead for about 2 minutes before resupplying the power. Hopefully, you’ll be sorted out.
- Submit A Support Ticket
At this point, you should just call it a day and reach out to the official support team. There is no point in spending hours of your time trying to fix the situation when you can get help from the experts. So, if you’re still stuck in the same errors and can’t seem to find a fix, just ask the official support.
All that you have to do is to submit a support ticket and provide the experts with thorough details. From there, it will be fairly simple to address the issue, and you will not have to deal with more errors down the road. Just follow along with the instructions listed by the experts.