⛏️ New World Gathering Calculator
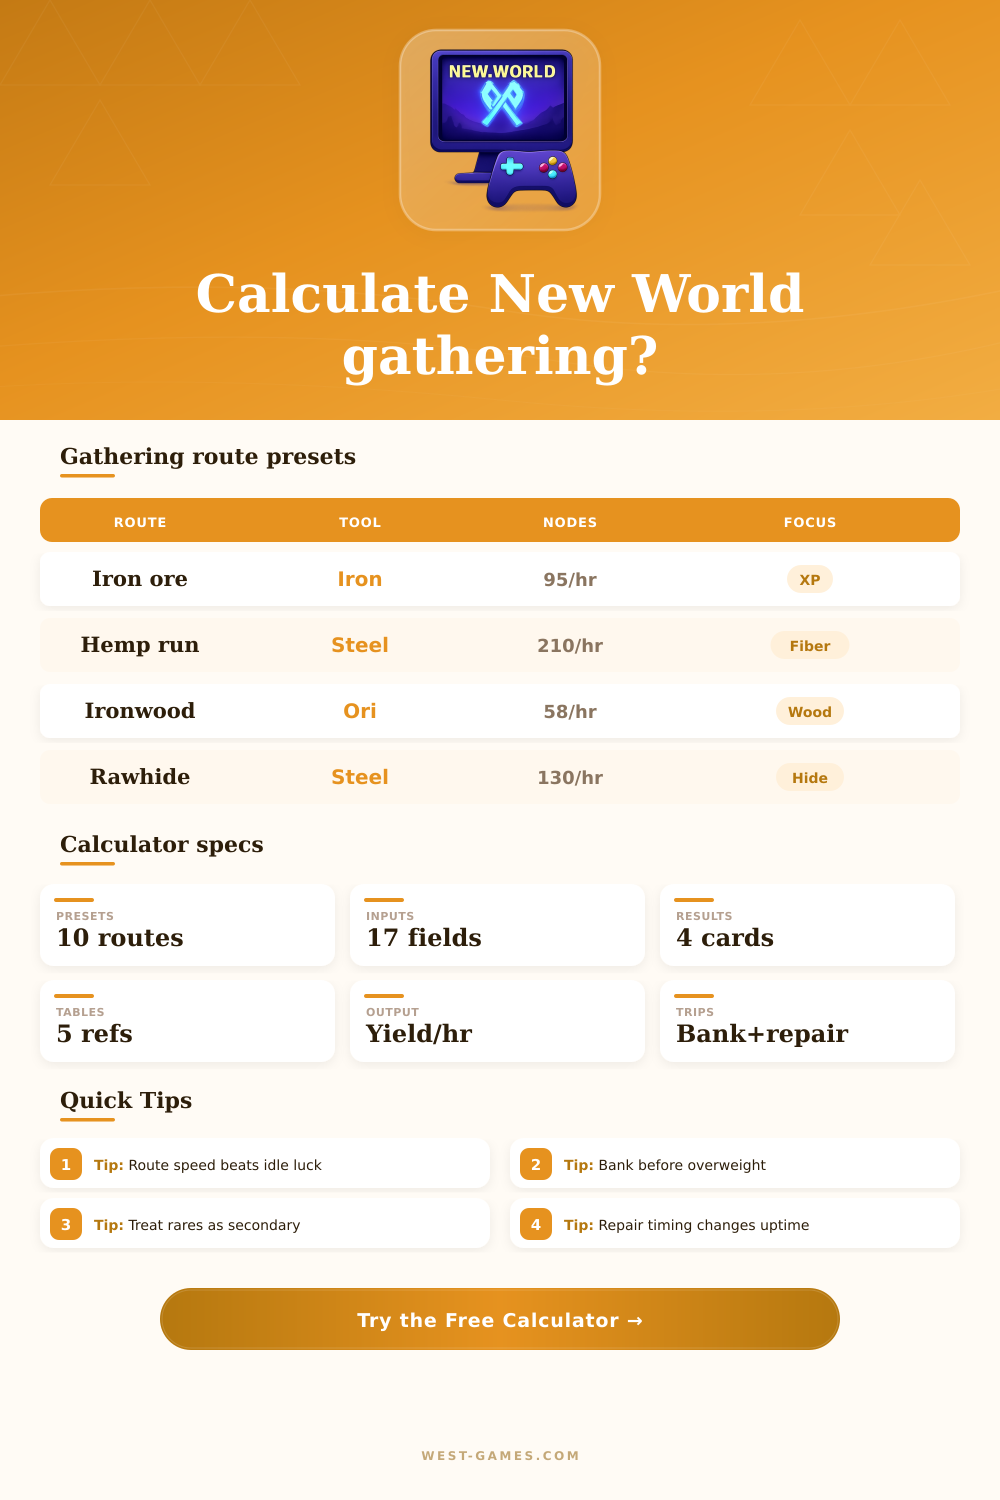
Estimate route nodes per hour, tool tier speed, proficiency booster yield, territory standing, encumbrance banking, rare secondary drops, repair breaks, and total gathering output.
| Preset | Main output | Base nodes | Route use |
|---|---|---|---|
| Iron Ore Starter | Iron Ore | 34 per loop | Early mining XP and town board stock |
| Starmetal Mountain | Starmetal Ore | 24 per loop | Mid-tier ore with travel friction |
| Orichalcum Elite | Orichalcum Ore | 18 per loop | Low density, high-value node circuit |
| Hemp Fiber Sprint | Fibers | 78 per loop | Fast harvesting and encumbrance testing |
| Ironwood Logging | Ironwood | 20 per loop | Slow gather, heavier repair planning |
| Tool tier | Speed model | Durability bias | Best use |
|---|---|---|---|
| Flint | 0.65x | High loss | Emergency or fresh character |
| Iron | 0.85x | Medium loss | Starter ore, trees, and herbs |
| Steel | 1.00x | Baseline | Normal leveling routes |
| Starmetal | 1.18x | Lower loss | High-density farming loops |
| Orichalcum | 1.35x | Low loss | Long sessions and rare nodes |
The tier multipliers are planning assumptions. Enter real loop minutes if your in-game timing differs.
| Input | Calculator field | Affects | Watch for |
|---|---|---|---|
| Proficiency booster | Booster dropdown | Main yield | Timer expiring mid-route |
| Territory card | Standing bonus | Yield and speed blend | Only local routes benefit |
| Tool speed perk | Extra tool speed | Nodes per hour | Travel still limits output |
| Competition | Missed nodes | Effective nodes | Empty spawns reduce pace |
| Encumbrance | Carry weight | Bank interval | Overweight kills uptime |
| Route style | Weight risk | Trip setting | Planning cue |
|---|---|---|---|
| Ore loop | High | 3 to 6 min | Bank before elite detours |
| Fiber field | Medium | 2 to 4 min | Large node count fills bags fast |
| Logging run | High | 4 to 7 min | Heavy wood favors close towns |
| Skinning loop | Medium | 3 to 6 min | Kill speed changes every estimate |
| Herb route | Low | 1 to 3 min | Motes and herbs are trip-light |
| Gathering family | Main route | Secondary rare examples | How this calculator uses them |
|---|---|---|---|
| Mining | Iron, starmetal, or orichalcum | Gems, Fae Iron, Tolvium, Cinnabar | Estimated as rare per hour from node count |
| Harvesting | Hemp, silkweed, wirefiber, herbs | Scalecloth, Blisterweave, motes, rare herbs | Kept separate from fiber and herb yield |
| Logging | Young trees, wyrdwood, ironwood | Quintessence, Wildwood, Barbvine | Shown as secondary route value only |
| Skinning | Rawhide and thick hide creatures | Smolderhide, Scarhide, special hides | Depends heavily on kills or skins per loop |
| Stone route | Boulders, lodestone, motes | Gems, lodestone side drops, motes | Useful for mixed gathering sessions |
For a true luck-stack model, use a dedicated gathering luck calculator. This tool answers whether the route itself is productive enough after trips and repairs.
So New World isn’t so much about swinging that axe around; it’s about logistics management, pretending to be adventuring. Sure, standing next to a tree feels productive. But being efficient means minimizing the time you spend walking between nodes or waiting for your inventory to clear. Because when you make a good run versus a great run, it’s almost never a skill difference. It’s almost always a planning difference. And this page here lets you strip out all the guesswork and model exactly how long your real-world run will take, rather than rely on vague estimates.
The way most players think about it is “higher percentage drop = more gold in my bank.” While true, that’s only half of the picture. Uptime and speed matter too: In fact, sometimes they’re even more important then pure random luck. A high-tier tool allows you to plow through nodes faster, resulting in combined benefits from many hours of play. Having an Orichalcum pickaxe that shreds through stone twice as fast as an Iron one doesn’t just save you seconds per hit; it saves you minutes per hour spent travelling/repairing. Taking into account both your individual loop timing and your speed multipliers (like the one from this tool), the calculator shows you how much upgrading your equipment will really increase your hourly output… Or if you’re already reaching the travel time ceiling.
Plan Your Gather Runs Better
The biggest thing about running for runs is encumbrance. Having your bag full out while moving through the most productive parts of a node cluster really puts a damper on your momentum. Do you turn around now and forfeit the remainder of the run because it will be slower, or do you push on, knowing that you’ll move more slowly? That’s where these two inputs affect the balance between bank trip duration and carry weight. Twenty percent of your session spent on storage trips isn’t made up for by any yield boost. Know when enough is enough before setting foot on the trail.
The other factor that seems arbitrary until measured is competition. Nodes vanish into thin air well before they’re within range. Accounting for missed spawns or shared kills changes the math of your yield. You’ll find a seemingly flawless path only to discover three other miner on the same ridge. Adjusting the competition percentage gives you a realistic baseline rather than an idealized maximum. It ties your assumptions to the grimy facts of server population distribution.
On top of all this, the unpredictability of rare drops makes it even more complicated. Special hides, Tolvium, and gems show up randomly, there’s no such thing as “earning” them by working hard. It can be tempting to focus only on route optimization where the chances of rare finds is highest, but doing so will often backfire since you have no control over whether you get lucky and get your desired drop. Because the calculator sees these as secondary resources that do not count as steady income, you won’t value low-density spots more just because a high-tier item drops once in a while. Bulk crafting or filling order boards requires consistency, not variance.
The last part of the equation is durability management. Every time you repair a tool, that’s downtime coming straight from your gathering uptime. If a tool has a low durability loss per node but a relatively slow speed bonus, it may take longer but keep you in the field longer. There’s a tradeoff here: Do you want more raw gather speed or do you want to be interrupted less often? How long will each tool keep you in the field before needing a break? These all come together via the session hour input. This input projects overall output by accounting for real world downtime, such as food consumption timers, storage deposit timers, and repairing tools.
Effective collecting comes down to mastering what you can master: minimizing the variables that impact your time. No amount of optimization will make a rare drop appear or increase spawn rates, but it will help you plan more efficiently, pack lighter, take smarter breaks, etc. When you realize how every variable impacts your bottom line, you stop mindlessly farming and work with purpose. That’s why an hour spent productively can feel like a world apart from the hours spent on a frustrating slog. It isn’t because you’re talented; it’s because you should of planned better.