⛏ FF14 Gathering Calculator
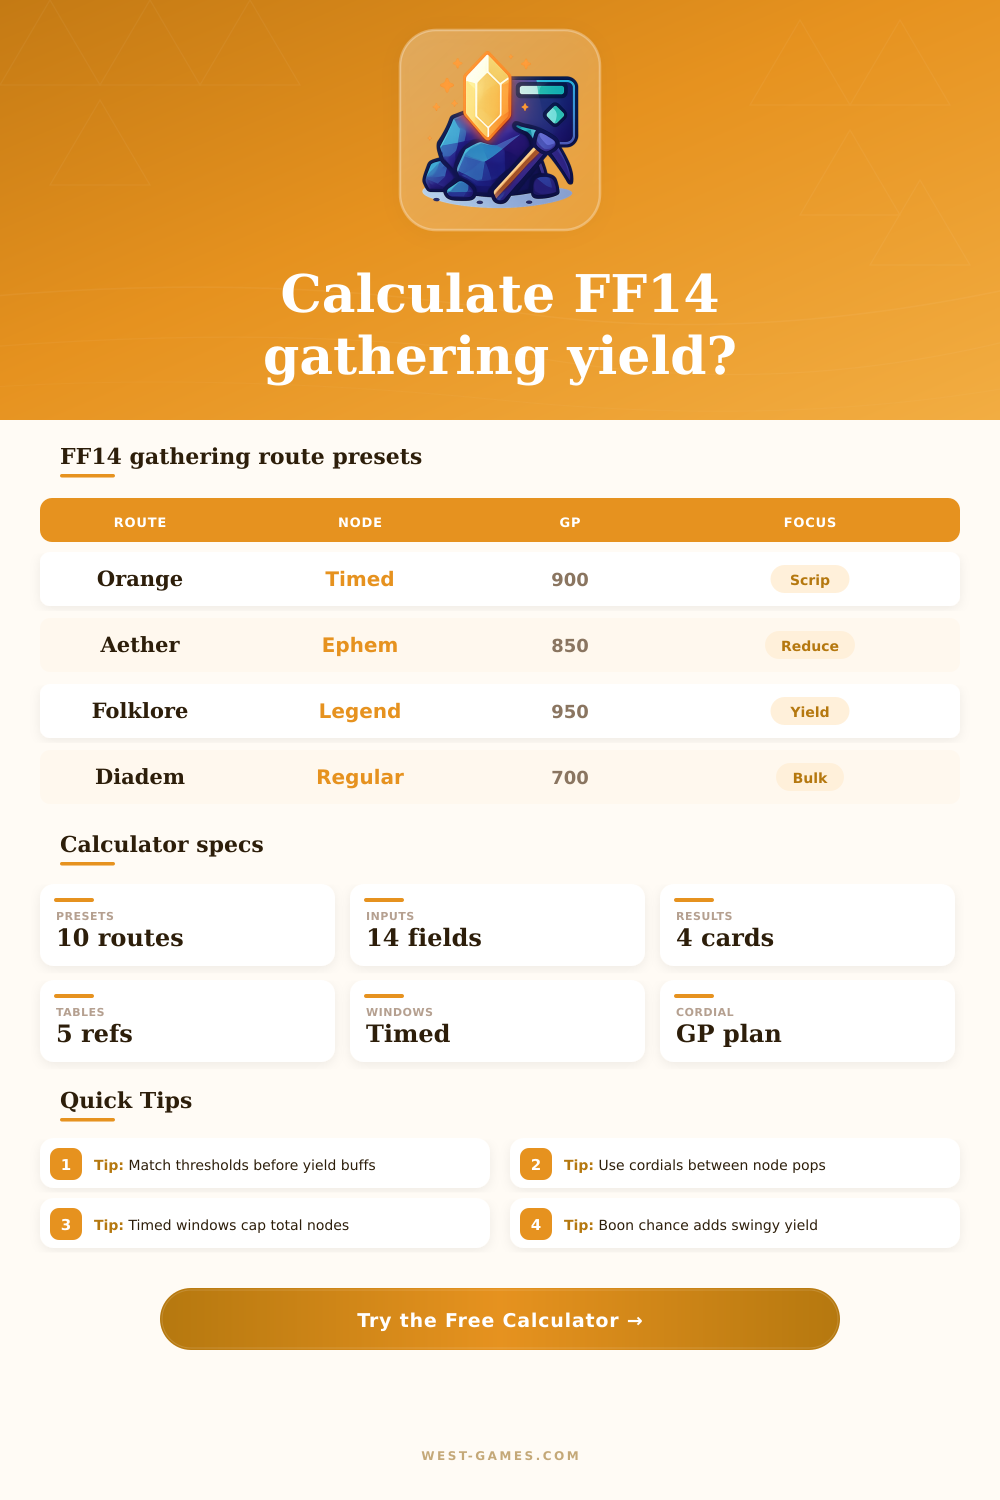
Plan Final Fantasy XIV gathering routes with gathering, perception, GP, node type, collectability thresholds, boon chance, cordials, timed windows, and turn-in yield.
| Node type | Base yield | Window | Best use |
|---|---|---|---|
| Regular route | 5.0 | Open | Bulk crafting materials and spiritbond laps. |
| Unspoiled timed | 4.0 | Short pop | Rare timed materials and collectables. |
| Legendary folklore | 3.5 | Timed | High-stat endgame materials. |
| Ephemeral | 3.0 | Rotating | Aethersand and reduction planning. |
| Diadem route | 7.0 | Long lap | Bulk exploratory gathering sessions. |
These are practical route defaults. Adjust base yield, nodes per lap, and active minutes to match the exact node cluster you are farming.
| Setup band | Gathering | Perception | GP plan |
|---|---|---|---|
| Fresh cap route | 3300+ | 3200+ | 700 GP with simple skills. |
| Scrip farming | 3900+ | 3800+ | 850 GP with one cordial. |
| Folklore loop | 4200+ | 4100+ | 900 GP with planned downtime. |
| Optimized collectables | 4500+ | 4500+ | 950 GP and cordial timing. |
| Manual patch tuning | Custom | Custom | Edit thresholds directly. |
Patch values and meld choices change over time, so this calculator uses editable stats instead of hard-locking one gear table.
| Cordial plan | Recovery | When to count it | Risk |
|---|---|---|---|
| No cordial | 0 GP | Short route or full starting GP. | Low yield-skill coverage. |
| Watered Cordial | 300 GP | Light recovery between nodes. | May miss big rotations. |
| Cordial | 350 GP | General timed-node planning. | Needs cooldown room. |
| Hi-Cordial | 400 GP | Collectables and scrip routes. | Overcaps if used too late. |
| Custom high plan | 500+ | Food, downtime, or manual route edits. | Check GP cap and timing. |
The GP model assumes you can actually use the listed cordials during the route. If node pops are too close together, reduce the planned uses.
| Goal | Threshold | Rotation focus | Planner input |
|---|---|---|---|
| Basic turn-in | 600 to 799 | Light collectability, more yield. | Lower GP per node. |
| Reliable scrip | 800 to 999 | Balance collectability and attempts. | Moderate GP per node. |
| High collectability | 1000+ | Perception and collect skills first. | Higher GP per node. |
| Aethersand reduction | Custom | Quality plus node volume. | Use reduction value per item. |
| Custom delivery | Custom | Hit the requested value safely. | Use weekly turn-in value. |
If your rotation often lands just below the threshold, increase expected collectability only after changing food, melds, or GP skill order.
| Route style | Nodes per pop | Windows | GP idea | Output focus |
|---|---|---|---|---|
| Single legendary item | 1 to 2 | 2 to 6 | Save GP for the target node. | Few high-value materials. |
| Scrip collectable chain | 3 to 5 | 3 to 8 | Spend GP only when threshold is safe. | Turn-ins per hour. |
| Ephemeral rotation | 4 to 8 | 4+ | Use cordials between rotations. | Reduction items and sand. |
| Open-world material lap | 10+ | 1+ | Favor yield skills over collectability. | Bulk items per hour. |
Use the comparison grid to decide whether your GP should go into collectability safety or more yield on each node.
There’s weeks spent optimizing your gear set. Every slot was paired with the right perception materia. You have your gathering skill cooldowns memorized. That legendary folklore node timed perfectly, and then you step on it at just the right moment. Everything goes off without a hitch and collectability bar ticks upward. Then suddenly you’re 40 points shy of making the cut.
Usually that’s not bad luck; it’s a logistical failure. In Final Fantasy XIV, gathering is as much about managing resources over time as it is about pushing buttons. You sacrifice goodwill points for bonuses to yield. You spend perception for quality. You burn cordials to close the gap when natural regen isnt enough. Once you input your own stats, this calculator does all the math for you.
Plan Your Gathering Route Better
You don’t have to guess if your current build can maintain a high-end rotation throughout an entire route. Most players view gathering as a collection of disconnected event. Hit one node, then another, then another. This fails to consider resource management aspect. Your fuel is goodwill points. Burn through them all on that first node to acquire some bonus stuff? You will run dry before you even make it to the third. By contrast, the tool views your overall planned path, not discrete actions within it.
Here you input your max GP cap (after eating and gearing), your base gathering stat, and your perception. Based off those inputs, we calculate your baseline reliability. But the meat comes when you enter what you’re trying to do. Are you gathering for crafting? In which case yield is more important than item quality. Or are you focused on turning things in for scrip? Then hit that specific collectability bar. You might need to drop items for this purpose, giving up raw number in favor of quality. That’s where most routes fall apart: players go too heavy with their yield skills, which burns up GP that would of otherwise been spent on careful planning/scrutiny. Do you want three really nice items? Or do you want half a dozen crappy ones?
The “Routes” page breaks down the tradeoff via a reference table showing how various types of nodes react to these decisions. Timed nodes is extremely lucrative, but only if you’re doing them during a brief window. You need to factor in cooldowns and travel time. Your route planner might think you can pluck five nodes in ten minutes. However, if cooldowns and teleportation wait times adds an extra three minutes of dead air, you’ll expect far more then what you actualy get.
Long runs become possible with minimal gear swapping thanks to cordials, which are the equalizer in this game. With proper timing, one hi-cordial can add two to three more actions to your rotation. However, it’s all about when you drink it. If you go too soon, you waste the benefit since your GP pool still has room for more. If you wait too long, youve already used another action. The cordial input in the calculator lets you specify how much GP you expect to get back from cordials and how many you intend on using. From there, you can determine whether you’re going to have sufficient GP throughout three windows of timed nodes. Adjust accordingly. What was once an unclear worry about running dry becomes a solid number regarding coverage percentages.
And then there’s variance, too, which no spreadsheet will ever be able to account for entirely. There’s a certain element of boon chance that adds an almost random layer to your results and can really move things in one direction or another over the course of a single play session. Sometimes you go through a node and come out with no additional bonus items at all, and the very next time you get three extra items. Expecting that it’ll happen just because you want it to only leaves you disappointed when it doesn’t. Adjusting your expectations based on what actualy happens as you rotate around makes these numbers into something useful again, not flights of imagination. They begin to point you toward areas where you aren’t being efficient. This is where switching up your food buff or going back and picking up some extra perception would make a real difference.
Ultimately, gathering is about consistency over perfection. It’s more beneficial to have a little less per node but be able to maintain it for an hour than to have the most possible from one node that runs dry after ten minutes. Modeling your whole trip, including how many cordials you use and your travel downtime, removes the guessing game from your plans. You no longer rely on hope. You rely on logistics. And that mindset makes gathering less of a chore and more of a predictable way to move forward. You get what you want, when you want it. You will wonder why things never seemed to make sense before.