Frame Data Advantage Calculator
Calculate startup timing, active-frame contact, recovery, hit advantage, block safety, cancel value, and punishability for fighting-game moves.
Frame Advantage Result
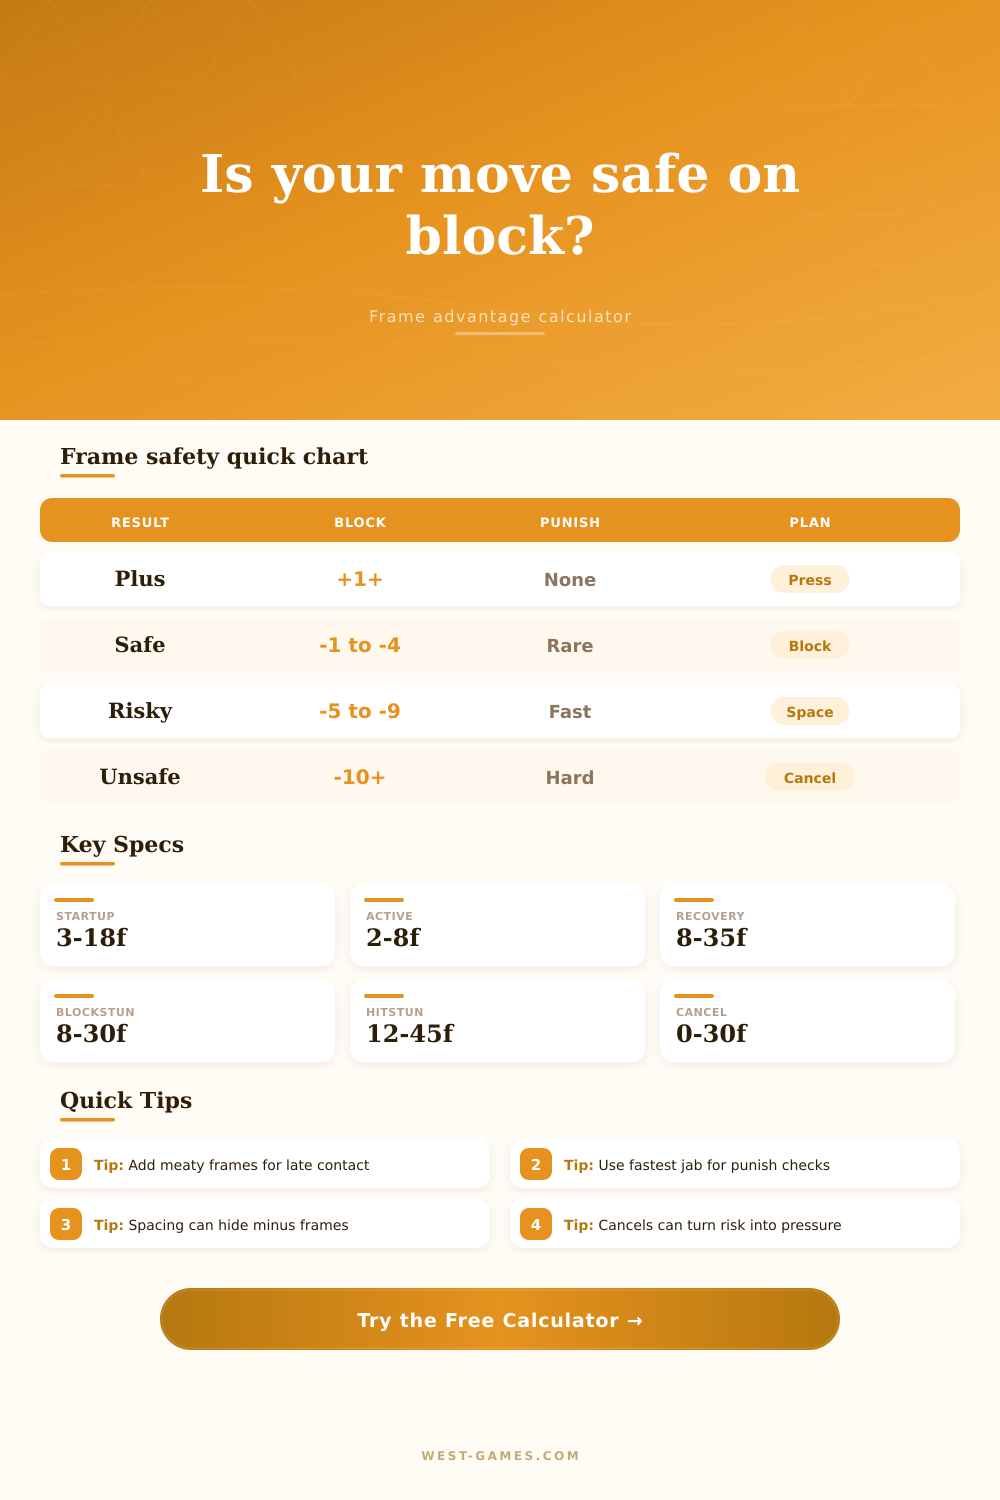
| Block advantage | Safety label | Common response | Calculator meaning |
|---|---|---|---|
| +1 or better | Plus | Attacker can usually press first | Opponent must block, invuln, backdash, or challenge with risk |
| 0 to -2 | Very safe | Turn is close to neutral | Fast jabs may trade or lose depending on range |
| -3 to -4 | Usually safe | Fast punish is uncommon | Check throw range, pushback, and special reversal speed |
| -5 to -9 | Punishable by fast buttons | Jab, light kick, or quick mid | Spacing modifier may make the punish whiff |
| -10 or worse | Heavily unsafe | Combo starter or launcher | Cancel, space, or reserve for whiff punish situations |
| Game and move | Startup | Active | Recovery | Blockstun | Hitstun | Use case |
|---|---|---|---|---|---|---|
| SF6 Ryu crouching medium kick | 8f | 3f | 19f | 17f | 22f | Poke into cancel check |
| SF6 Cammy medium Spiral Arrow | 9f | 10f | 20f | 18f | 31f | Whiff punish or spacing test |
| GGST Sol far slash | 10f | 4f | 13f | 18f | 23f | Pressure starter |
| GGST Ky Stun Dipper | 5f | 3f | 24f | 16f | 30f | Low-profile punish |
| Tekken 8 Jin df+1 | 13f | 2f | 17f | 17f | 23f | Mid check and pressure reset |
| Tekken 8 King hopkick | 15f | 3f | 28f | 18f | 44f | Launcher risk check |
| MK1 Liu Kang F4,3 | 12f | 4f | 18f | 20f | 28f | Advancing string check |
| MK1 Sub-Zero Slide | 11f | 7f | 32f | 18f | 38f | Low special punish test |
| KOF XV Kyo hop D | 7f | 6f | 14f | 18f | 27f | Jump-in meaty estimate |
| UNI2 Hyde 5B | 8f | 4f | 16f | 19f | 25f | Mid-range pressure button |
| Metric | Formula | What increases it | What lowers it |
|---|---|---|---|
| Total animation | Startup + active + recovery | Long startup, long recovery | Faster normals, cancel routes |
| Recovery after contact | Active remaining + recovery - cancel | Early contact, no cancel | Late meaty contact, cancel frames |
| Advantage on block | Blockstun - post-contact recovery | More blockstun, later active frames | More recovery, armored checks |
| Advantage on hit | Hitstun - post-contact recovery | Counter hit, punish counter, stagger | Slow recovery, no cancel option |
| Punish window | Absolute block disadvantage | Minus frames greater than jab startup | Pushback, low profile, range limit |
| Game style | Fast jab | Fast special | Launcher starter | Practical note |
|---|---|---|---|---|
| Street Fighter style 2D | 4f to 5f | 5f to 8f | 8f to 12f | -4 can matter at close range |
| Anime fighter pressure | 5f to 6f | 6f to 9f | 10f to 15f | Pushback and gatlings change the answer |
| 3D fighter mids | 10f | 11f to 13f | 15f to 16f | -10 is a standard jab punish threshold |
| NRS string pressure | 7f to 8f | 9f to 12f | 11f to 15f | String gaps and flawless-block rules matter |
| KOF hop pressure | 4f to 5f | 6f to 9f | 8f to 12f | Late jump-in contact can add strong advantage |
In training mode, you might learn a move because it’s safe and fast and you’ve practiced it thousands of times. When you go into an online match, however, that very same move gets you punished most of the time. The reason is that fighting games aren’t about intuition. It’s about frames.
Each frame are a brief moment during gameplay that helps control the space around your character. In other words, there is sixty frames per second in fighting games, and each one of those frames matters. For the most part, people view frame data as some kind of abstract homework that they cram into their heads to spit out during tests, only to forget when they’re actualy playing matches. Stop viewing it as a test and view it as a way to make decisions with your own hands. You provide the numbers. The calculator above will handle the rest of the math.
Why Frame Data Matters in Fighting Games
Raw numbers like how fast you start up and how long until you recover is fed in as input stats that get turned into risk assessments. For example, seeing a negative block advantage tells you that the time when your opponent regains control of their character are still happening. That’s the window of opportunity for punishes. Cancel options (options that reduce some of penalty of recovery) can change things here too if you’re confirming a hit and linking into another one.
Knowing what the gap is between conditional safety and raw safety is what distinguishes casual from competitive player. Active frames are those that register damage, and startup frames are those required before your threat comes into play. The trap many players fall into is recovery frame, which follows when the visual part of the fight ends. You watch the punch pull back out and think, “It’s over,” only to find yourself still locked in position as the opponent connects with a quicker jab during the recovery phase. An attack may seem like it has only eight frames of startup, making it appear fast on paper, yet possess a recovery phase of 20 frames, which makes it a slow move towards getting countered. It’s about weighing the immediate threat against the lingering risk.
How long will it last? The math also gets affected when you consider the impact of spacing. If you hit somebody at the end of your attack range, that’s an extra bonus since they’re stunned but you still have less time to react as you approach them. In real life, that’s what happens with tips and range when you engage someone. This spacing modifier reflects those ranges in the calculator. So that’s why something looks like a “safe” move sometimes even though it shouldn’t be. You just sorta miss by a little bit and get a few more frames of buffer to do a dash or block. Without taking into account point blank, you don’t see how far off you are from actualy landing hits on people. Most fights aren’t point blank; they’re at distances that make all the difference between living and dying.
Things get more complicated again when we factor in counter hits, which apply additional damage and hitstun. For example, a blocked move may now be safe if it hits as a counter, because the extra stun frames will give you a frame advantage. It becomes a game of mind where you can threaten a block baiting counter while knowing that the neutral exchange isn’t worth it. Players who understand this switch learn not to fear minus frames and instead actively look for those select timing windows in which you reverse the script. The tool comes equipped with reference tables that clearly define these tipping points so you’ll know when to hold back and when to go all-in on an attack.
It also comes down a lot more to your opponent’s move pool than it does yours. If they have a fast jab startup at four or five frames, and you get them minus five or worse, then they’re dead in a neutral situation. But if they have no options other than slow specials, then that minus five doesn’t matter because their quickest won’t reach you before you recover from the hit anyway. The true risk is cross referencing your disadvantage against theirs and knowing specifically what buttons they can actualy punish you for hitting. Memorizing safe moves blindly is pointless because you won’t know which button they can actually use to punish you.
Frame advantage is more about science than art, it’s a hidden structure of sixty frames per second that dictates gameplay rather than just relying on intuition. It’s about knowing when to push even when you’re in the red because there’s space or counter potential to make up for it. You’ll screw up, sure, but you do so with purpose now instead of just throwing darts at the wall hoping something sticks. After you’ve got those sixty frames sussed out you can slow the game down and decide what happens next instead of scrambling through a melee.