Punish Window Calculator
Estimate whether your button reaches in time after blockstun, recovery, input delay, spacing travel, and hitstop are counted in frames.
⚡Fighting and Action Presets
🕹Calculator Inputs
Calculation Breakdown
📊Current Spec Snapshot
📝Frame Outcome Table
| Margin | Result | Common Meaning | Practice Target |
|---|---|---|---|
| -10f or worse | No punish | Too slow, too far, or too delayed | Switch to movement, guard, or a faster button |
| -1f to -9f | Likely blocked | Opponent recovers before active frames arrive | Reduce travel, choose jab, or buffer sooner |
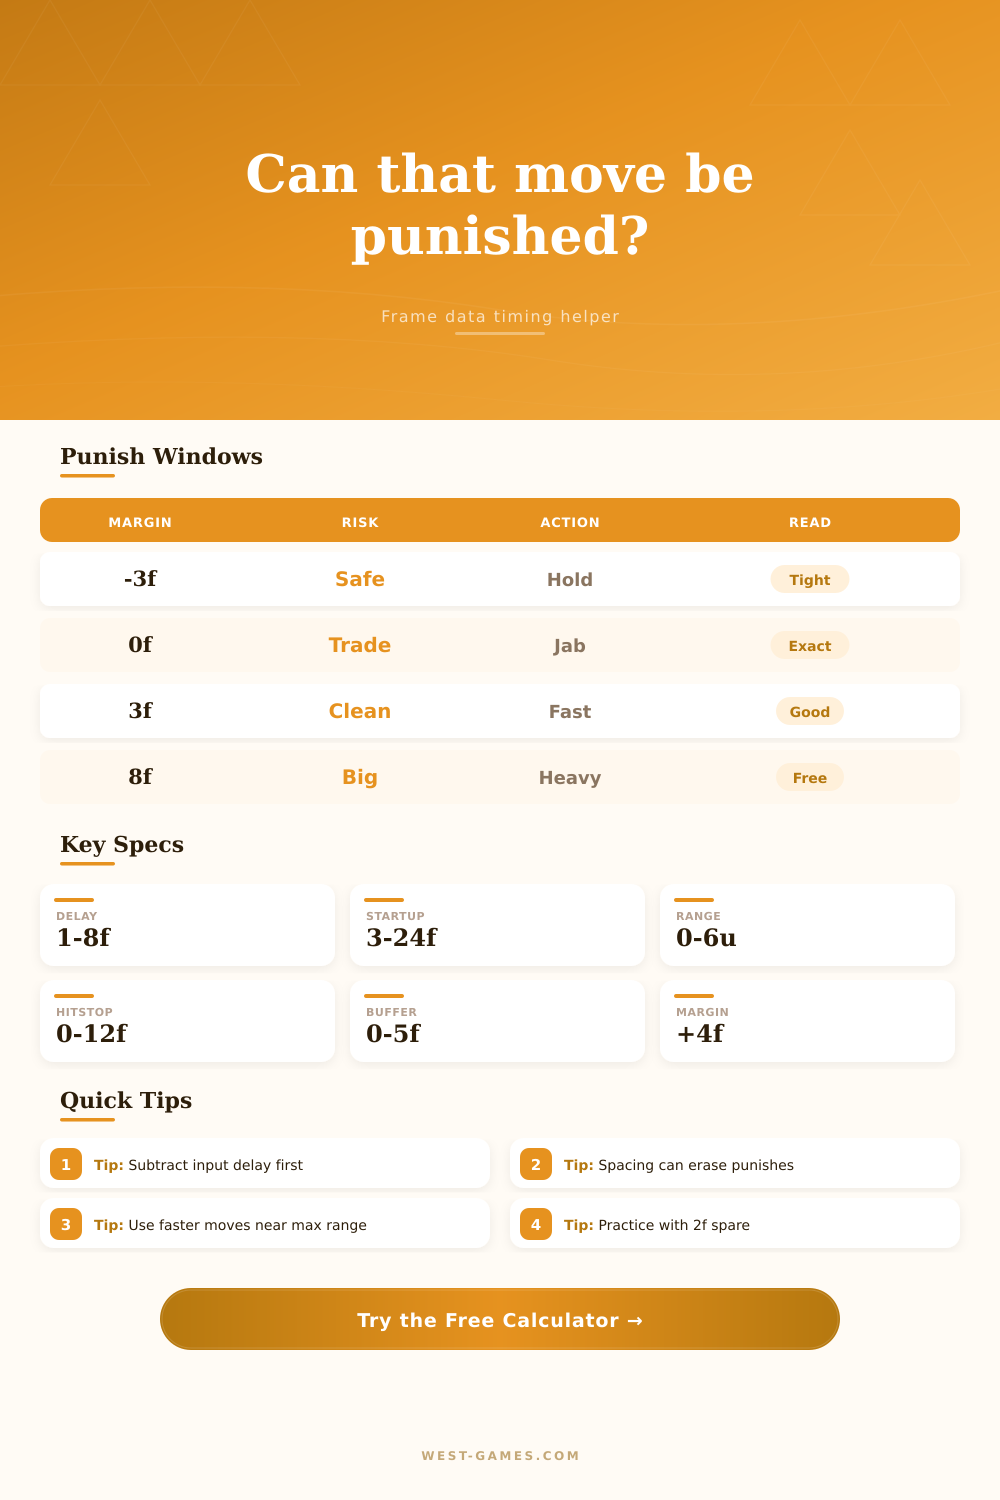
| 0f to +2f | Tight punish | Works only with clean timing and range | Practice until it lands ten times in a row |
| +3f to +7f | Reliable punish | Small execution errors are covered | Use as a match-ready punish route |
| +8f or better | Large punish | Enough time for slower starters or dash confirms | Test higher damage starters and positioning |
⚙Move Type Comparison Grid
| Move Type | Typical Startup | Range Profile | Best Use |
|---|---|---|---|
| Fast jab or poke | 3f to 6f | Short | Small minus moves, point blank pressure, stable checks |
| Throw or command grab | 5f to 8f | Very short | Shield, guard, and close block punish situations |
| Medium starter | 7f to 11f | Mid | Balanced punish when advantage is clearly positive |
| Launcher or heavy starter | 12f to 18f | Mid to long | Big whiffs, unsafe specials, and long recovery moves |
| Super or reversal | 1f to 9f | Variable | Guaranteed reversal windows and high-value punishes |
| Dash-in normal | 10f to 24f | Long | Whiff recovery where spacing is the main obstacle |
🎯Common Situation Reference
| Situation | Typical Advantage | Spacing Concern | Recommended Test |
|---|---|---|---|
| Blocked sweep | +10f to +18f | Pushback can matter | Try medium starter, then faster normal if it whiffs |
| Blocked uppercut | +18f to +40f | Usually close | Test strongest grounded starter or jump-in punish |
| Shielded aerial | +2f to +12f | Height and landing lag change timing | Compare grab startup against fastest out-of-shield option |
| Whiffed launcher | Recovery based | Distance is often decisive | Add dash travel before testing your combo starter |
| Delayed string gap | 0f to +6f | Interrupt risk is high | Use fastest invincible or low-profile response if available |
🧪Timing Variable Specs
| Variable | What It Adds | Usual Range | Calculator Role |
|---|---|---|---|
| Opponent recovery | Vulnerable frames | 6f to 60f | Raises the available punish window |
| Block advantage | Your head start | -6f to +30f | Adds or subtracts from recovery timing |
| Input delay | Late control response | 0f to 8f | Increases effective startup |
| Distance travel | Time to reach | 0f to 20f | Converts spacing into a frame penalty |
| Hitstop | Confirm time | 0f to 12f | Partially credits reaction and buffer timing |
| Buffer leniency | Execution forgiveness | 0f to 5f | Reduces the practical penalty of tight input timing |
💡Practical Timing Tips
Push the button. Animation begins. Your enemy blocks. Was it because you’re not fast enough? Is game rigged against you? That’s what most people think when they fail to pull off a clean combo.
What they don’t know is there’s something in-between human reaction and pure math: frame data. A calculator do the math by adding travel time plus input delay plus startup frames. Learn these numbers and your muscle memory will be betterer.
Understanding Frame Data for Better Punishes
Recovery is key: The objective in fighting games are to recover faster then your opponent. Every time your opponent misses with a move or fails to block an unsafe attack, there’s a fixed number of frames that player will spend recovering. For a short period of time, your opponent will be unharmed but unable to do anything while they’re in recovery animation.
Combine this with distance between opponent, plus your own startup time, and that period of opportunity rapid shorten. Pressing buttons harder isn’t always the answer. Is your hitbox going to get there before their hurtbox come online? Because many players seem to view positive advantage as something easily secured, a few frames of margin, say three, can instently dissapears if you stand just outside opponent’s reach.
Punish attempts often fail due to spacing. Sometimes you have a move that connects if you are right up on them but you need to dash forward to close the distance. Your buffer for advantage is reduced by those travel frames. This shows you the distance and approach speed required, so you can see why certain punishes look easy on a chart but was impossible in matches.
Take a seven frame move then add four frames of travel time and now you’re working from a place of reversal urgency. It is not a casual confirmation. Those who only looks to static frame data tables miss this. They don’t take into account how position affects the math. There’s a gap between perfecting things in training mode and tournament reality.
You’re able to pre-input your button in training mode because you know exactly when the attack is going to land. In a live match, you need to see the whiff or block. Then you must process that info and hit the button. The delay adds frames to your effective startup. Your window becomes very narrow.
Something that punishes by a margin of one frame are theoretically viable. But under pressure, it’s practically useless as the slightest hesitation will lead to you missing out. It’s best to go for punishes that gives you at least three or four frames of spare time. That way, if your opponent mixes up their timing a bit, there’s some breathing space.
Freezing the action can allow you to react and catch your opponent off-guard with a shaky confirm, but Hitstop doesn’t actualy buy you any more time to land the hit. Instead, it freezes both of you. While it’s stopped, neither of you have an advantage over the other; the clock simply isn’t ticking down either way. Realizing that helps you avoid getting stuck chasing flashy stuff that looks good in slow-motion but never seems to work at speed.
This happens because those moves rely on visual cues instead of being perfectly timed to a single frame. That’s where the reference table on page comes in: It explains the margin and shows how fast a solid punish becomes a risky gamble when the buffer shortens. The key to mastering punish windows isn’t so much memorization of each and every startup value as it is learning your own sense of risk versus reward.
When do I have enough time to commit to a heavy launcher? Or do I fall back on a quick jab to gain block advantage? While the numbers inform our choices, the consistency stem from repeatedly running into these edges and making them feel second nature. Before long, you don’t think about the exact frame count anymore; you simply trust in the timing and spacing and the punishes takes care of themselves.
You should of practiced more. Press the button. Start the animation. And this time, it lands.