🎮 Destiny 2 Skill Tree Calculator
Plan subclass aspects, fragments, stat tiers, cooldown loops, and survivability before locking in a Guardian build.
| Tier | Build read | Use case | Risk |
|---|---|---|---|
| 0-2 | Dump stat | Unused role stats | Slow cooldowns |
| 3-5 | Playable | Casual activities | Weak in Master |
| 6-8 | Strong | Most endgame builds | Needs synergy |
| 9-10 | Priority | Core loop or defense | Opportunity cost |
The calculator converts each tier to a cooldown factor and a weighted build score.
| Ability | Base sec | Stat | Model role |
|---|---|---|---|
| Fusion Grenade | 73 | Discipline | Burst loop |
| Vortex Grenade | 121 | Discipline | Zone damage |
| Grapple | 82 | Discipline | Mobility loop |
| Threaded Spike | 91 | Strength | Refund loop |
| Thunderclap | 114 | Strength | Charged burst |
Base seconds are planning anchors; the formula applies stats, aspects, armor charge, and exotic modifiers.
| Activity | Resilience | Loop target | Priority |
|---|---|---|---|
| Playlist | 5+ | 70 sec | Comfort |
| Legend | 8+ | 60 sec | Stable loop |
| Master | 9+ | 55 sec | Survival |
| Grandmaster | 10 | 65 sec | Safety first |
| Raid DPS | 8+ | 75 sec | Super value |
Readiness compares your calculated survivability and cooldown average against these targets.
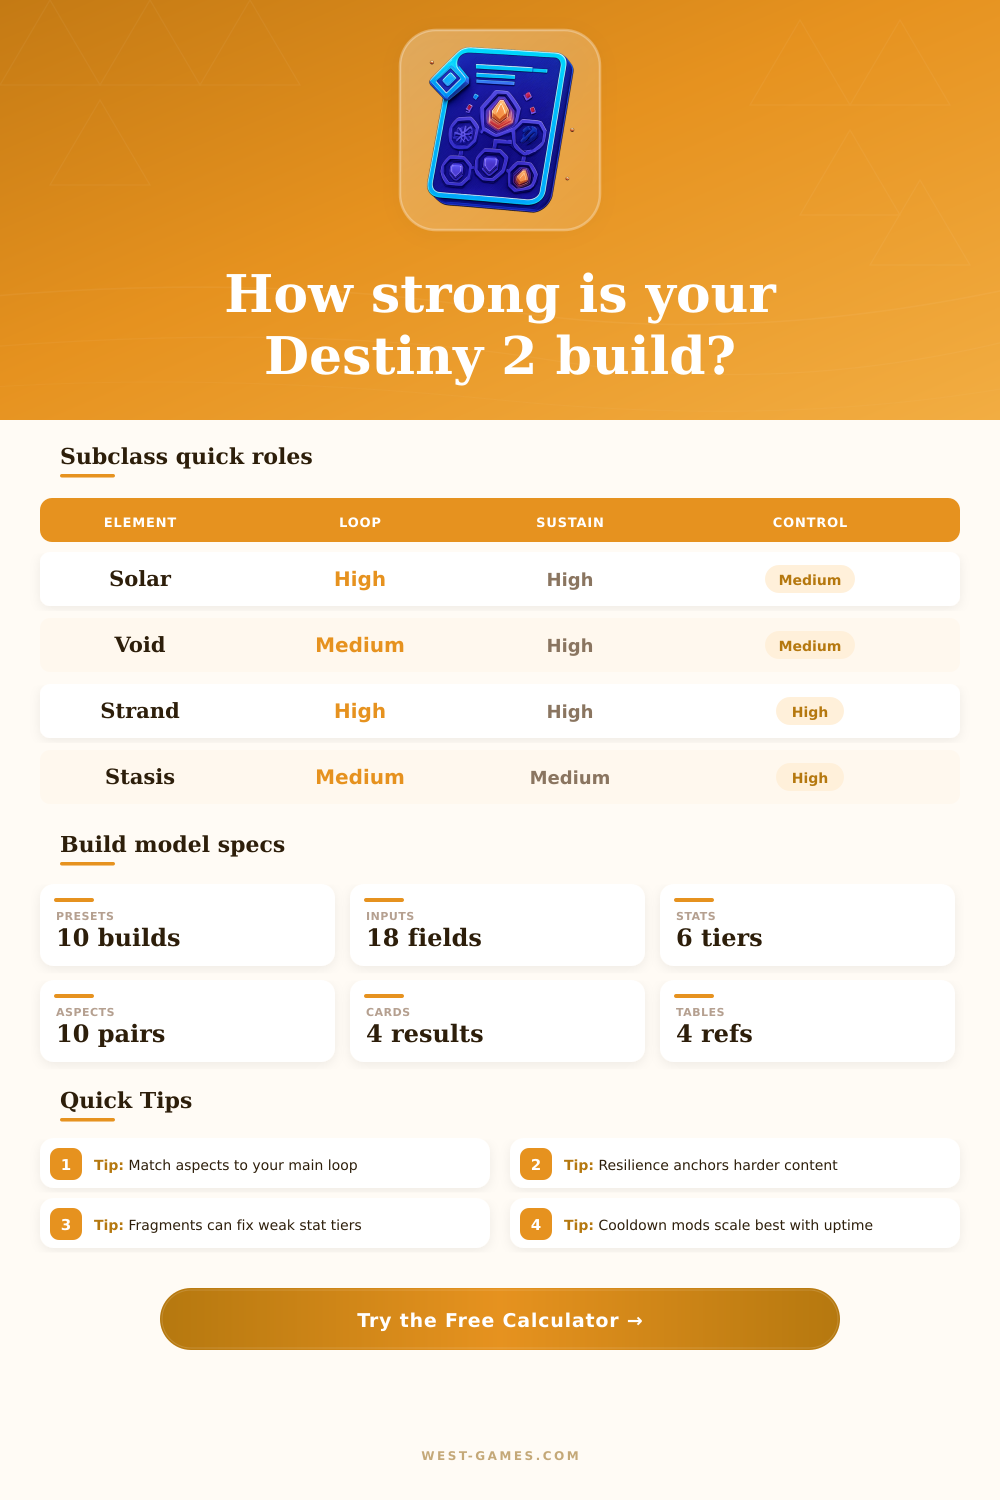
| Aspect pair | Loop | Sustain | Control |
|---|---|---|---|
| Touch + Heat | 1.18x | 1.08x | 0.90x |
| Stylish + Vanish | 1.08x | 1.18x | 1.02x |
| Banner + Fray | 1.16x | 1.28x | 1.10x |
| Bleak + Iceflare | 1.10x | 1.04x | 1.38x |
| Feed + Hellion | 1.18x | 1.20x | 1.12x |
Aspect multipliers represent how much the pair improves uptime, sustain, or control in this model.
| Result | Core formula | Main inputs | Best fix |
|---|---|---|---|
| Synergy | Stats + loop + role | All tiers, aspects | Align role |
| Cooldown | Base x tier / mods | Discipline, Strength | Raise core stat |
| Survival | Defense - pressure | Resilience, sustain | Raise defense |
| Super time | Base x Int / engine | Intellect, exotic | Add orb engine |
The breakdown below the result cards lists the exact intermediate values used for the current build.
Destiny 2 build are determined by the small number of choices that a person makes prior to loading into an activity. These choices include the choice of aspect, the choice of fragments, and the choice of exotic gear. For example, a person may find that the grenade that returns every fifty second is a more better option than a grenade that takes ninety seconds to return to the player; the former will allow for a smooth clear of an area that contains enemy, while the latter can potentially result in a wipe of the player and there group.
Each of these choices is important because each aspect of a subclass interact with every other aspect of that same subclass. Thus, because these aspects interact with one another, a planning tool is a useful tool for that player to use prior to enter the activity. The calculator within this tool will mathematically calculate a variety of values based off the player’s class, subclass, role target, and stat tier for that subclass.
Plan Your Destiny 2 Builds with a Calculator
These statistics can be compared to the activity that the player intends to play to ensure that the player’s stats will be able to handle the demand of that specific activity. For example, classes such as Solar enable players to focus upon their restoration and grenade uptime stats, while classes like Void provide players with stats regarding safe resets and overshield uptime. Additionally, classes like Strand rely upon melee damage and woven mail stats, while classes like Stasis provide focus on freeze chain stats and turret control.
Finally, classes like Prismatic include elements of all of the other stats and stats for various ability. Each of these values help to enable players to compare each of these builds prior to spend their materials for any items. Many player feel that the only stat that matters for players within the game is the Resilience stat; this is mainly due to the fact that the Resilience stat provides players with damage reduction during the Grandmaster content for the game.
However, the Resilience stat alone will not fix any dead loop that the player may find within their games; dead loops occur when a player spends the majority of the fight while waiting for an ability to return. For instance, if a player chooses a Discipline stat of four in their subclass, their grenade may take two minutes to return. However, the calculator will help to show this to the player; the player can raise the Resilience of their gear to ensure that they are safe from damage during the fight, but the tool will allow the player to see if that will leave them with enough cooldowns to support their role within the game.
In some instance, then, this tool will lead to the decision to choose a different aspect for their subclass. Beyond the aspects of the subclass, players can choose different fragment for their subclass; these fragments can provide points to one stat but remove those same points from another stat from that same subclass. For instance, a fragment may increase a player’s Discipline stat by ten but reduce their Recovery stat by ten.
Thus, if a player is creating a solo survivability build, it may be more important that their Recovery stat is high rather than their Discipline stat. These fragments are tracked within the tool so that a player need not remember the effect of each fragment upon their subclass. The net effect of these fragments is tracked as part of the sustain score, which also accounts for the player’s Resilience stat and the sustain provided by their aspect and exotic weapon.
Thus, changing just one fragment can impact three different result card within the game. The role that a player chooses for their character will also impact the score of their subclass; different role require certain stats to be high in order to succeed with that role. For instance, an add clear role requires cooldown time to be as fast as possible to contribute to the clear of the activity, even if that means they will have lower survivability in the game.
In contrast, the role of solo anchor allows for slower loops in their subclasses; this role require higher sustain value. Finally, a crowd control role relies upon the control value of the aspect pairs that the player chooses. Thus, when a player changes the role that their character utilizes in the game, their cooldown time requirement change, as do the weights of the stats that are required in their survival within that role.
Beyond the stats and aspects of their character, players can also utilize the super recharge stat for their character. While Intellect is one of the stats that impacts a player’s super recharge time, the majority of a player’s super energy come from their action orbs and the damage that they deal with their abilities. However, the tool allows for the player to see their passive recharge time for their super energy; if the player select slow super recharge with low Intellect and a neutral exotic weapon, for instance, the tool will show that the player will rely almost entirely upon their combat action orbs to provide energy for their super ability.
While this is acceptable for some character and subclasses, it is risky for others. Beyond the different aspects and stats for the player’s character, the player is often challenge to create a build for their character within the game; it is often difficult for players to determine when a certain build for a character is “sufficient.” However, the calculator will provide a synergy score and a readiness score for each of the player’s different aspects and stats. The synergy score will reveal to a player the balance of the player’s stats relative to each other; a high synergy score indicate that the player’s stats work well together.
Additionally, the readiness score will provide a player with an estimation of whether or not their character will be able to survive the challenge of the selected activity. Neither of these scores are a replacement for play testing the build that is created, but they are helpful in recognizing any potential mismatch between a player’s stats and the activity that they are to play. An added value to this tool may be seen in the use of the tool to adjust the player’s builds.
For instance, a player can try to use one of the many preset builds for different character and activities, but may find upon attempting to play the activity that their sustain score is relatively low. In this case, the player can raise the Resilience stat of their character by one tier, after which the readiness score may increase. Additionally, the player may change their aspect pair to their subclass to attempt to reduce their cooldown time average; any changes like these will lead to the creation of a more reliable build for the player.
Overall, then, the tool remove the guesswork that many player may have to create their subclass and ensures that they can focus upon the adjustment to their aspects that have the most impact upon the build of that subclass within the game.