🔥 Dark Souls Drop Rate Calculator
Estimate farming odds across Dark Souls Remastered, Dark Souls II, and Dark Souls III using base drop percent, item discovery, kills per run, target drops, dry streaks, and expected time.
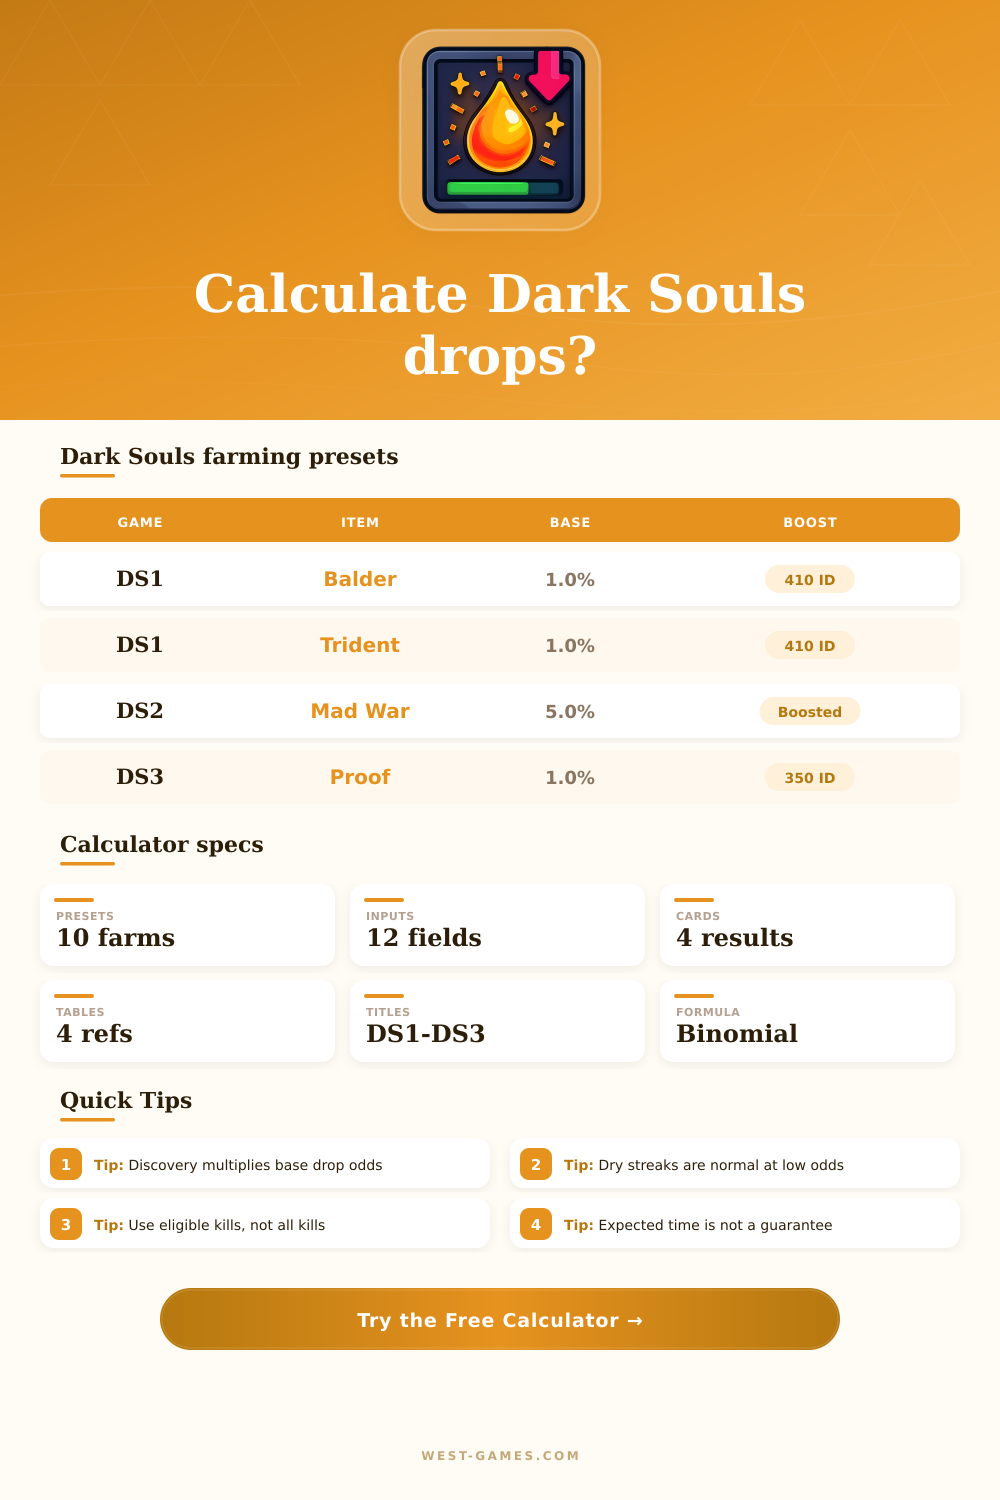
| Farm | Title | Base chance | Route note |
|---|---|---|---|
| Balder Side Sword | DS1 | 1.0% | Undead Parish Balder Knights |
| Channeler's Trident | DS1 | 1.0% | Duke's Archives channelers |
| Titanite Slab | DS1 | 0.21% | New Londo Darkwraith route |
| Berserker Blade | DS2 | 5.0% | Belfry Sol Mad Warrior |
| Proof of Concord Kept | DS3 | 1.0% | Anor Londo Silver Knights |
| Wolf's Blood Swordgrass | DS3 | 5.0% | Farron Keep Ghru route |
Rates are planning defaults. Replace the base percentage whenever your chosen enemy, edition, or wiki table uses a different value.
| Title | Low boost | Strong boost | Planning caveat |
|---|---|---|---|
| DS1 | 210 ID | 410 ID | Humanity stacks with one major discovery item |
| DS2 | 180 ID | 350 ID | Visible values are approximated for calculator use |
| DS3 | 250 ID | 450 ID | Luck, coins, Symbol, ring, and rapier can stack |
| Manual | 100 ID | Custom | Use exact discovery if your build displays it |
The calculator uses discovery as ID divided by 100. DS2 discovery is treated as an equivalent multiplier because the game hides exact totals.
| Metric | Formula | Inputs | Meaning |
|---|---|---|---|
| Effective chance | Base x ID/100 x eligible% | Drop and discovery | Chance per target-capable kill |
| Run chance | 1 - (1 - p)^kills | Kills per run | At least one drop in a reset loop |
| Expected kills | Copies / p | Target drops | Average kills before meeting goal |
| Dry risk | (1 - p)^dry | Dry kills | Chance of seeing zero drops |
| Session chance | 1 - binomial miss | Hours and copies | Chance to meet the copy goal |
Drop attempts are treated as independent. Dark Souls item farming has no pity counter unless a separate guaranteed route exists.
| Route pace | Kills/run | Runs/hour | Best fit |
|---|---|---|---|
| Fast bonfire loop | 1-3 | 40-60 | Short covenant or weapon farms |
| Standard reset | 3-6 | 20-35 | Parish, Anor Londo, Farron routes |
| Long elevator route | 2-5 | 10-20 | Archives, New Londo, Shrine paths |
| Single spawn route | 1 | 15-45 | Mad Warrior and mimic checks |
| Full area sweep | 8-20 | 5-12 | Armor sets and multi-enemy routes |
Use eligible kills per run, not total enemies killed. Non-dropping enemies only matter if they slow the route.
For three hours you sit next to a bonfire. Your thumbs are cramped from button mashing and the music has faded away. You need a weapon. The drop rate is one percent. One percent sounds small, but that means you could fail forty times before succeeding once. In Dark Souls this can feel punishing.
The calculator does math for you. Checking a box doesn’t explain why you’ve gotten nothing on your first ten tries. You need to understand that there is something else going on. How the game counts your attempts. Finding items isn’t magical. At least, it shouldn’t be in games.
Understanding Drop Rates and Probability
Item discovery should scale your base item drop rate. They increases at a linear rate up to a hard cap. Get all the humanity and gold rings you can find in Dark Souls one? With four hundred and ten item discovery, a one percent item drop becomes about four percent. That’s a big boost. But it’s also a four percent chance. You still have a 96 percent chance to fail on each try.
And that’s where people go wrong here. They looks at that number increasing and think they’re going to get the item. They don’t. All you’ve done is lower average number of times you’ll kill someone from one hundred down to twenty five. There’s still a huge range involved. Chances are you’re still pretty frustrated.
You have to understand that the item isn’t dropped on all enemies. Killing a hollow out of the corner of your eye doesn’t counts toward the item you’re after if you’re farming a silver knight shield. With that said, you can set it so that it only counts kills from eligible enemy per run. It essentially makes you own up to which enemies is on the loot table. When you kill four extra before finding one knight, your effective rate per minute go down. Your per kill rate won’t change (but your time efficiency will). And that’s why most people’s farming plans fall flat.
Every enemy you fight who doesn’t drop the item costs you time. Randomness has dry streaks. That’s not a bug in your build. Intuition doesn’t always agree, but it’s actualy pretty common to see no drops after 50 kills with an overall 5% effective rate. The calculator makes that explicit so you can choose whether or not the session duration is appropriate for your mood.
Will you be farming for two hours? If the stats say there’s only a 30% chance of getting something by the end, then perhaps you should of adjust your expectations. Maybe add some extra time to your budget. Framing it this way takes away the sting of failure because we don’t perceive it as personal punishment. It is just statistical noise.
Luck Scaling, In dark souls three, this changes the math a bit throughout the series. Discovery is no longer only based off the item but also your stat. What this means is there’s an extra level of build optimization above “wear this ring.” Do I give up a point of dexterity? Strength? How much do I invest in luck? It doesn’t matter unless it does.
Proof of agreement kept is a rare material. If I am chasing these items, I may want more discovery. Now I have to make some choices. The downside though is my character will be slower which can negate increased drops since it’ll take me longer to down enemies. Probability and speed don’t always mix.
Common routes are covered by the table on the page. The items you can access will vary depending on what you have unlocked and picked up as a player. Perhaps a quick bonfire loop through an early area isn’t efficient because you lack a way to get back fast. Maybe you’re slowed down by elevator times/fog gate resets, or maybe death carries its own practical cost. In that case, dying will lower your kill rate per hour, even though you’re swinging your sword like a madman.
The real currency here is time. It matters more then estus or health flasks. The point is that farming is patient work. It’s seconds per try work. Repeat the same move over and over again for real-world results. Know what the odds are so you can determine which route makes financial sense to invest in.
This helps you determine whether or not you want to purchase this item from someone else. Some of the time the math indicates that it would be cheaper to trade instead of farm. Some of the time it tells you that you just have twenty more minutes before you’re 90% confident. Conquering probability isn’t the objective here. The objective is working within it until the random chance swings into your favor, you press the button and stay afloat.