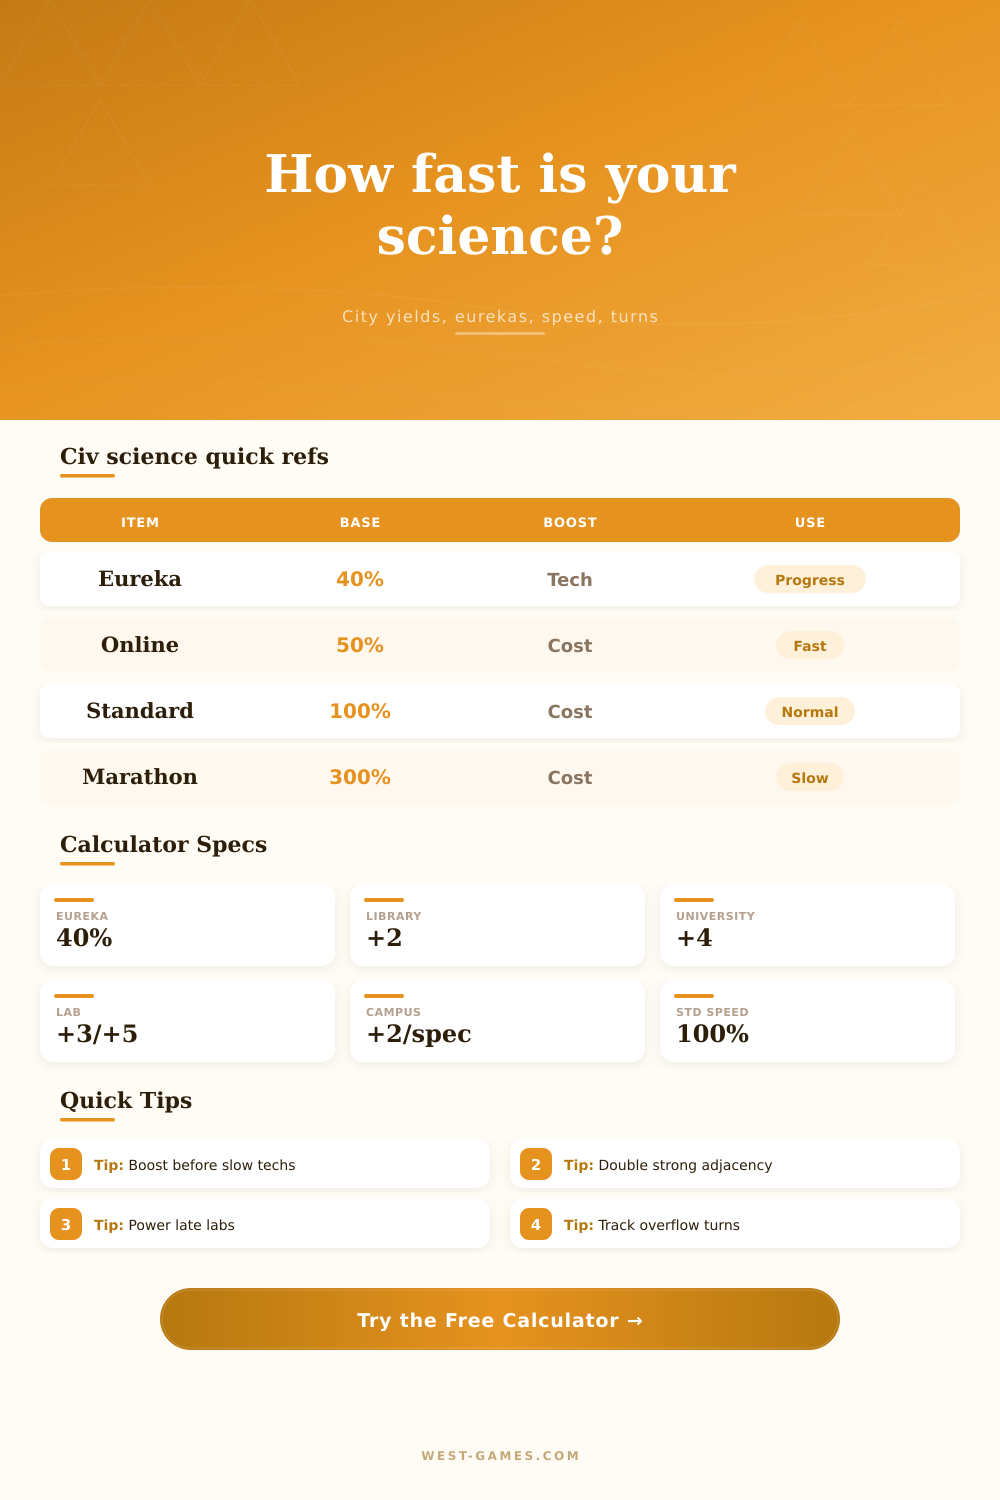
🔬 Civilization Science Rate Calculator
Estimate Civilization VI science per turn from population, Campus adjacency, buildings, specialists, policy modifiers, Eurekas, game speed, tech cost, research turns, and overflow.
| City group | Count | Population | Campus adjacency | Campus buildings | Specialists | Extra science |
|---|---|---|---|---|---|---|
| Capital core | ||||||
| Campus cities | ||||||
| New settles | ||||||
| Lab cities | ||||||
| Special cities |
| Speed | Cost multiplier | Example 600 tech | Planning note |
|---|---|---|---|
| Online | 50% | 300 science | Short windows; Eurekas land quickly but missed boosts hurt less in turns. |
| Quick | 67% | 402 science | Faster than Standard; use custom field if your ruleset rounds differently. |
| Standard | 100% | 600 science | Default benchmark for most displayed technology costs. |
| Epic | 150% | 900 science | Longer build-up; timing Eurekas before finishing matters more. |
| Marathon | 300% | 1800 science | Huge remaining costs; overflow and boost sequencing become easier to see. |
| Component | Base value | Modifier input | Why it matters |
|---|---|---|---|
| Population science | Editable, default 0.5 per pop | Science per population | Captures passive city science and lets modded rulesets adjust cleanly. |
| Campus adjacency | Map-dependent | Campus adjacency modifier | Mountains, reefs, geothermal fissures, rainforests, districts, and unique districts shape this number. |
| Library | +2 science | Building modifier | Early Campus building yield and one specialist slot. |
| University | +4 science | Building modifier | Mid-game building yield; the base calculator stacks it with Library. |
| Research Lab | +3 science, +5 powered | Building modifier | Late-game science spike; use powered full Campus for +14 total building science. |
| Campus specialist | Default +2 science | Specialist science | Useful for tall cities, specialists, and late population planning. |
| Input | Formula | Default | Practical use |
|---|---|---|---|
| Adjusted tech cost | Standard cost x speed multiplier | 100% on Standard | Enter Standard listed cost, then select speed. |
| Eureka credit | Adjusted cost x boost percent | 40% | Available Eurekas reduce remaining science before turn calculation. |
| Turns | Remaining science / science per turn | Rounded up | Shows the next full turn on which the tech should finish. |
| Overflow | Science produced on final turn minus remaining | Estimated | Useful when chaining low-cost technologies or timing boosts. |
This is a planning calculator, not a save-file parser. In-game UI rounding, queued research, mods, era rules, Babylon, Great Scientists, spies, and one-time boosts can change exact displayed values.
| Preset | Science shape | Main variable | Best read |
|---|---|---|---|
| Ancient Writing Push | Low population, first Campus | Early progress | How many turns until Writing or a cheap opener finishes. |
| Medieval Education Sprint | Libraries and Universities | Building modifier | Whether Education finishes before production timing catches up. |
| Industrial Lab Timing | Powered labs and high population | Lab power | How much a late infrastructure wave shortens research. |
| Babylon-Style Boost | Very large boost percent | Eureka percent | How far a boosted beeline can jump with little raw science. |
This is Civilization VI. It is that familiar sensation of staring at the tech tree while the progress bar inches forward. Time to get that new building or unit, but when will it be unlocked? What are those science numbers on the screen telling me about my remaining time? Will I still have that tech in time to defend against barbarian assaults on my farms? Should I rush the Library today or just let my Campus adjacency come online later?
Enter your game speed and yield numbers into the calculator above. It’ll crunch the numbers so you don’t waste another second wondering whether you’re going fast enough.
How to Use the Science Calculator
Science gets treated as a kind of accumulation problem by most players. If I produce more science then my neighbor, then I’m ahead. That’s half the story. The other half is efficiency. Yes, you might be producing a lot of science across your whole empire, but if you’re doing so in ten cities that don’t have any Campus buildings, then you’re paying for inefficiency. The tool lets you group cities together. Why does this matter? Because the math for a new settlement with just Palace looks different than the math for a capital city with a powered Research Lab. Separating them out lets you identify which cities are contributing well and which ones is burning food for little to no return. It is a small detail, but it matters.
This is where strategy works and fails to work: understanding Eurekas. Eureka boosts aren’t additive, they’re multiplicative in their effect on technology costs. Let’s say your tech requires six hundred science at Standard speed. A 40% tech boost will negate 40% of that expense. That’s not time saved, that’s literally moving ahead multiple turns without generating any science whatsoever. The calculator handles that by allowing you to enter both the amount of progress made so far as well as the expected benefit of the boost. It’ll give you a reasonable approximation of remaining turns. Failure to account for the boost timeline means failure to plan right from the beginning.
Another factor influencing our intuition is game speed. If you slow down, you feel slow, like in a marathon; if you speed up, it is all over before you know it, like playing online. And yet the tech costs halve, making those inefficient starts more pronounced as you go through hundreds of turn. This can be seen from reference table on the page which outlines how any given tech will scale at various speeds. Keep in mind that if your science-per-turn is low, even a boosted tech on Marathon is going to be a big ol’ time sink.
Bad district placement isn’t something you can brute force your way out of. Late game: Adjacency bonuses are silent killers. Campus with no adjacency? Liability. It has a small yield and takes up some space, but it doesn’t scale. Districts like mountains, reefs and others increase that base yield. Throw in a policy card like Natural Philosophy and you’re not getting a flat bonus. You’re doubling the effect of those terrain features. That’s why the calculator separates adjacency from building modifiers. Do you have good land, or did you draft good cards? Because the two mix together. If they do, then you don’t really know where you stand strategicaly.
The other type of leverage comes from specialists. These guys are pricey, not just financially (food/housing) but also in time (they take up 1 space). They help fill the gap between the University unlock and the Research Lab unlock. This is especially true for someone focused on building a handful of well-developed cities in a tall playstyle. You enter your number of specialists per city group into the tool and it will tell you how much bang you’re getting for your buck … or whether you should expand further to another city.
Finally, the last difference between great planning and good planning is overflow. Anything leftover after completing a technology will roll over into the next technology. This means, if you ignore the overflow on a long game and it causes you to underestimate your ability to plow through the late-game tech tree, you’re in trouble. That estimate of overflow tells you how much of a head of steam you have going. Maybe you should of been running towards that next big goal sooner than expected because you’ve got a lot of overflow coming out of your previous tech.
Generating numbers is one part of Science in Civilization. But it’s also about managing time. You could instead spend that time expanding, trading, or building armies while you wait for your tech every turn. The calculator helps you figure out if it’s worth waiting for the perfect boost, or simply completing the task with its abstract steps turned into real moves. That ability to manage time is what turns a decent run into a victory. You no longer guess when that next tech will roll around but plan exactly where you’ll be when it does.