Belt Throughput Calculator
Estimate factory belt output after belt speed, lane count, stack size, inserter limits, splitter loss, item compression, buffer margin, and target demand.
Calculation Breakdown
| Belt Profile | Items/sec Per Lane | Two-Lane Belt | Best Use | Planning Note |
|---|---|---|---|---|
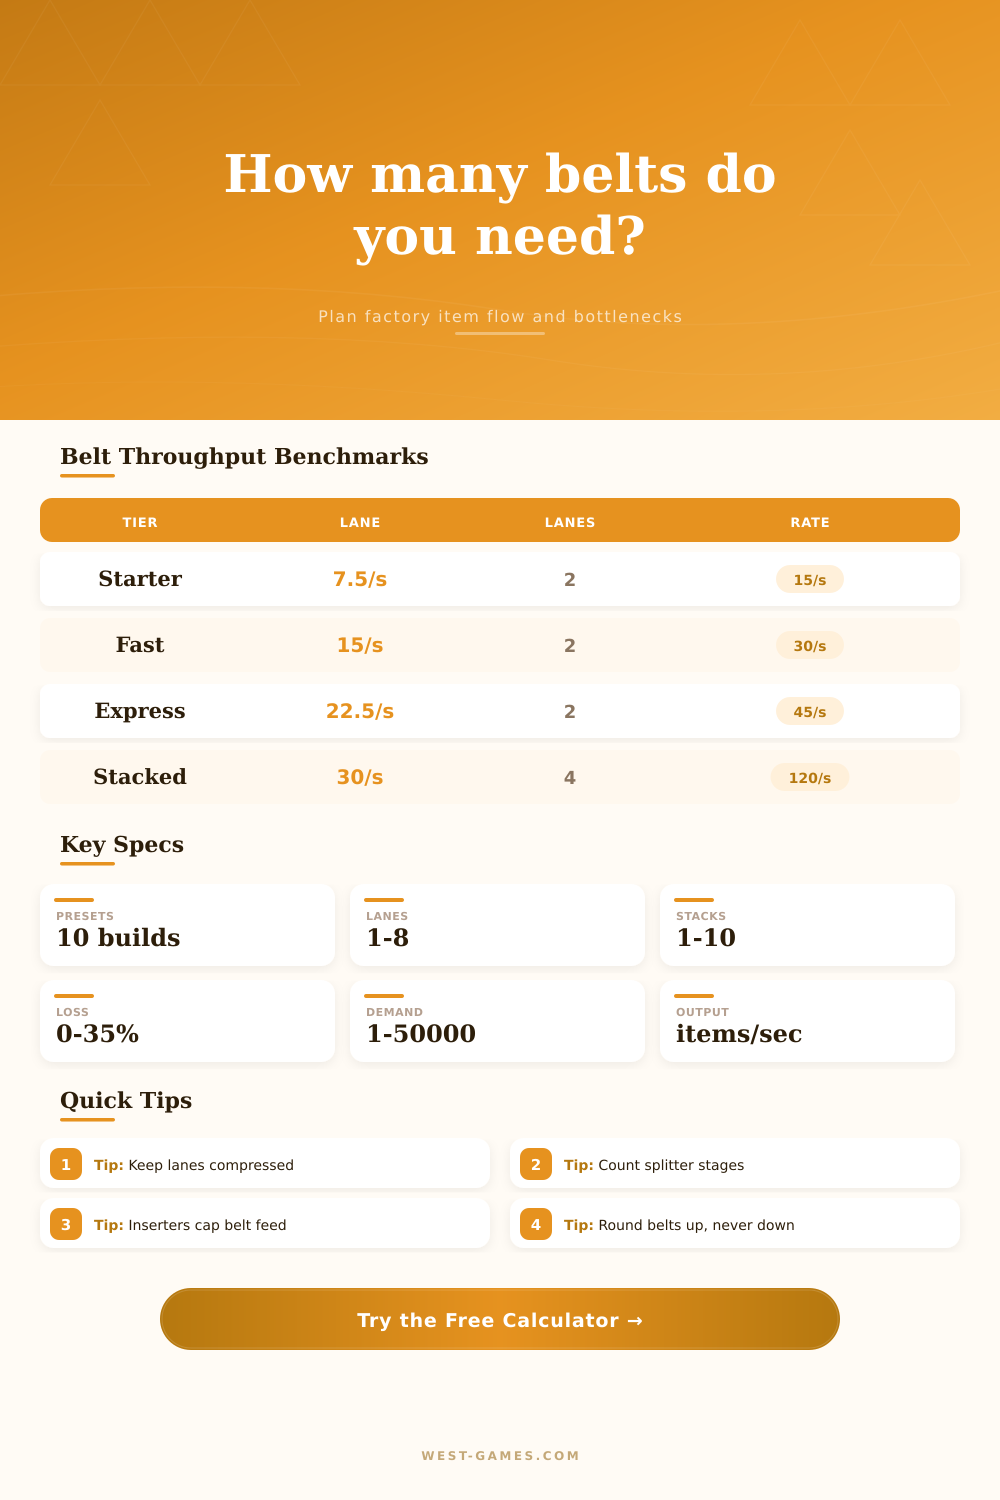
| Starter belt | 7.5 | 15 items/sec | Early ore, coal, basic plates | Cheap baseline for small recipes |
| Standard belt | 10 | 20 items/sec | Starter bus upgrades | Good if the game uses round tens |
| Fast belt | 15 | 30 items/sec | Smelter columns and green circuits | Often the first serious bottleneck fix |
| Express belt | 22.5 | 45 items/sec | High-volume bus lanes | Classic late-game two-lane target |
| Turbo belt | 30 | 60 items/sec | Modded high-throughput cells | Needs cleaner merges to stay full |
| Stacked belt | 45 | 90 items/sec | Train unloads and compact modules | Stack and compression dominate results |
| Feed Profile | Moves/sec | Typical Stack | Raw Items/sec | Throughput Risk |
|---|---|---|---|---|
| Burner inserter | 0.8 | 1 | 0.8 each | Caps tiny early lines quickly |
| Basic inserter | 1.2 | 1 | 1.2 each | Needs many arms for full belts |
| Fast inserter | 2.4 | 1 to 3 | 2.4 to 7.2 each | Swing angle and stack bonus matter |
| Stack inserter | 3.0 | 4 to 12 | 12 to 36 each | Excellent if chests stay supplied |
| Bulk loader | 6.0 | 5 to 20 | 30 to 120 each | Usually belt-limited, not arm-limited |
| Direct belt feed | 999 | 1 | Belt capped | Use for miner-to-belt or machine output |
| Network Pattern | Splitter Stages | Common Loss | Compression Target | Practical Reading |
|---|---|---|---|---|
| Straight belt | 0 | 0% | 98% to 100% | Usually limited by feed, not belt speed |
| Simple split | 1 | 0% to 2% | 92% to 98% | Priority settings can starve one side |
| Bus tap chain | 2 to 5 | 1% to 8% | 85% to 96% | Demand variance grows after each tap |
| Lane balancer | 3 to 7 | 2% to 10% | 80% to 94% | Useful when lanes desync or back up |
| Sushi loop | 4 to 10 | 4% to 16% | 60% to 88% | Spacing control matters more than raw speed |
| Overflow sorter | 5 to 12 | 6% to 22% | 55% to 85% | Buffers hide loss until demand spikes |
| Preset | Belt Setup | Feed Setup | Loss Model | Expected Bottleneck |
|---|---|---|---|---|
| Starter Two-Lane Bus | 7.5/s, 2 lanes, stack 1 | 6 basic arms | 1 split at 1% | Inserter feed before belt speed |
| Fast Smelter Feed | 15/s, 2 lanes, stack 1 | 12 fast arms | 2 splits at 1.2% | Compression from uneven smelter timing |
| Express Mall Spine | 22.5/s, 2 lanes, stack 1 | 8 fast arms | 4 taps at 1.5% | Bus taps and priority splitters |
| Stacked Train Unload | 30/s, 4 lanes, stack 4 | 16 stack arms | 3 balancers at 0.8% | Train chest refill and belt merges |
| Sushi Science Loop | 10/s, 2 lanes, stack 1 | 6 fast arms | 7 loop stages at 3% | Item spacing and loop starvation |
| Megabase Bus Segment | 45/s, 4 lanes, stack 2 | 24 bulk loaders | 5 stages at 0.6% | Downstream demand exceeds one belt group |
| Factor | Calculator Use | Higher Value Means | Lower Value Means | Best Adjustment |
|---|---|---|---|---|
| Belt speed | Base lane capacity | More flow before stacking | More parallel belts needed | Upgrade belt tier first |
| Lane count | Multiplies belt speed | Wider, simpler throughput | Tighter build footprint | Balance both lanes before scaling |
| Stack size | Multiplies carried items | Huge compact output | Classic one item slot flow | Check inserter stack can keep up |
| Inserter rate | Caps item supply | Belt reaches full capacity | Belt runs partially empty | Add arms, loaders, or stack bonus |
| Splitter loss | Reduces after each stage | More hidden bottleneck risk | Cleaner throughput estimate | Shorten splitter chains |
| Compression | Accounts for lane gaps | Closer to theoretical maximum | Visible gaps and merge jitter | Fix lane balance and buffer timing |
When output is slow yet belts keep moving, you can see why a lack of understanding leads to so many mistakes in planning. Belts carry items along which makes it look like there is plenty of movement, even as they fill up and machines downstream is idle. Speed does not equal capacity.
Your supply chain have limits governed by things like insertion rates, lane compression, and the shape of splitters. All this change as you ramp up from mining ore to chemically synthesizing compounds. After entering the number of inserters/belts you want to use, the calculator (above) crunches numbers for you. No more guesswork with coefficients.
How to Make Your Factory Work Better
Before you get to the tool, understand what those numbers mean so that you can build layout in advance. The problem isn’t typically just the speed of belts. Usually it’s how many items you have per lane. How many items can be stuffed onto each lane without leaving gaps between them? You’ll notice that they can’t all fit directly next to each other. There must be some breathing room, some compression, due to items needing to shift as they turn corners/merge.
Unbalanced lanes will cause jams. One lane might get backed up while the other has lots of open slots running empty. Even though both lanes is still moving at max speed, this halves the capacity.
The stats for belts don’t account for inserters. A fast inserter process double what a basic one does, provided there’s somewhere to move things to and some chest to grab from. Want more flow? Pile on inserters with arms. But they’ll idle if placed inefficiently or if they run out of resources. You have all the mechanical power required to fuel the belt. But because they’re not timed properly or can’t quite reach, you only get half the output. That’s where most folks miss out. They treat the symptom instead of fixing the bottleneck.
A lot gets lost when things is split. The more often you split a bus to distribute it among multiple production lines, the more you lose throughput. If one branch sucks it up too fast, it will starve out the others. The slower items has to synchronize with each other, slowing them down. This requires balancers which add both space and length requirements. The calculator allows you to enter the number of stages and the percentage you expect to lose because of this. A straight line has no loss. But a complicated network of merges and taps may end up shedding five to ten percent of your theoretical maximum before reaching your machines.
Belt stacks multiply capacity not just by lane width, but also by the number of items per stack. So if you’re storing modules in tight space or offloading trains into a bin, they’re great, assuming your inserters can manage those bigger bundles. Stacking belts on slow arms forms a bottleneck at the loading point, though. Use it to compare your belt capacity against the inserter’s maximum limit to find the bottleneck.
When designing a megabase, don’t only count belts: Count merges, transitions, and feeding points. Include a buffer margin for temporary demands (e.g., maintenance down-time) as well. Better safe than sorry, better should of have a little extra capacity than run short and rebuild a quarter. The page’s tables of reference provide standard benchmarks; however, your real-world figures will depend on how well you build it.
It’s not about going fast. It’s about going right. Smooth, compressed flows are always better then high speed chaos. Respect the limitations of your splitters and inserters and stop trying to fight the gaps. And then the entire factory begin breathing again.