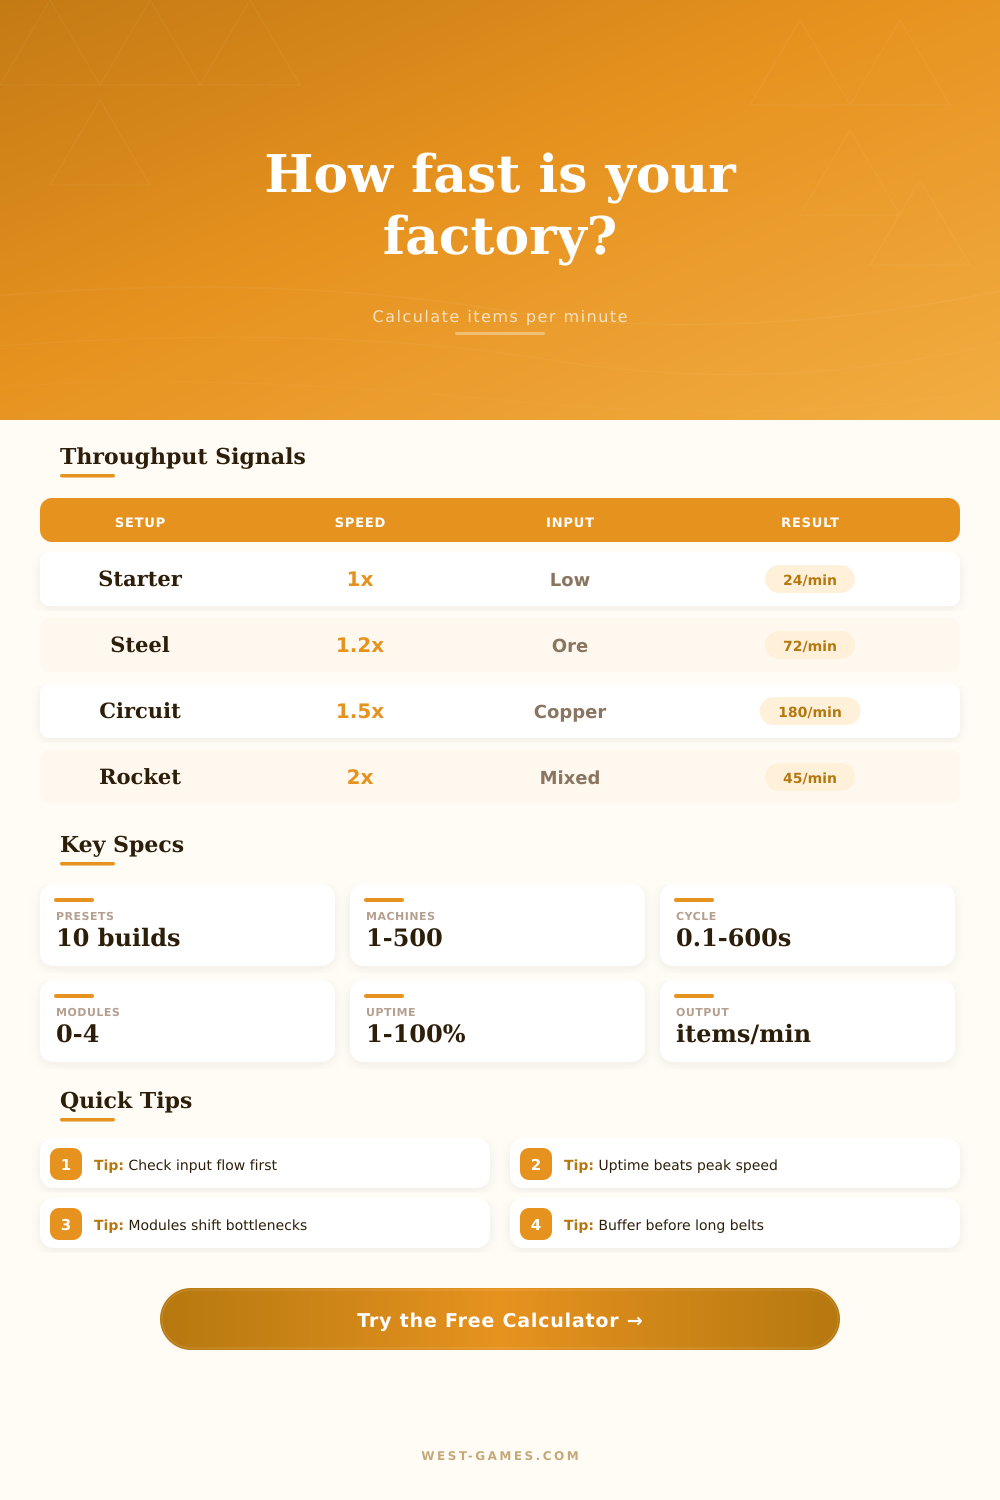
Factory Throughput Calculator
Estimate items per minute from machine count, recipe cycle time, output per cycle, speed modules, uptime, input supply, and bottleneck limits.
Calculation Breakdown
| Archetype | Typical Speed | Common Bottleneck | Best Throughput Use | Planning Note |
|---|---|---|---|---|
| Smelter / furnace line | 0.75x to 1.5x | Ore or belt feed | Plates, ingots, bricks | Input compression decides output |
| Assembler recipe | 1.0x to 2.0x | Mixed parts | Intermediate items | Balance both input sides |
| Refinery / chemical plant | 1.0x to 1.75x | Pipe rate | Plastic, fuel, acid | Watch fluid-style saturation |
| Foundry / casting block | 1.25x to 3.0x | Molten feed | Bulk metals | Throughput jumps in modules |
| Precision component bay | 0.5x to 1.25x | Rare input | Motors, processors | Small shortages stall many machines |
| Science or research pack | 0.75x to 1.25x | Subcomponent mix | Lab chains | Use buffers before research spikes |
| Rocket or endgame part | 0.4x to 1.0x | All inputs | Late game launches | Uptime is usually the real cap |
| Step | Formula | What It Measures | High Value Means |
|---|---|---|---|
| Base rate | 60 / cycle x output | Single-machine recipe speed | Fast recipe or large output |
| Effective speed | Machine x module speed | Crafting speed after boosts | More cycles per minute |
| Raw output | Base x machines x speed | Peak line output | The line can produce more |
| Uptime output | Raw x uptime | Practical machine output | Fewer starvation pauses |
| Input cap | Supply / input need x output | Max output from inputs | Feed line is healthy |
| Final rate | Min of machine, input, belt | Delivered items per minute | Actual usable throughput |
| Scenario | Machines | Cycle | Main Limiter | Typical Target |
|---|---|---|---|---|
| Starter Iron Plates | 12 smelters | 3.2 sec | Ore belt | 180/min plate bus |
| Copper Wire Bus | 18 assemblers | 0.5 sec | Output belt | 720/min wire lane |
| Green Circuit Cell | 32 assemblers | 0.5 sec | Copper wire | 360/min circuits |
| Steel Foundry Block | 24 furnaces | 16 sec | Iron plate input | 90/min steel |
| Science Pack Lane | 40 assemblers | 5 sec | Gear feed | 240/min packs |
| Rocket Part Sprint | 16 bays | 30 sec | Rare parts | 45/min parts |
| Profile | Speed Effect | Output Effect | Uptime Risk | Use When |
|---|---|---|---|---|
| No modules | 1.00x | Base output | Low | Inputs are already tight |
| Light speed modules | 1.20x to 1.50x | Base output | Low to medium | Machine count is limited |
| Balanced modules | 1.40x to 1.90x | Small output gain | Medium | Belts can absorb extra flow |
| Heavy speed modules | 1.80x to 3.00x | Base output | High | Input supply is overbuilt |
| Productivity focus | 0.80x to 1.20x | Higher item yield | Medium | Inputs are rare or slow |
The result is that a factory might look great on paper but produce very little in practice. Why? Because throughput is limited by the slowest link, which isn’t necessarily fastest machine. One upstream ore vein dries up, and whole line shuts down, even though all of machines along it are running at full capacity.
By plugging your module loads and cycle times into calculator above, you can identify bottleneck. Peak speed is what most people concentrate on because that’s what “feels” productive. Double a machine’s speed and it appear to be winning, but raw speed isn’t worth anything without equal or greater input supply to meet the increased demand. Double the processing rate and you must of have twice as much material flowing into intake belt per second.
Stop Wasting Resources
Your input line may cap out, meaning doubling the machine’s speed won’t do anything except result in idle time between cycles. Uptime beats peak performance; double a machine’s speed and now it sit there waiting for resources. That 80% efficient factory with well-balanced modules will outproduce a 95% efficient factory pushing really hard on speed boosts (because the latter is starving itself constanty).
That’s where it gets expensive, and that’s where people get creative: Modules. A speed module will decrease your cycle time. This increase items per minute if you have an infinite number of inputs. That’s great, but in the beginning-to-middle game, your production lines don’t have an infinite number of input. If you have a recipe with two components, then speeding up one machine causes you to run out of one component and produce too many of the other.
Usually, it’s better to apply speed modules only when you know bottleneck exists, or apply productivity modules wherever input is the lower volume resource. To locate the bottleneck, you need to backtrack from your end product. If you fix something else, you’re just decorating, and it won’t change your output at all.
Because of this, the calculator has a feature where you can model various module setups based off your real-world input restrictions. If after factoring in input limits and uptime, you notice your hypothetical production is way down, that’s a telltale sign that something’s wrong with your expansion strategy. You’re pouring concrete in front of an expanding bottleneck.
This is where the buffer reserve option becomes helpful; it estimates how many units you must hold in stock just to weather minor fluctuations in transport or production. Any slight hiccup cascades through every stage of process and kills assembly downstream. Holding sufficient reserve absorbs damage without incident. Buffers dampen shocks to your logic circuits.
Not all lines operate equally; there are archetypes. Some types of lines is brute force operations limited by ore extraction rates (smelter line), others are surgical operations limited by rare sub-components (precision components bay), and you cannot treat a rocket part factory the same way than you treat an iron plate bus. This isn’t something you can just mix-and-match your way through without getting confused!
For example, don’t treat an iron plate bus the same as a rocket part factory. Check the chart on the page that lays out archetypes by showing what machines are typically fast, slow, or bottlenecked. Use it to help set reasonable expectations when placing buildings. Want 400 items per minute off a slow-to-produce recipe with few input requirements? The math says you’re dreaming right now.
But restraint really is what’s at the core of an efficiently designed factory. You refuse to add another machine unless you can prove that your existing line isn’t meeting demand. Measure, then grow. The factories that fail do so less often because their engineers built something poorly, but because they grew too quickly in wrong ways. Let number drive growth, not the urge to light up a bunch of green lights.
Get your machines aligned with where the resources actualy flow, and suddenly your factory isn’t fighting against itself anymore. It’s flowing smoothly and without pause. That’s how you go from a chaotic mess to an industrial powerhouse. You don’t want your inventory full of half-finished products hoping someone will notice them eventualy. You want it full of belts.